
Swiftcloud
-
Posts
1013 -
Joined
-
Last visited
Content Type
Profiles
Forums
Gallery
Events
Downloads
Posts posted by Swiftcloud
-
-
Yes I know that those hyperfirm blasters were quite costly and extremely rare. Your price is a great price considering. I’m just not at a point where I could spend that amount right now. I’ll have to stick to my fragile 3D printed blaster, lol.
But seriously, somebody will definitely be happy when they buy yours. Even if only for bragging rights! 😉
(Ah-ehmm…Brenda?)
-
I’ve always wanted the Hyperfirm ee-3. But I just can’t justify paying that much for a rubber blaster. It’s cool tho. Would be tons better than my fragile 3D printed one.
-
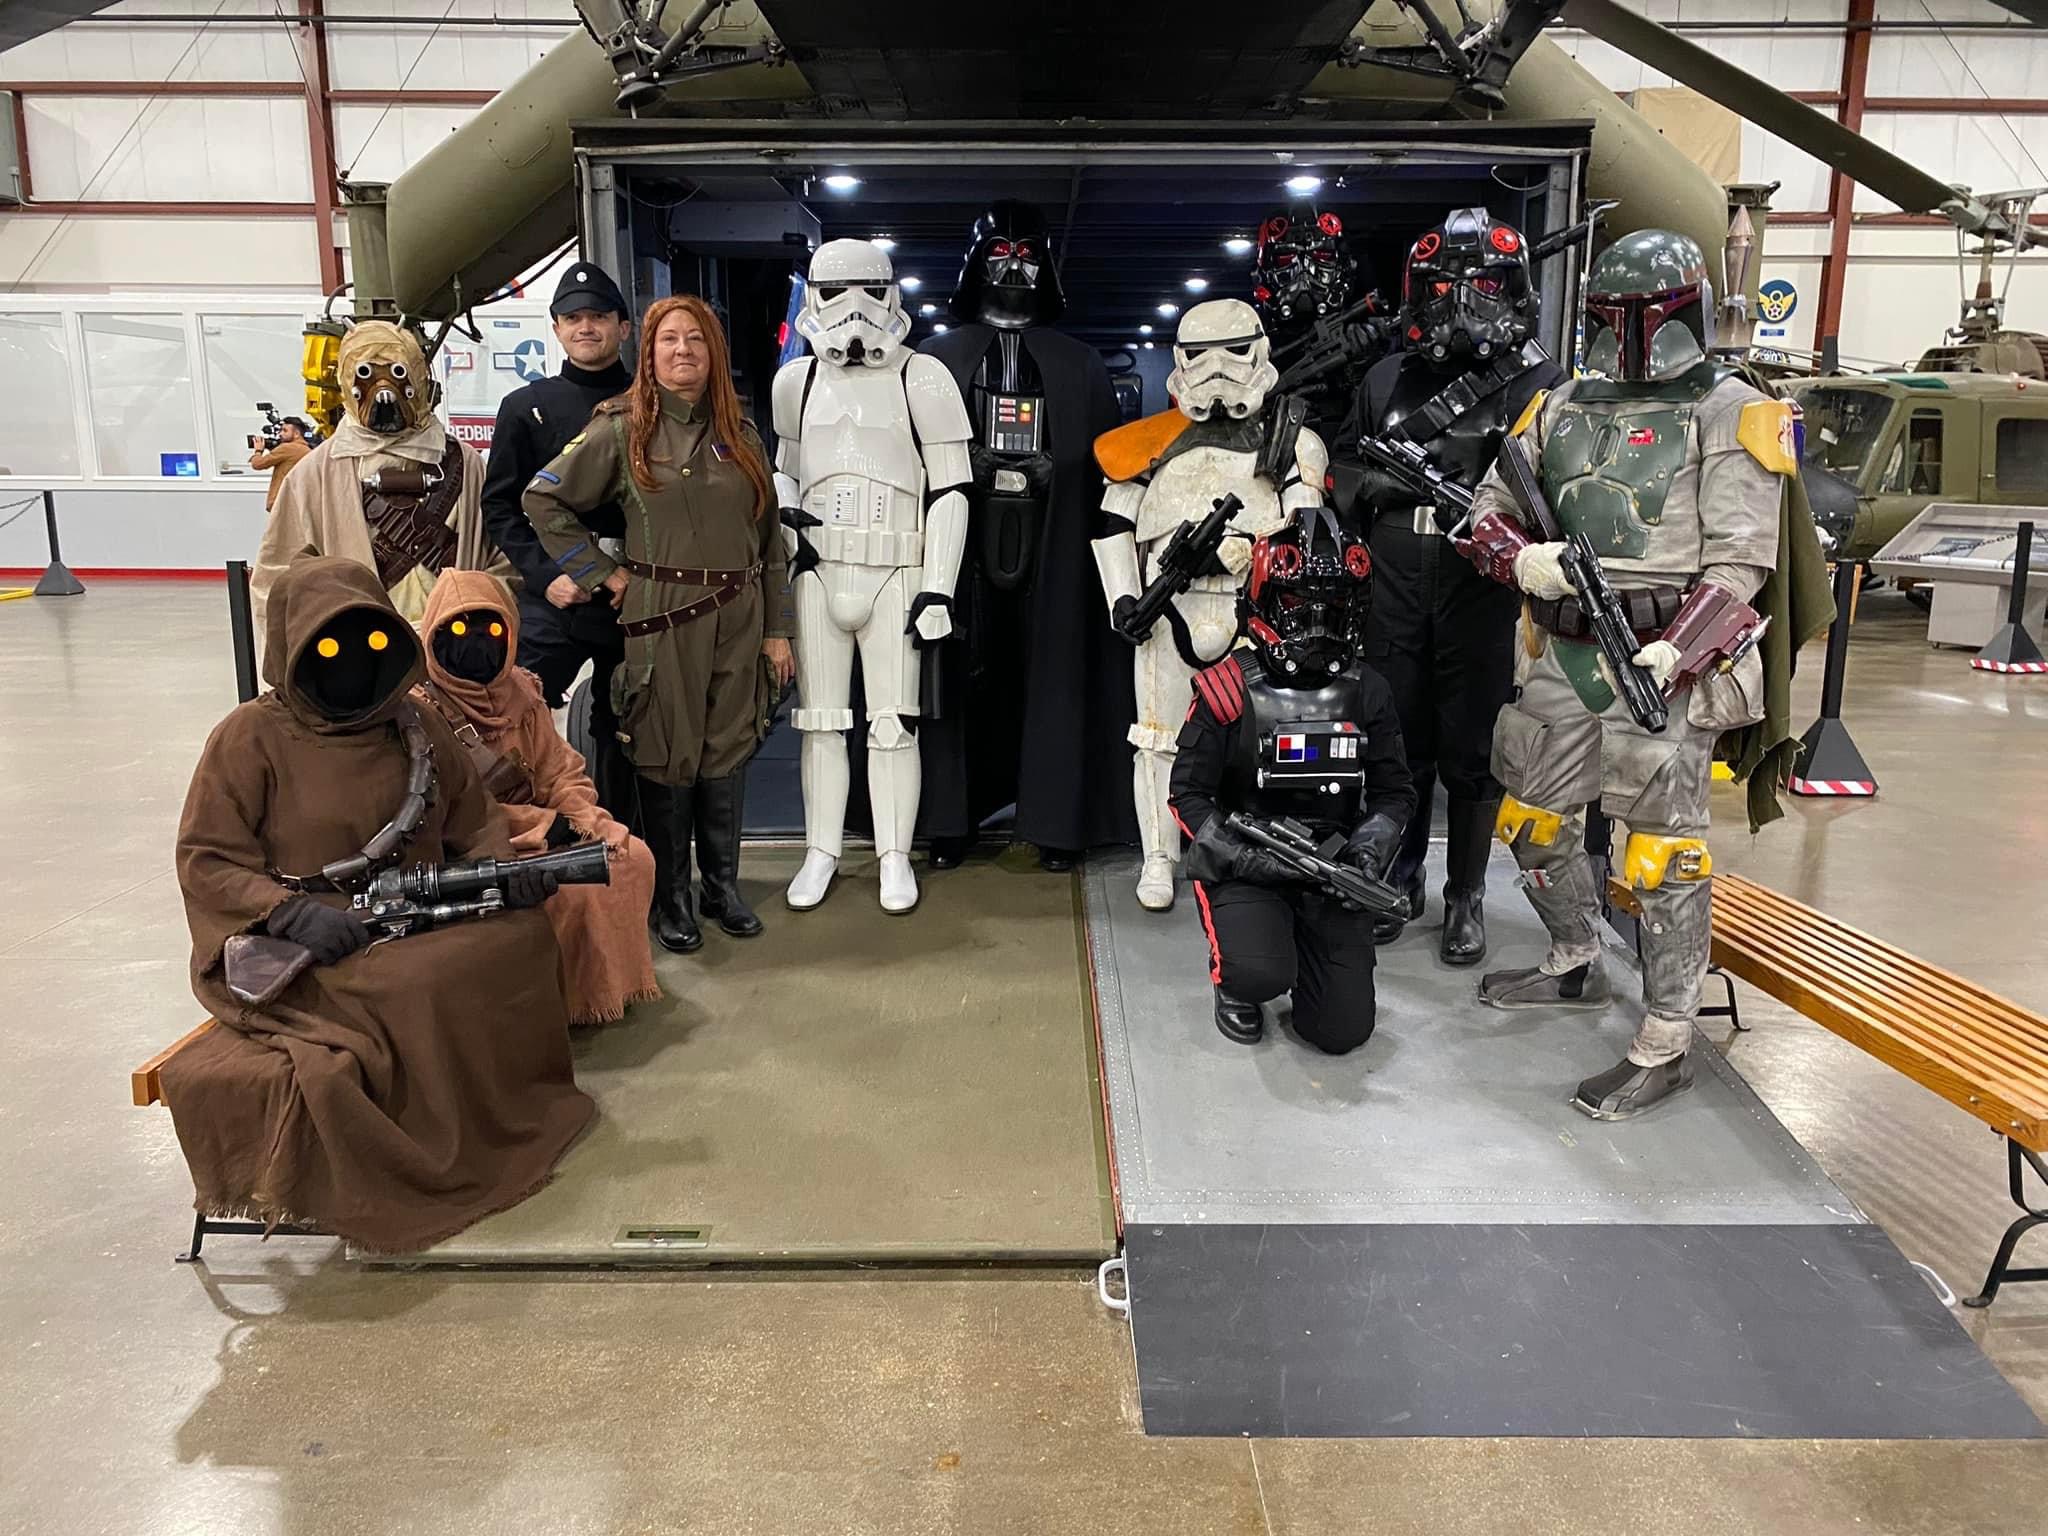
Congrats all! Great team, great garrison! Here’s to another wonderful year of events and gatherings. 👏🏼👏🏼👏🏼
-
 1
1
-
-
This is awesome! I can’t wait to see it in person! Great job brother!
-
 1
1
-
-
Hi Rich!
Welcome to our hangout! Hope to troop with you someday soon.
")
-
1
-
-
I love this event. The kids are always so excited. But, we won’t be able to go this time. We are leaving for Florida on Saturday. Have a wonderful troop everyone!
-
Yah, why not finish him up? He’d be a great prop at the cons!
-
Hello there!
I am posting this here on the forum first, to see if anyone in our garrison has any interest.
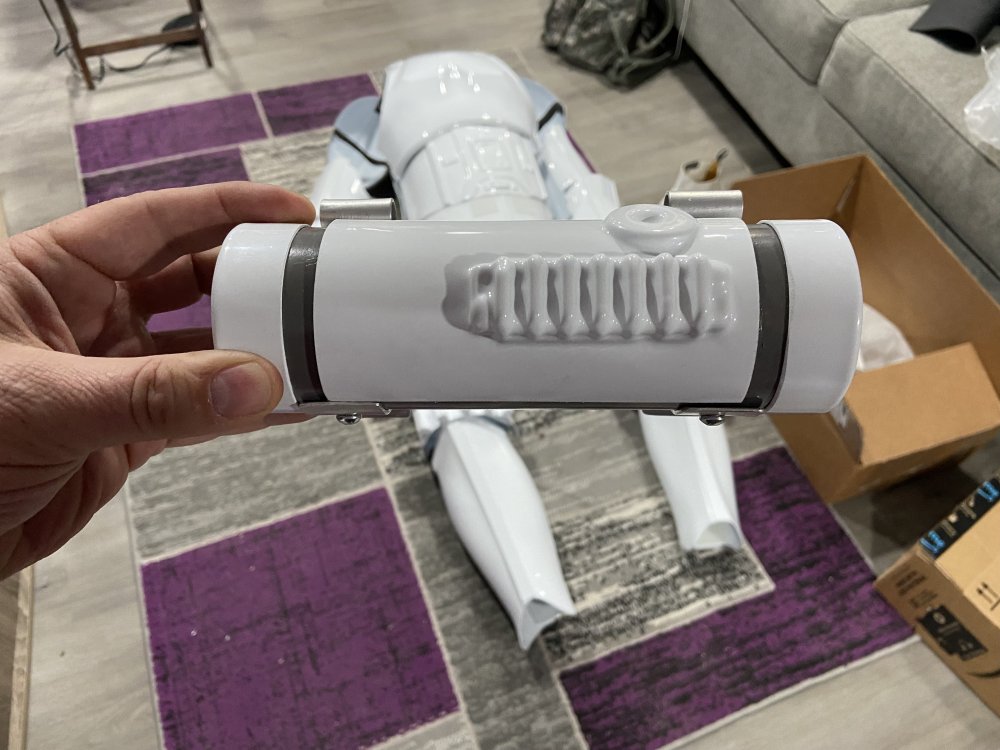
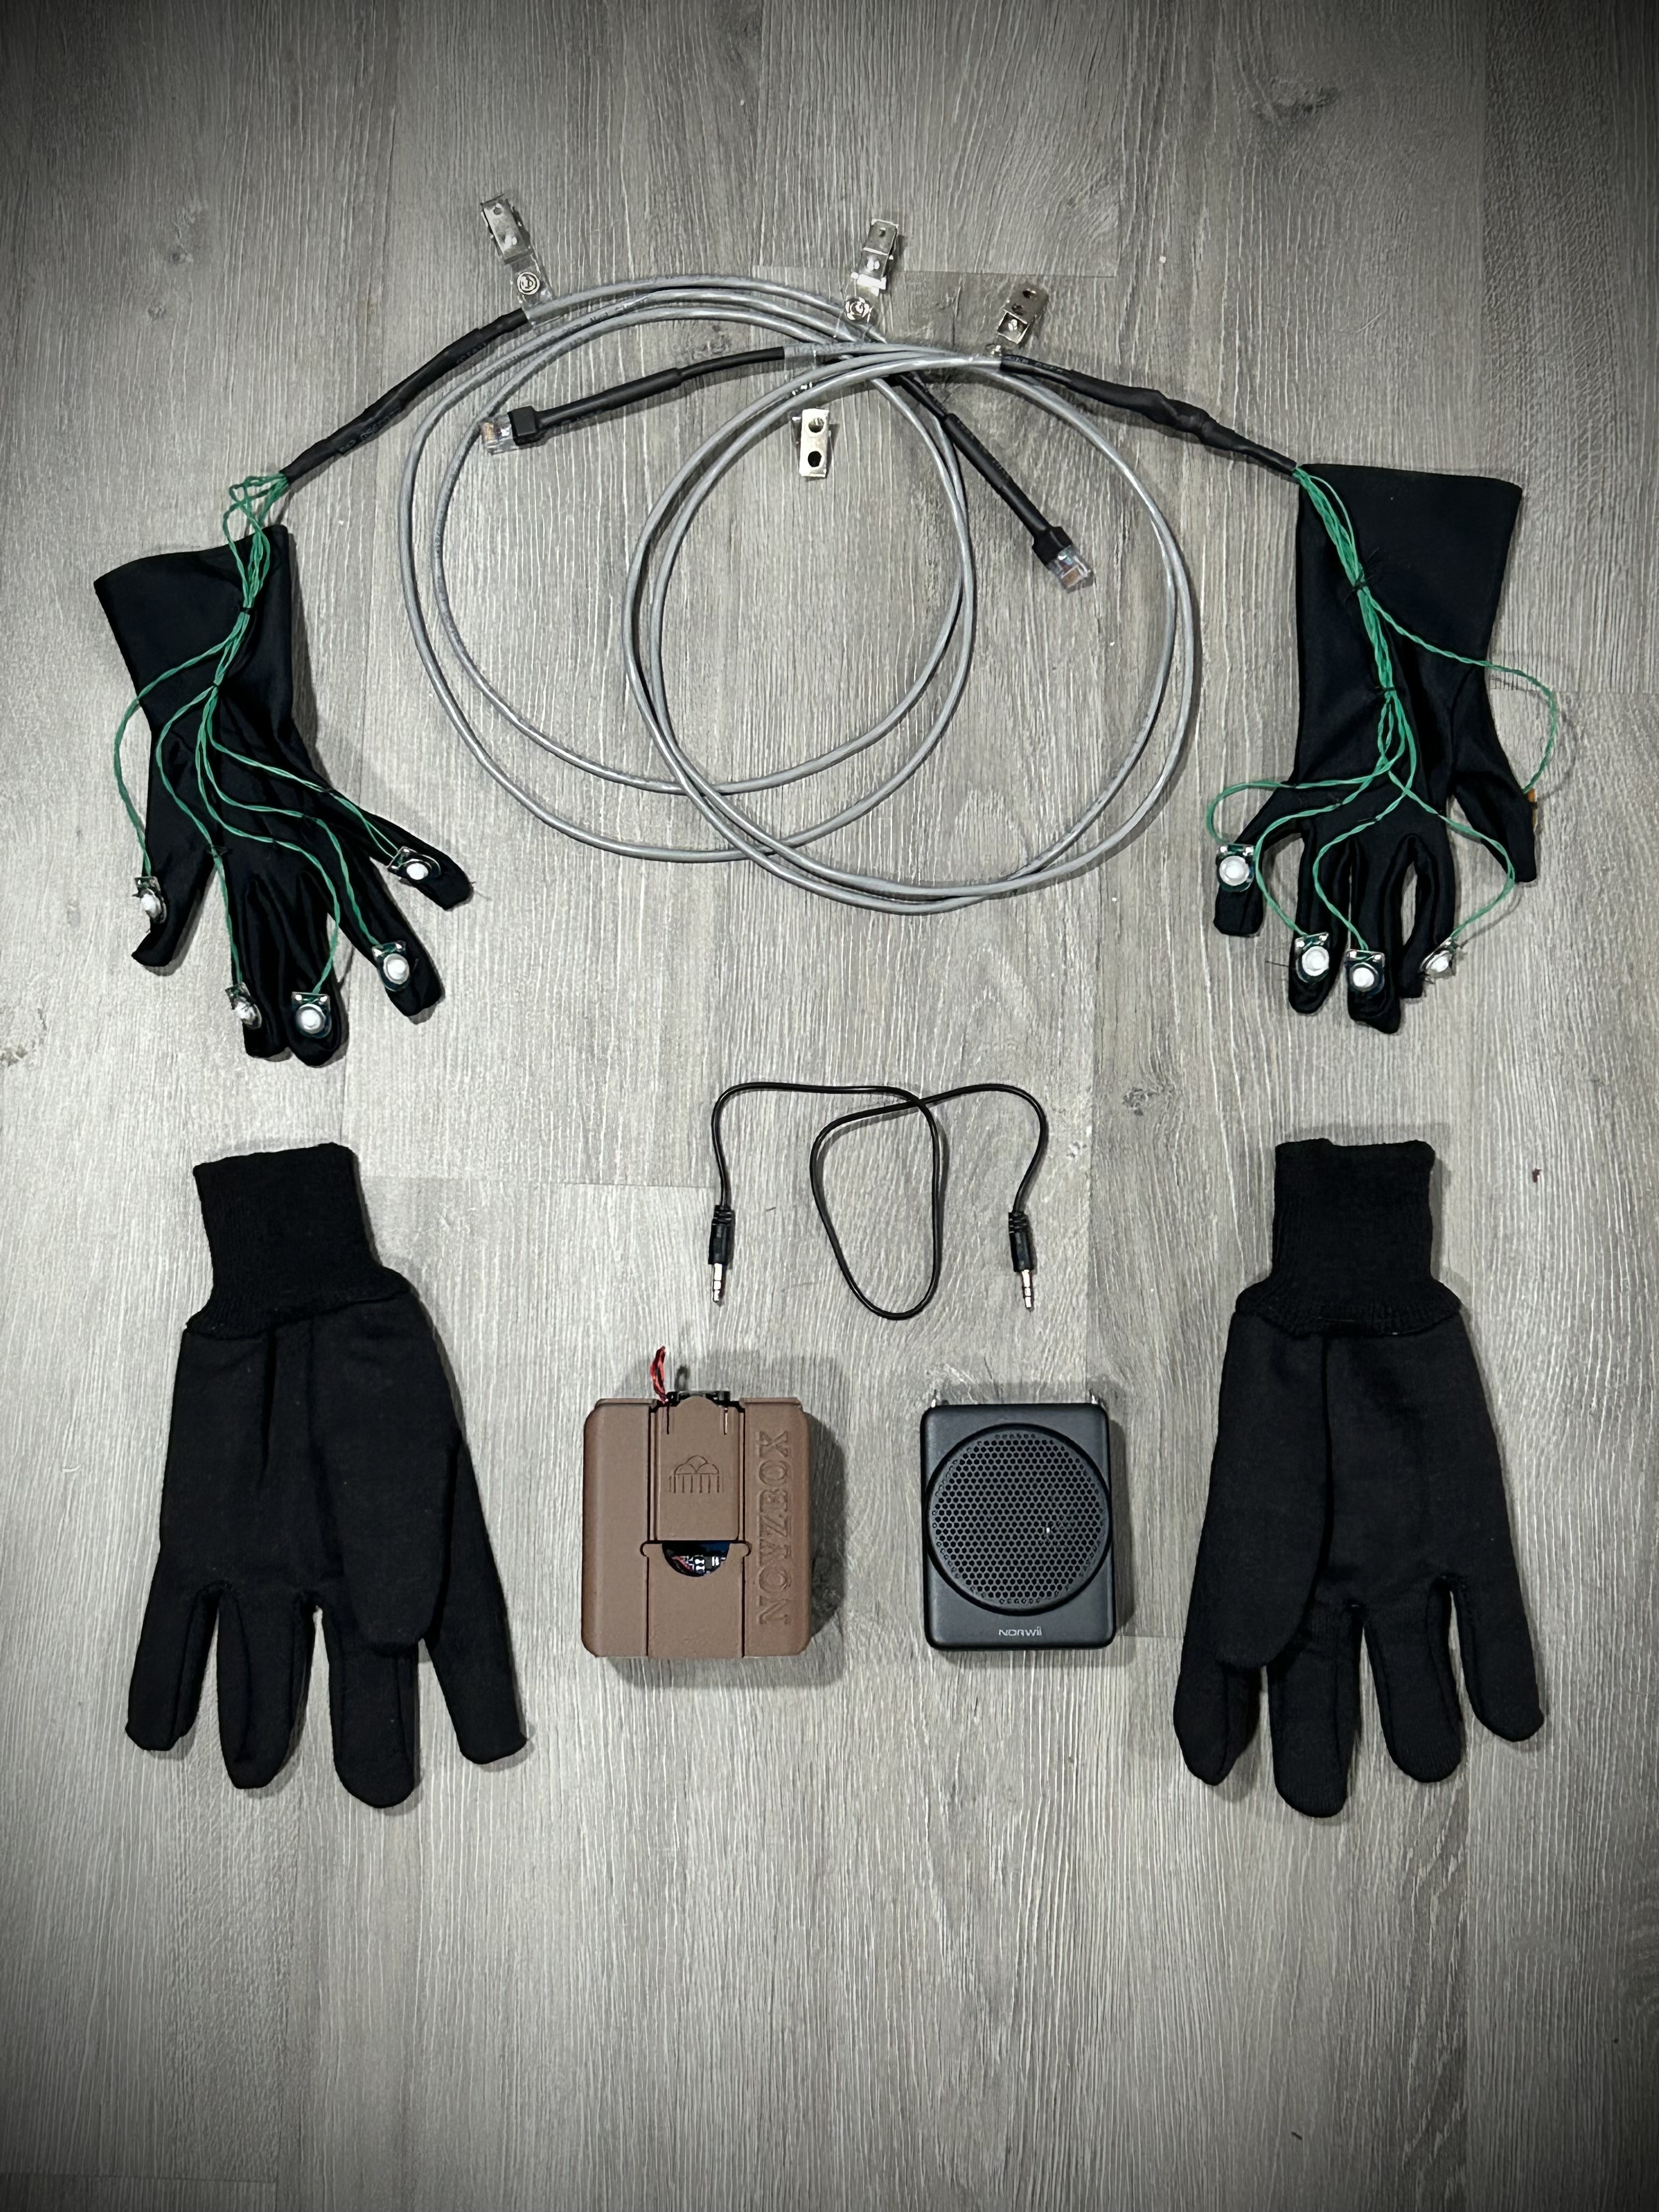
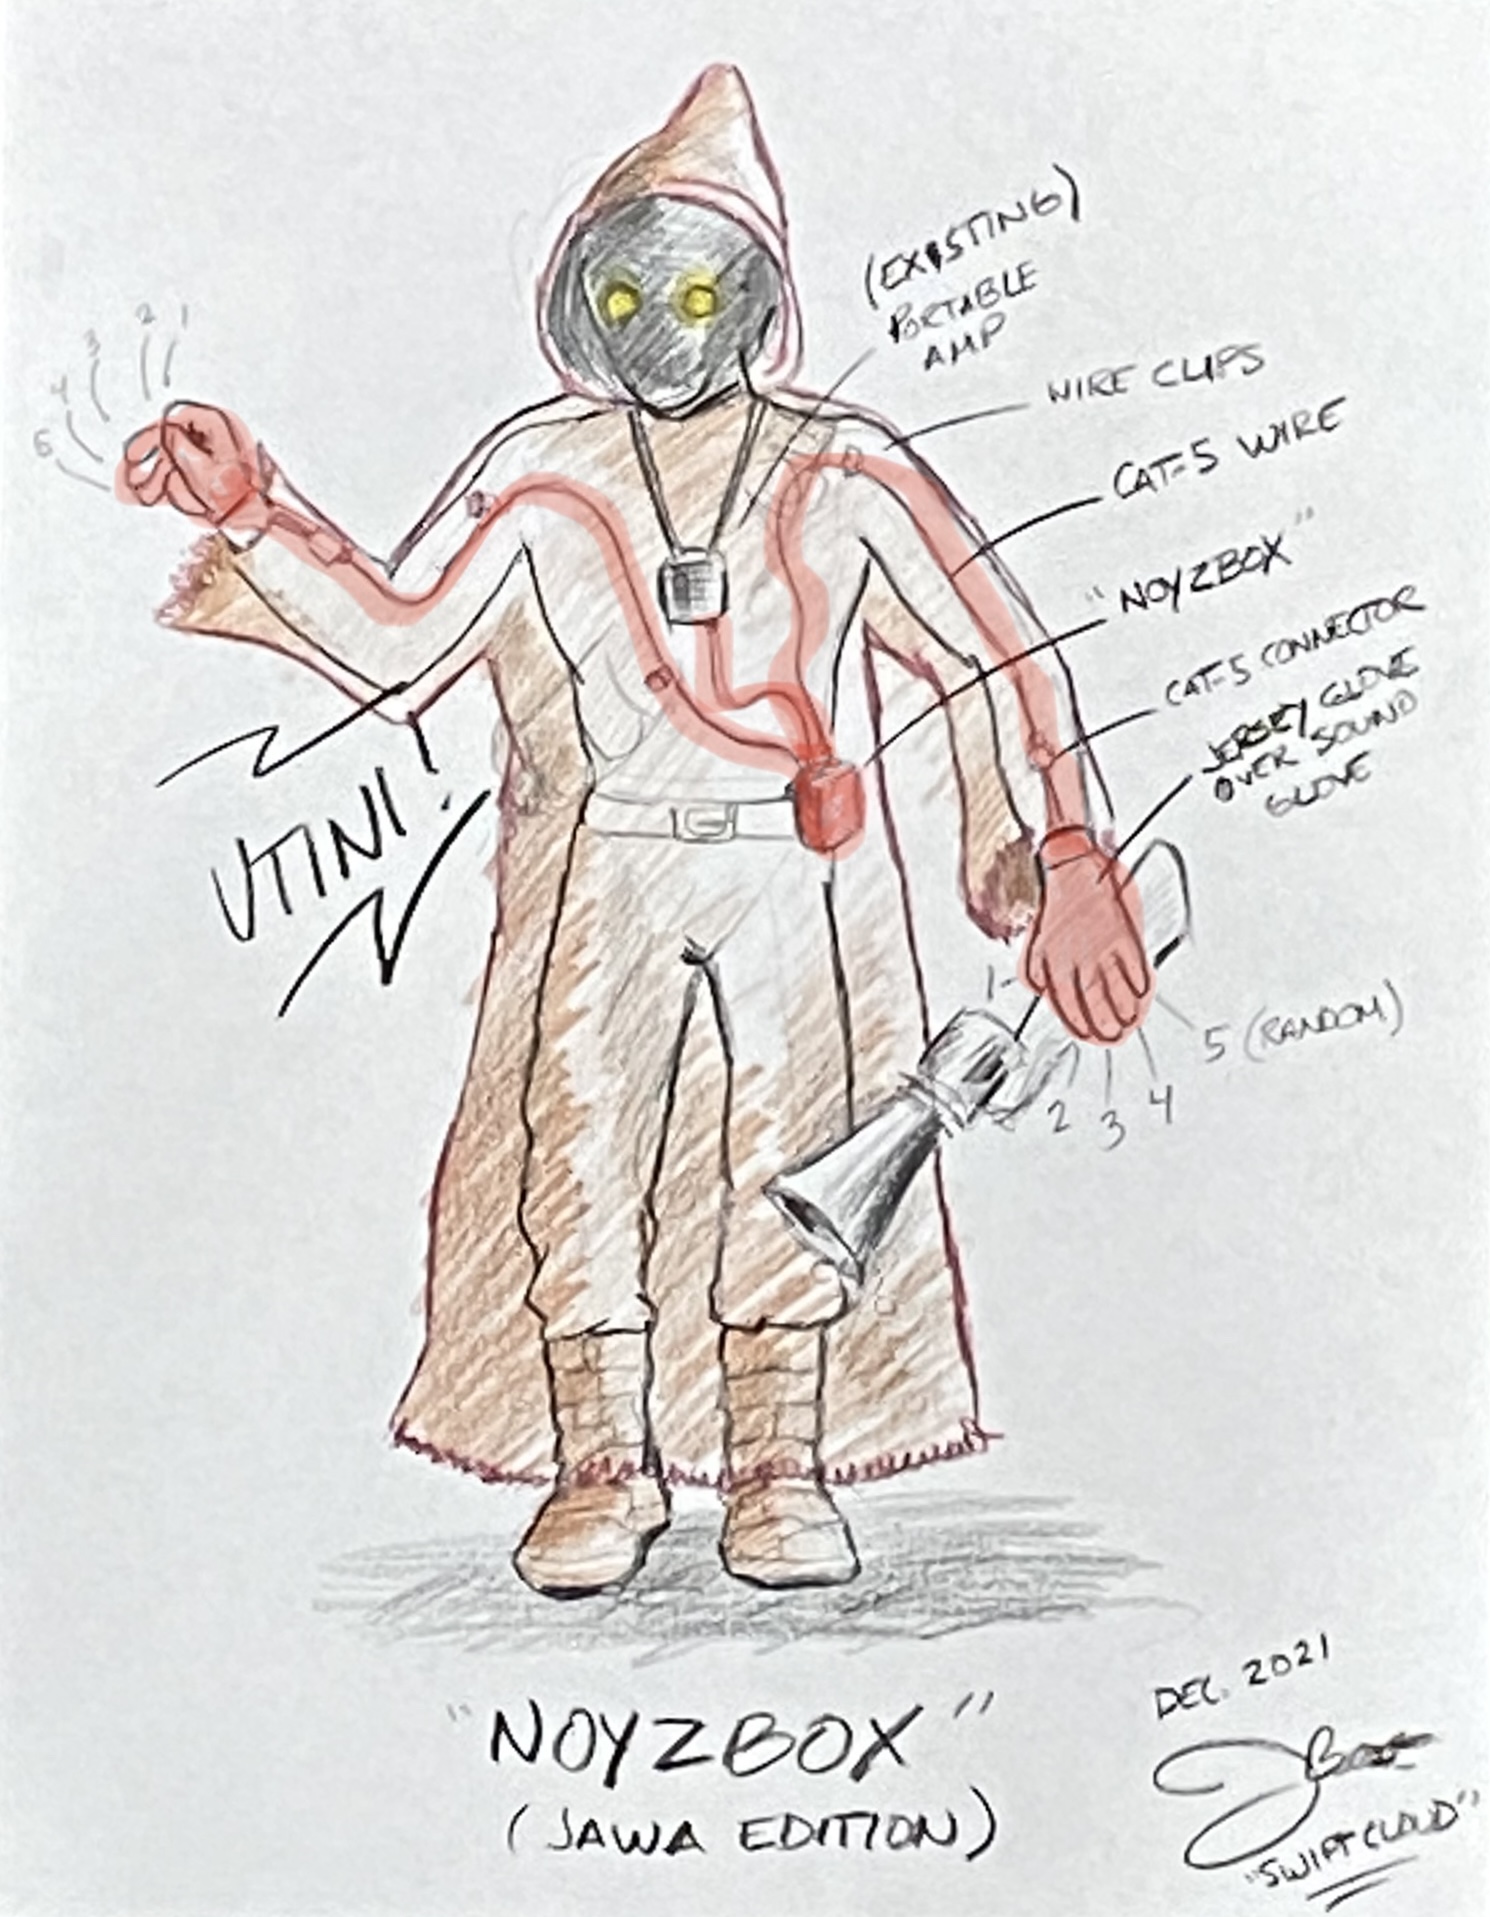
NOYZBOX - Jawa Edition - Sound Glove System with Personal Amplifier
$250.00 plus shipping
19 Jawa Sound effects controlled by finger buttons on a pair of wired gloves!
Background:
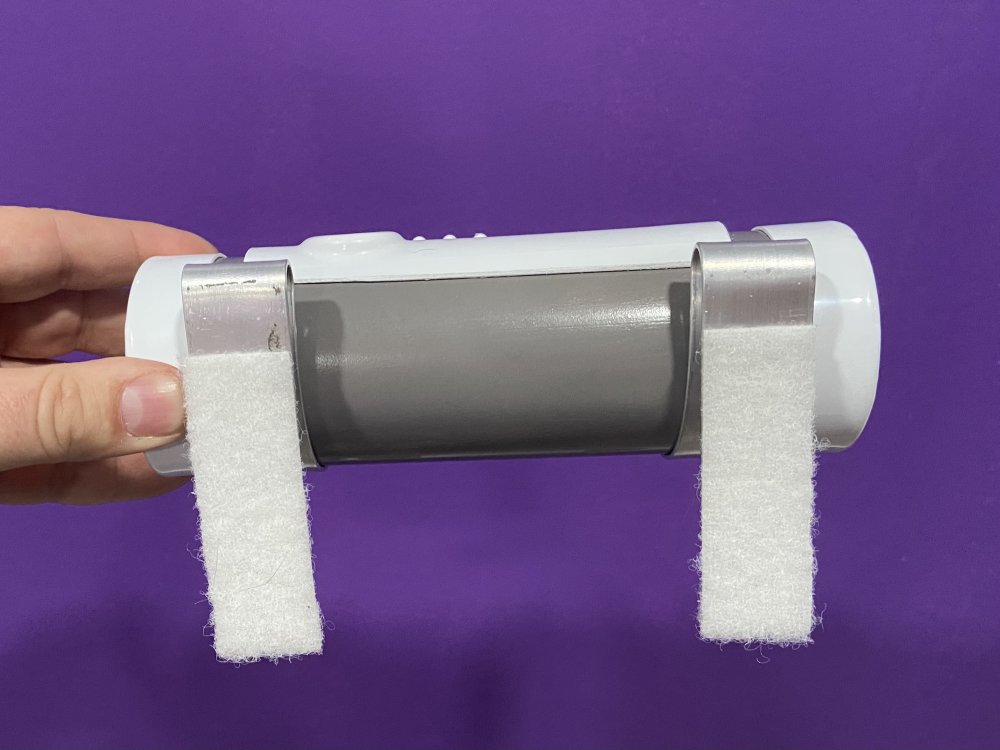
I bought a sound glove for my wife’s Jawa costume from someone on Etsy a while ago. And, while the glove was pretty decent, it only had 4 sounds controlled by press one of 4 buttons that were mounted to the palm of the glove. I wanted to improve on this idea where you could have a button for each finger on each hand that could each have a different sound effect. Also the one that I purchased had to be mounted on your arm, which tended to be quite bulky and uncomfortable to wear.
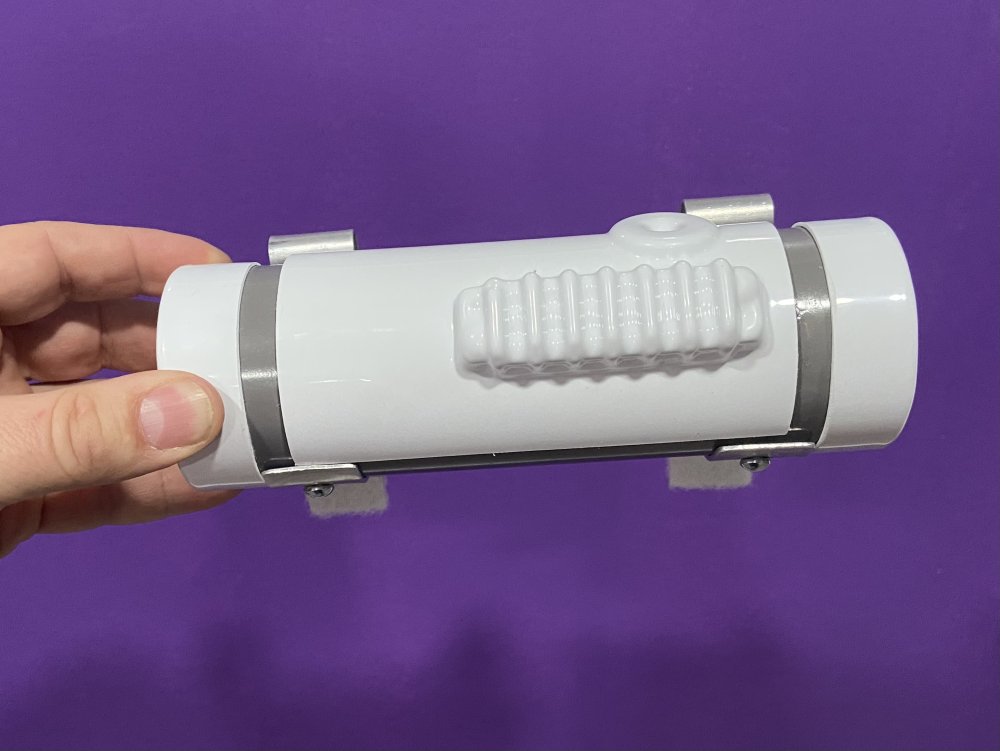
So I came up with what I am calling the Noyzbox - a device that could be worn by clipping onto your pants or belt and uses 2 gloves, with 5 buttons each, that connect to the device via the included Cat-5 cables with wire management clips to keep the wires from falling. (Also included). Each button, located in the top of each finger and thumb, has an individual sound with one unique button that can produce additional random sounds! (That’s 9 fixed sounds - one for each finger - plus 10 randomly generated sounds on the tenth finger, all totaling 19 different sound effects!) *Updated edition now has the full length Cantina Band song that plays once the left thumb button is pressed. The song continues to play until the left thumb button is pressed again!
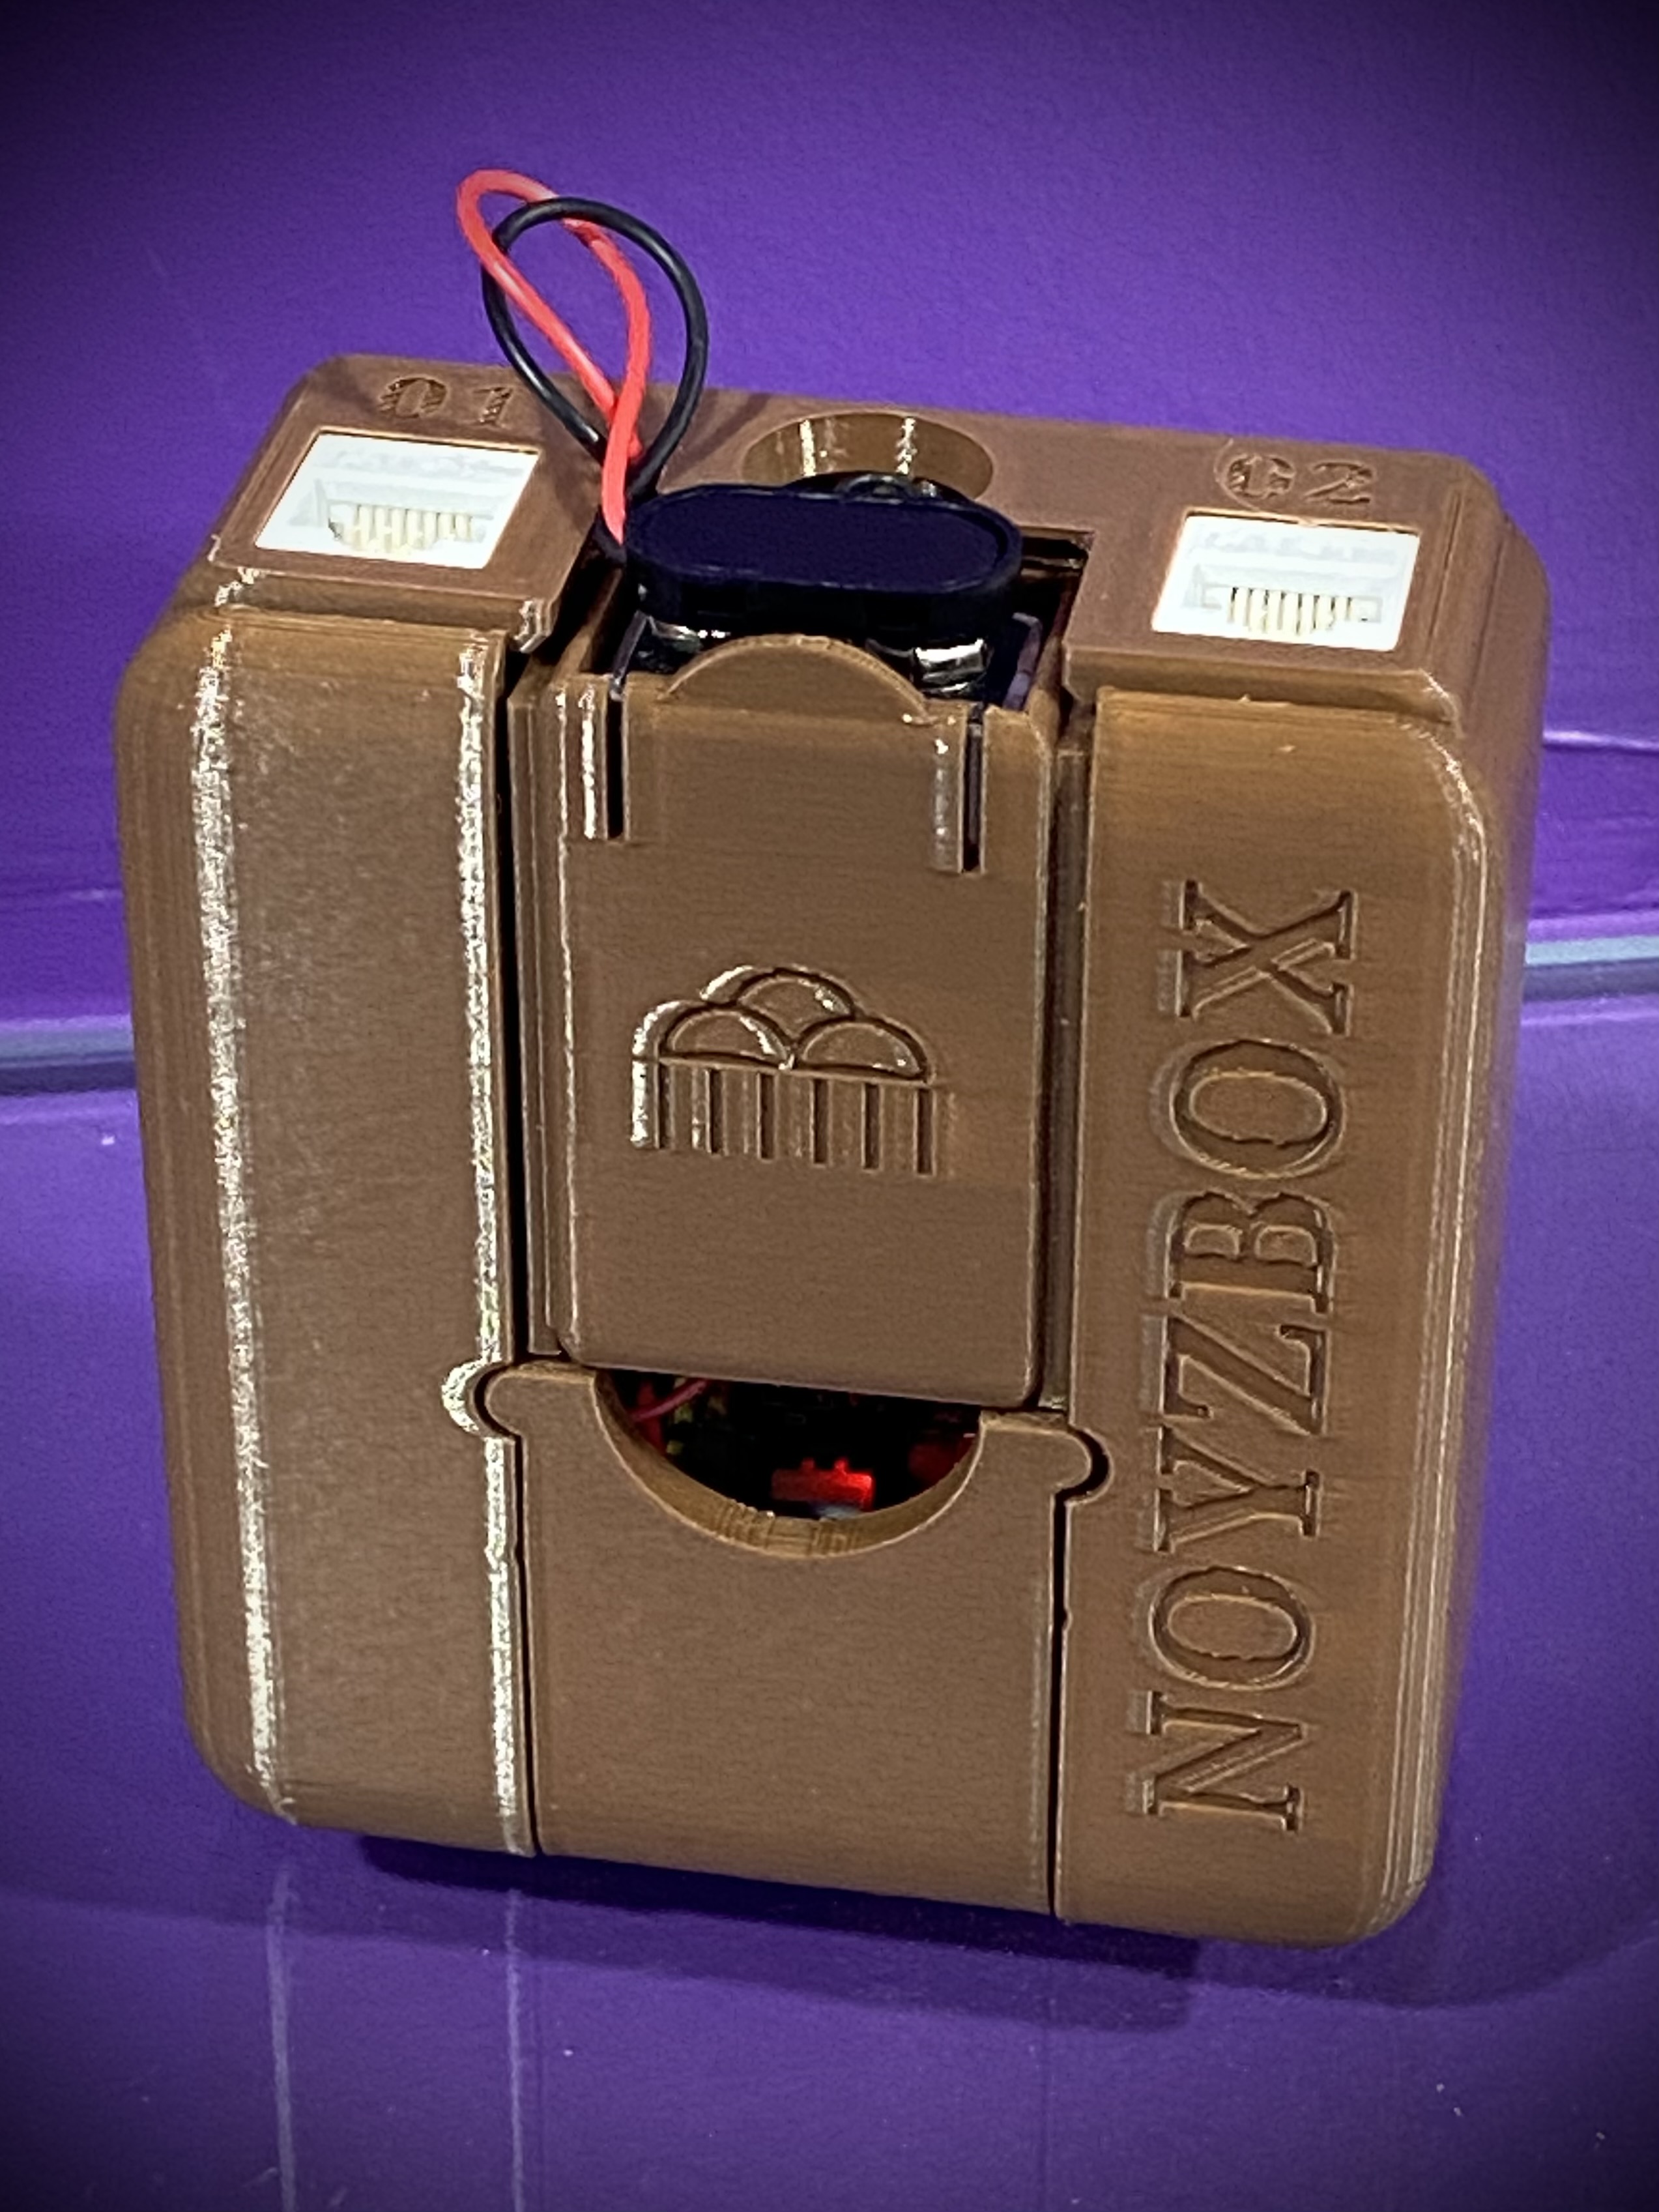
I mounted the buttons to the top of the fingers so that you can still grip things, like your blaster, without accidental activation. Simply press the top each finger with your thumb 👌🏼to activate the sound. This gives the cosplayer many more options for interaction with a plethora of sounds, literally at your finger-tips. These sound gloves are made of stretchy nylon that will fit almost any hand size and is worn underneath a larger pair of (in this Jawa set) a pair of dark brown jerzey-gloves (included). This will hide the wires and allow for discreetly pressing the hidden buttons on your fingertips. The Noyzbox is a uniquely designed 3D printed case which is powered by a 9-volt battery (not included). It has a small 1/8” audio out jack that allows you to plug into the aux input of the (included) portable amplifier.
This Noyzbox is my own unique design and has the ability to have other character sounds that I hope to make available in the near future. But for now, it comes preloaded with 19 Jawa sound effects. Give your Jawa costume a more interactive sound feature with this plug and play sound effects kit that I call Noyzbox!
PS:
I will try to make a video demo for this soon!


-
1
-
-
12 hours ago, Alay said:
I love the one I bought. I rarely TK anymore, but when I use it, it really statics up your voice well!
Do you remember where you got yours from?
-
On 5/1/2023 at 1:43 PM, Iconic_ctinferno said:
This looks so sick and hope all works out in the few areas you need fixed still. @Swiftcloud any chance with your boba situation you could be of any help with resources or information?
Sorry, I just saw this.
Those gauntlets look rather simple to create in 3D design. I’m sure I could re-engineer them to have a different type of closure device. I would just need some dimensions first. They look thick walled enough to make some kind of pin latch system that could work. Kimberly, send me a PM and we can discuss dimensions and thoughts for this. I’m sure I can help. -
Welcome to CT! We would love to have you troop with us sometime.
-
Welcome! We will be happy to have you troop with us!
-
1
-
-
Ha! That would be great!
-
20 hours ago, Gian Daro said:
I have that weekend off so I'd really like to join you there.
The only costume I have at the moment is Boba RotJ. Since you have a Boba MS2 on Saturday I would like to kit up on Sunday. Thanks @Swiftcloud if it's really okay with you. I'd like that.
That will be fine. I am flexible. If you want to do Saturday too, that’s ok. We will take different shifts so it is no problem. I’m excited to see your costume in person! Terrificon is a very laid-back and easy troop. You are gonna love it! See you soon!
-
-
I’m signed up for all three days! Stormtrooper on Friday, Boba MS2 on Saturday and Boba ROTJ on Sunday. (If Brenda @Gian Daro wants to go as Boba ROTJ on Sunday, I can switch back to Stormtrooper if needed.) 😊
-
1
-
-
Welcome Gian!
Always glad to have another Boba Fett fan in our group! Your costume looks fantastic! Looking forward to trooping along with you soon.
-
8 hours ago, fowlmouth said:
Dang, bro. It took you long enough to update this build thread, LOL!
This looks awesome! And congrats on approval!! More troopers for Vader's garrison. 😁
Thanks brother!
-
1 hour ago, Iconic_ctinferno said:
Awesome job Jerred! Congratulations on the approval too!
Thanks Q!
-
Thanks @Alay!!!
TK-57766 reporting in!
-
1
-
-
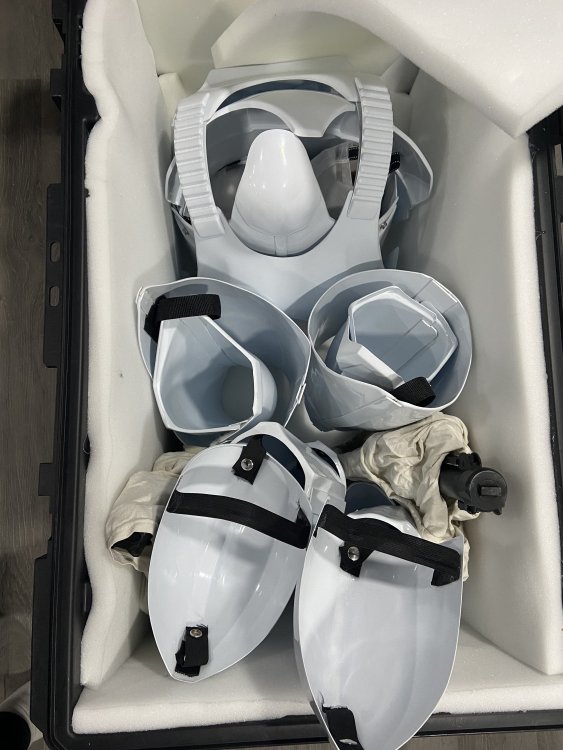
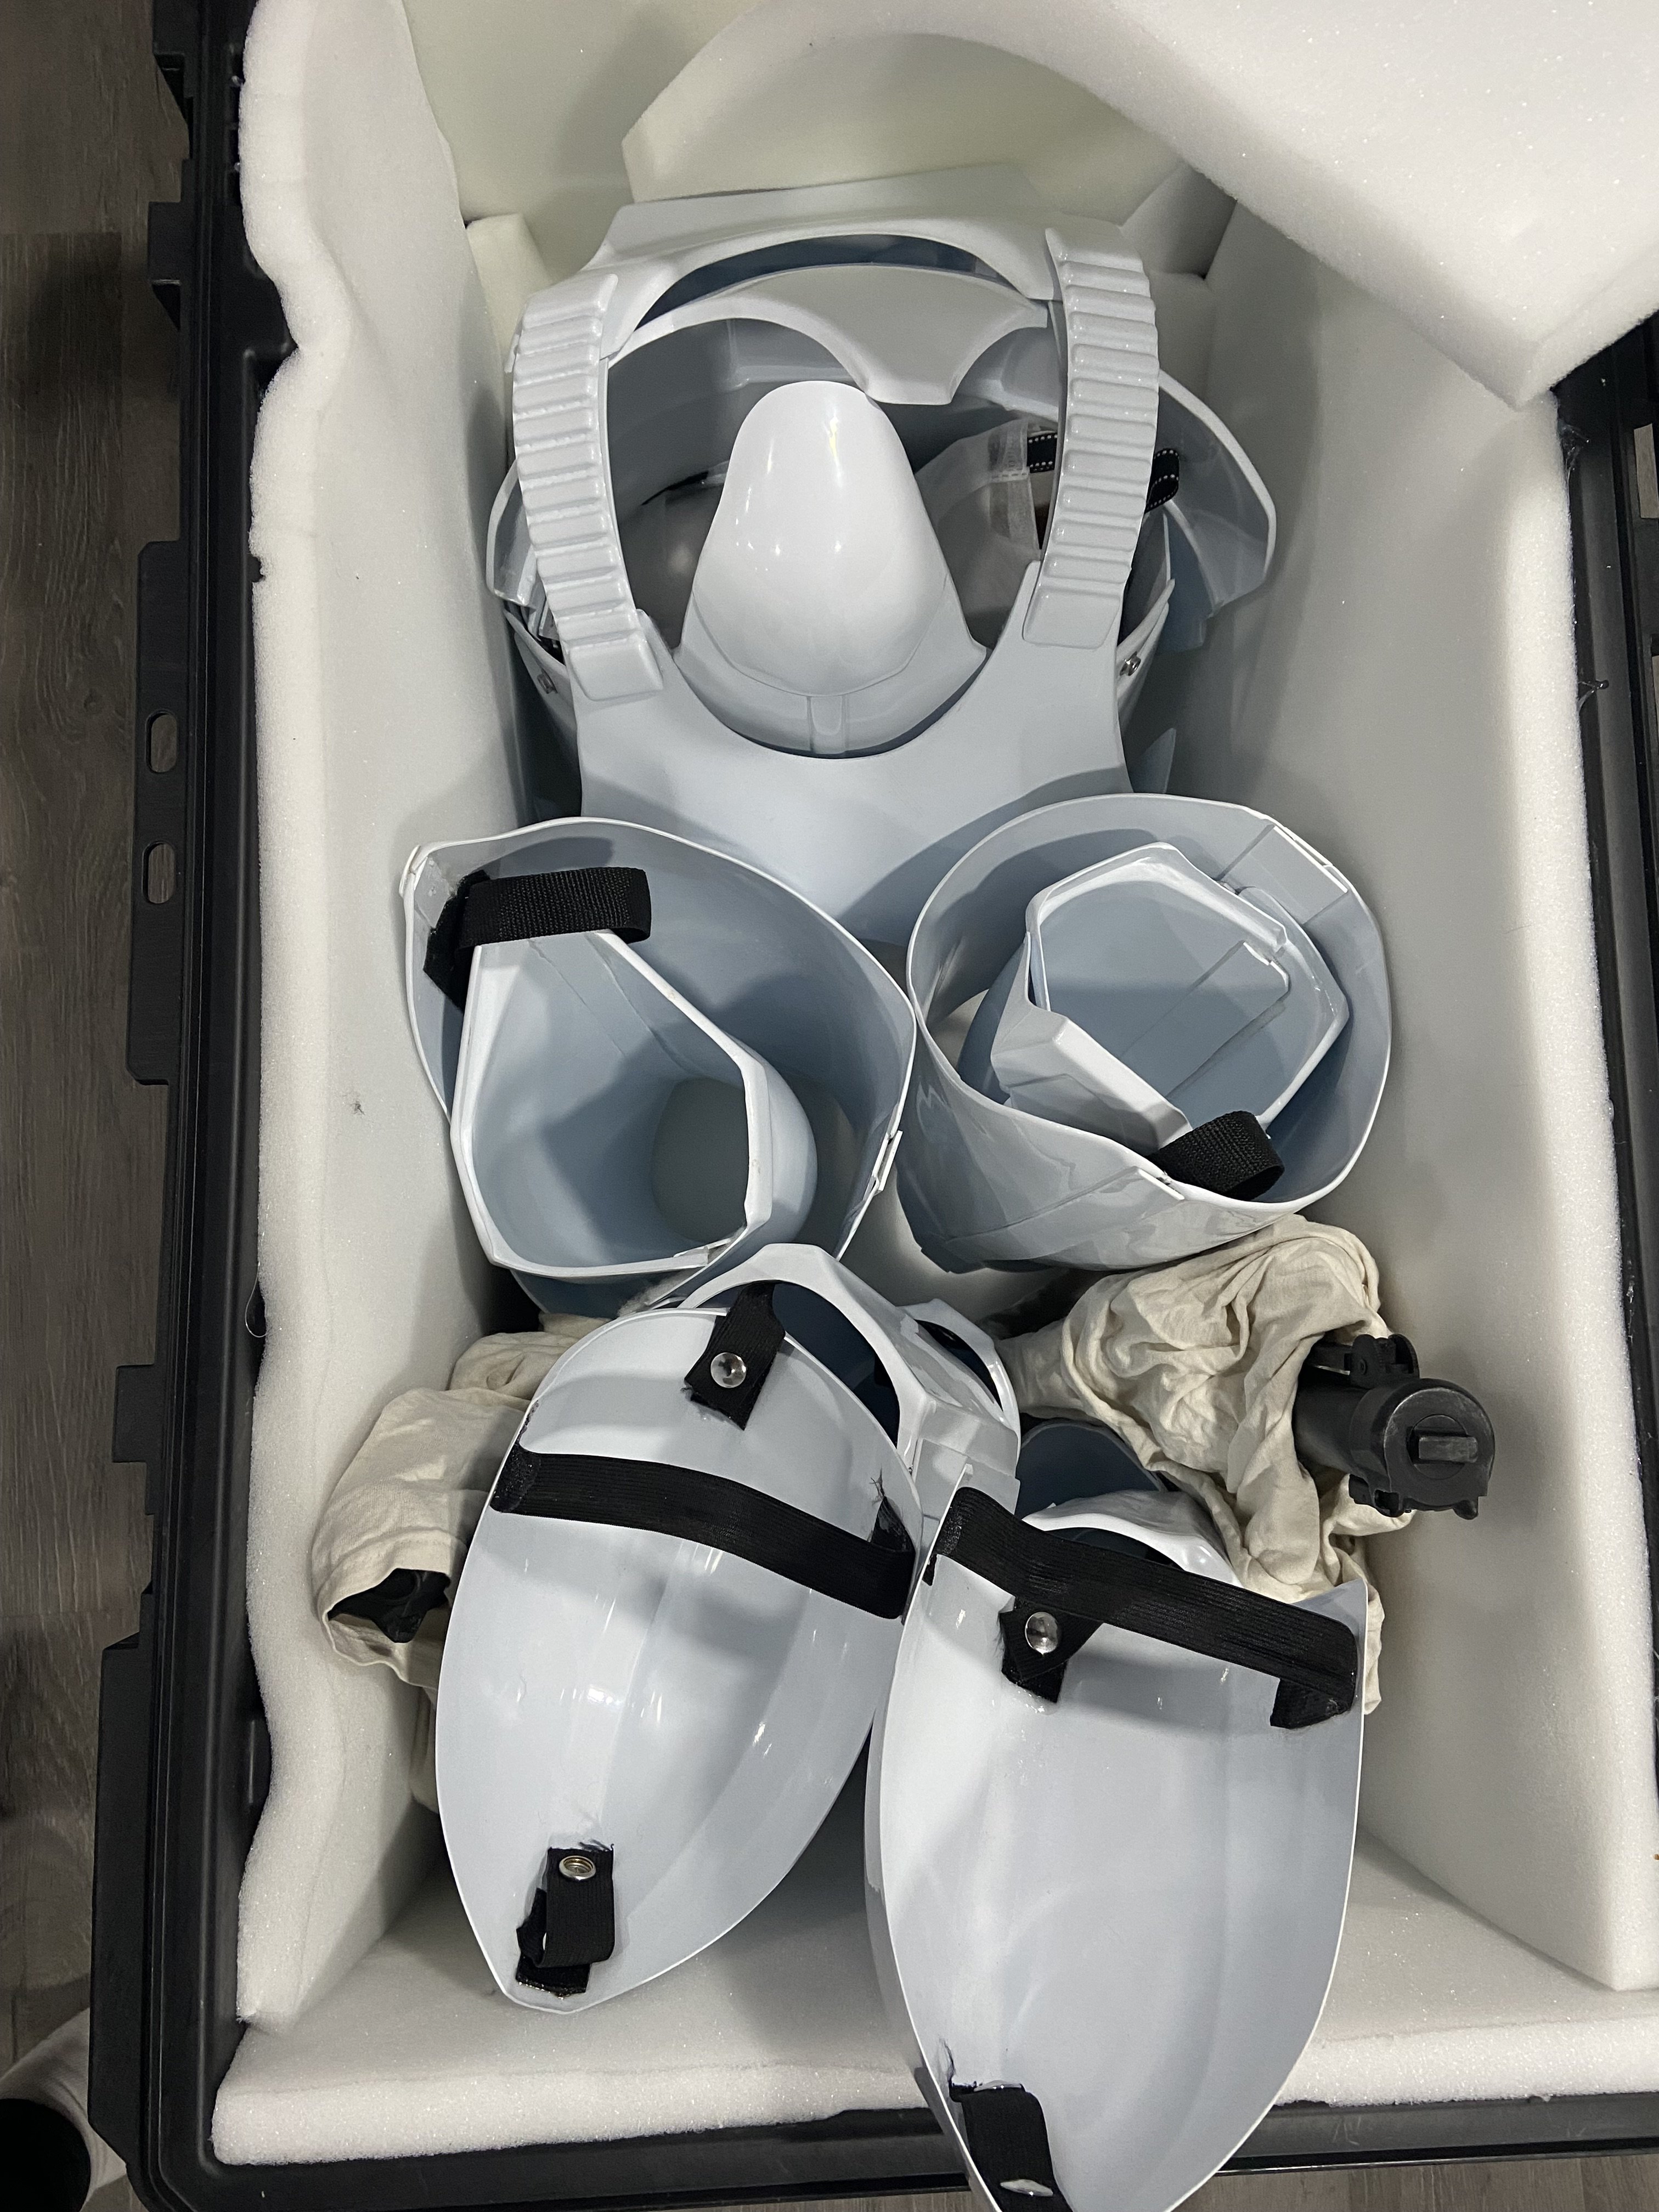
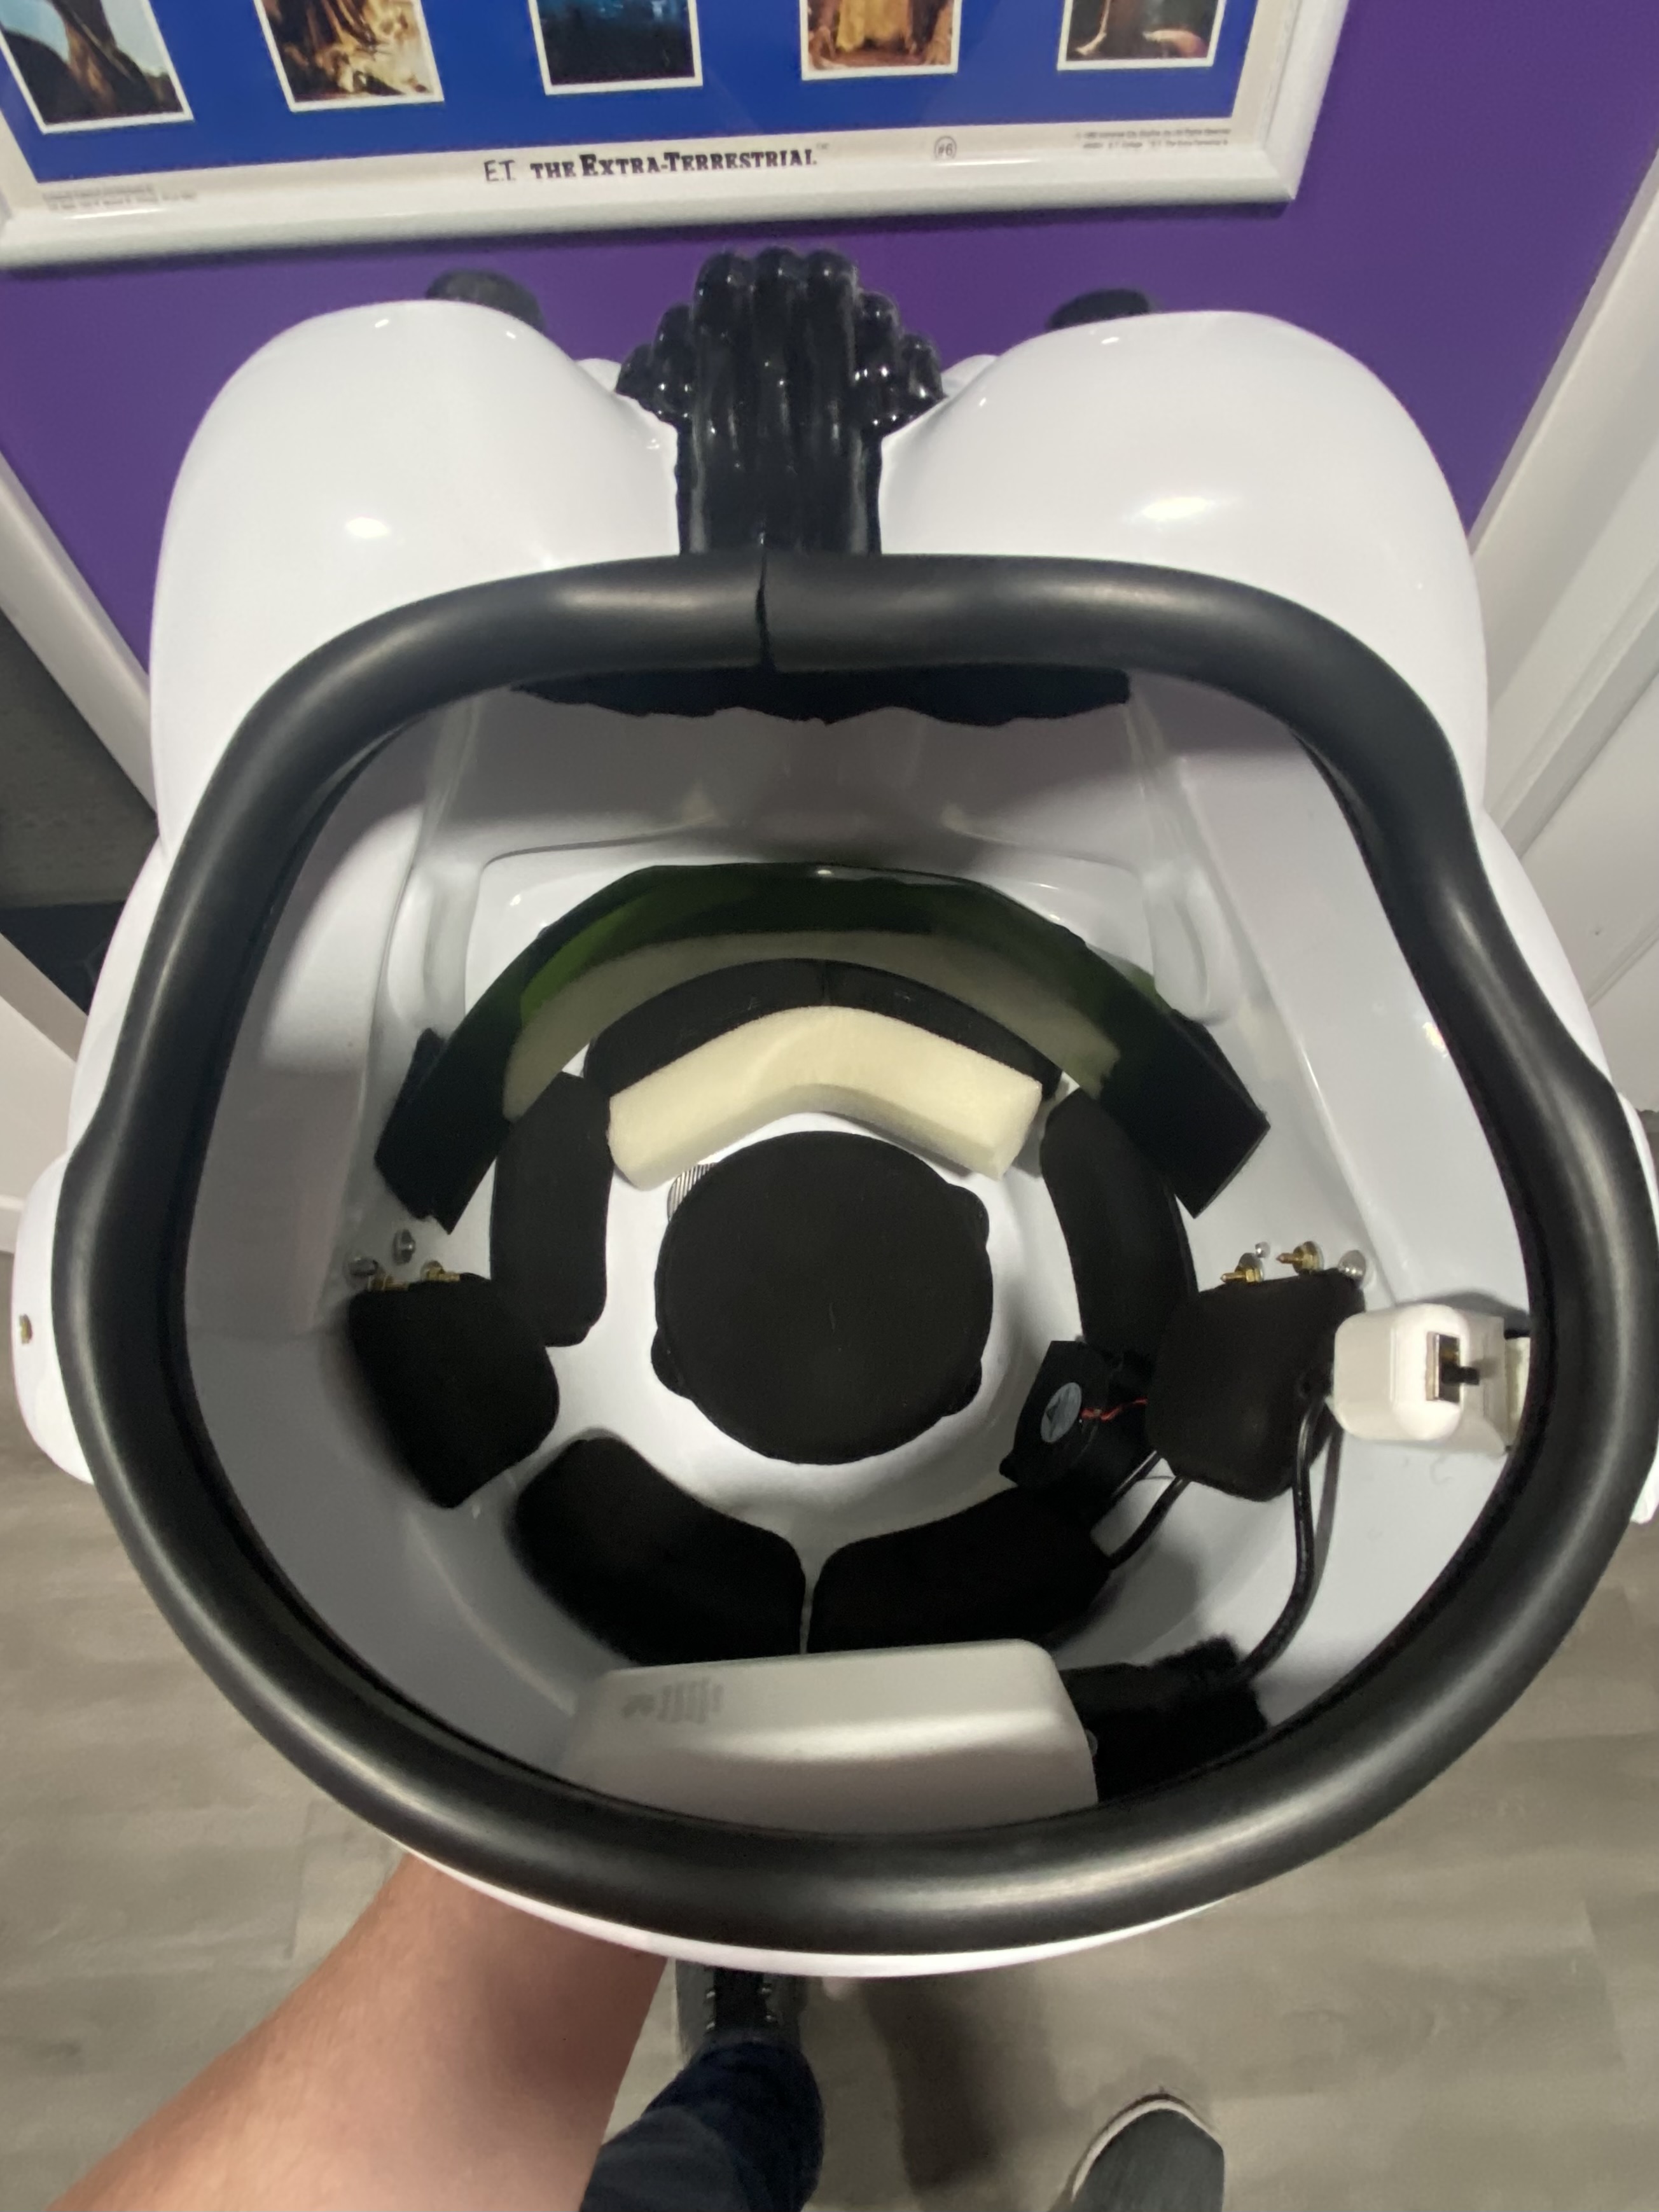
While waiting to hear from the GMLs about any noticeable mistakes I may have made, I spent some time figuring out a good way to pack the kit in the kit box for transportation. This seems to be the best way so far. I lined the interior with foam to help keep the costume squeaky clean and (hopefully) scratch free. I will carry my helmet in a custom made helmet bag that I bought from Wally’s Custom Designs. (It’s actually a FOTK designed bag from when I attempted building the FOTK. But it will do the job still)
Here is the rolling case packing method I’m gonna try to stick with.
-
1
-
-
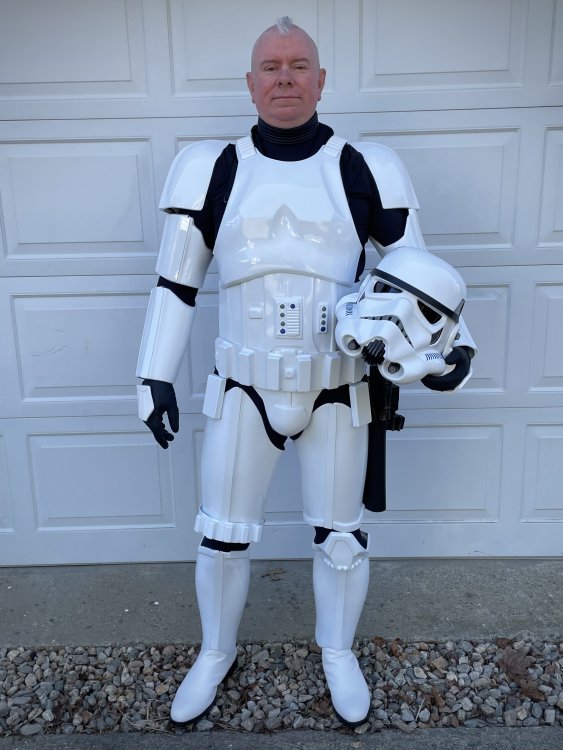
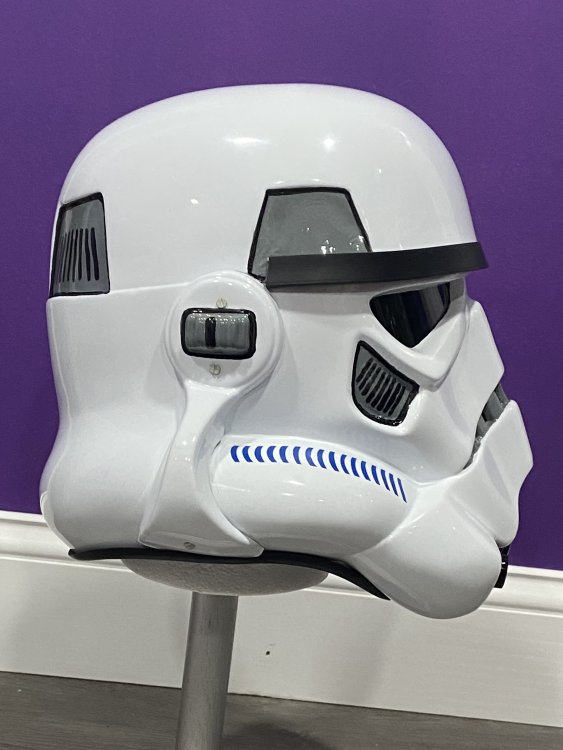
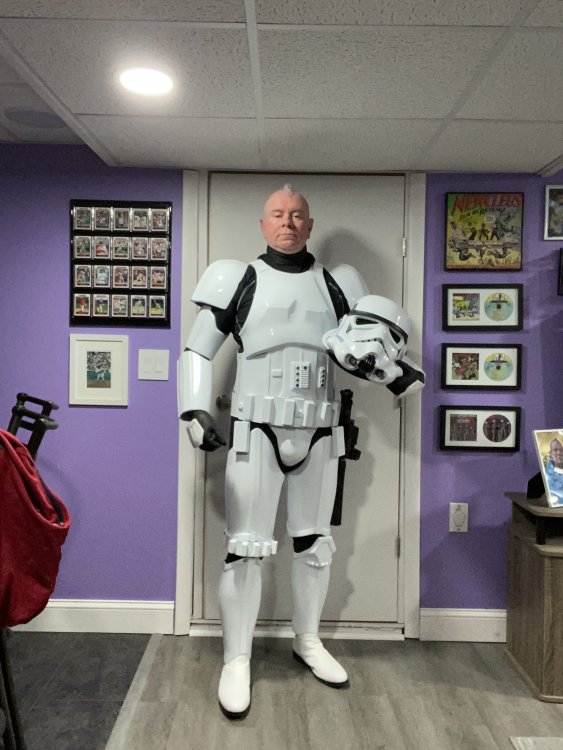
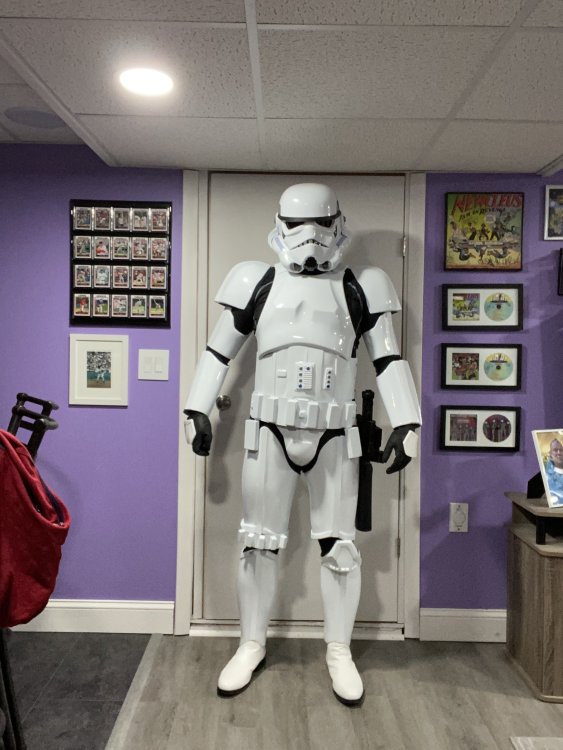
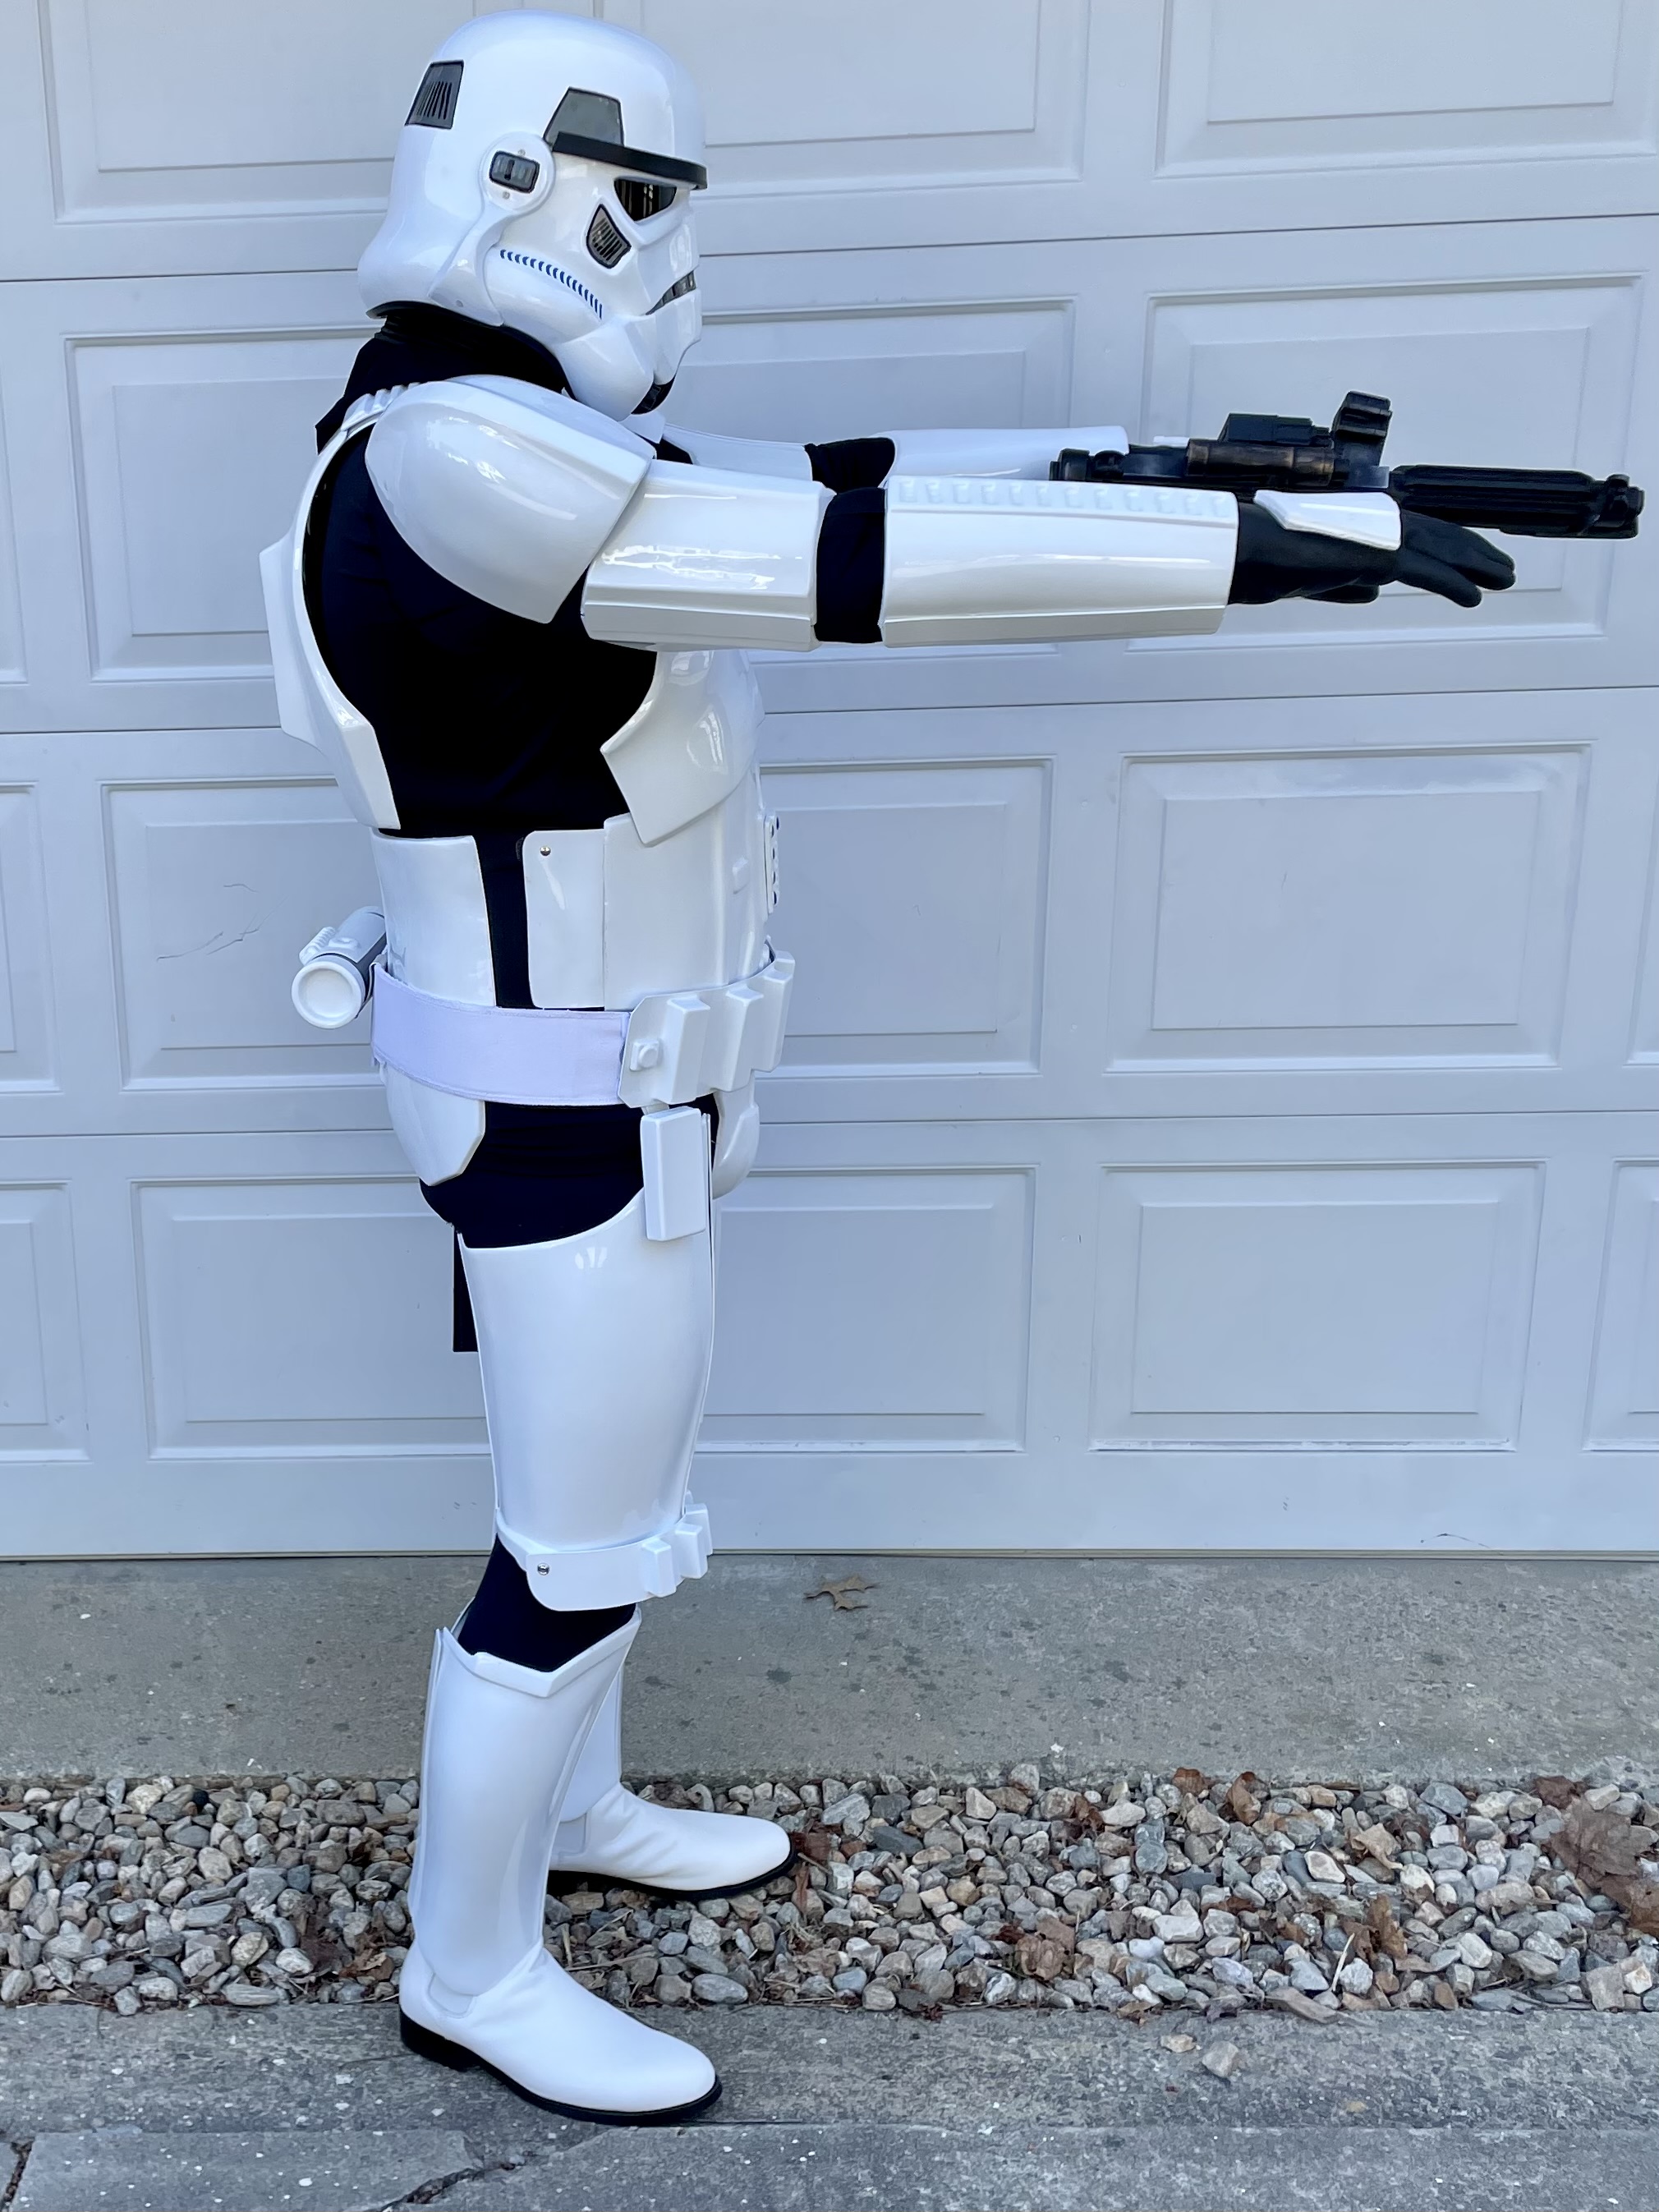
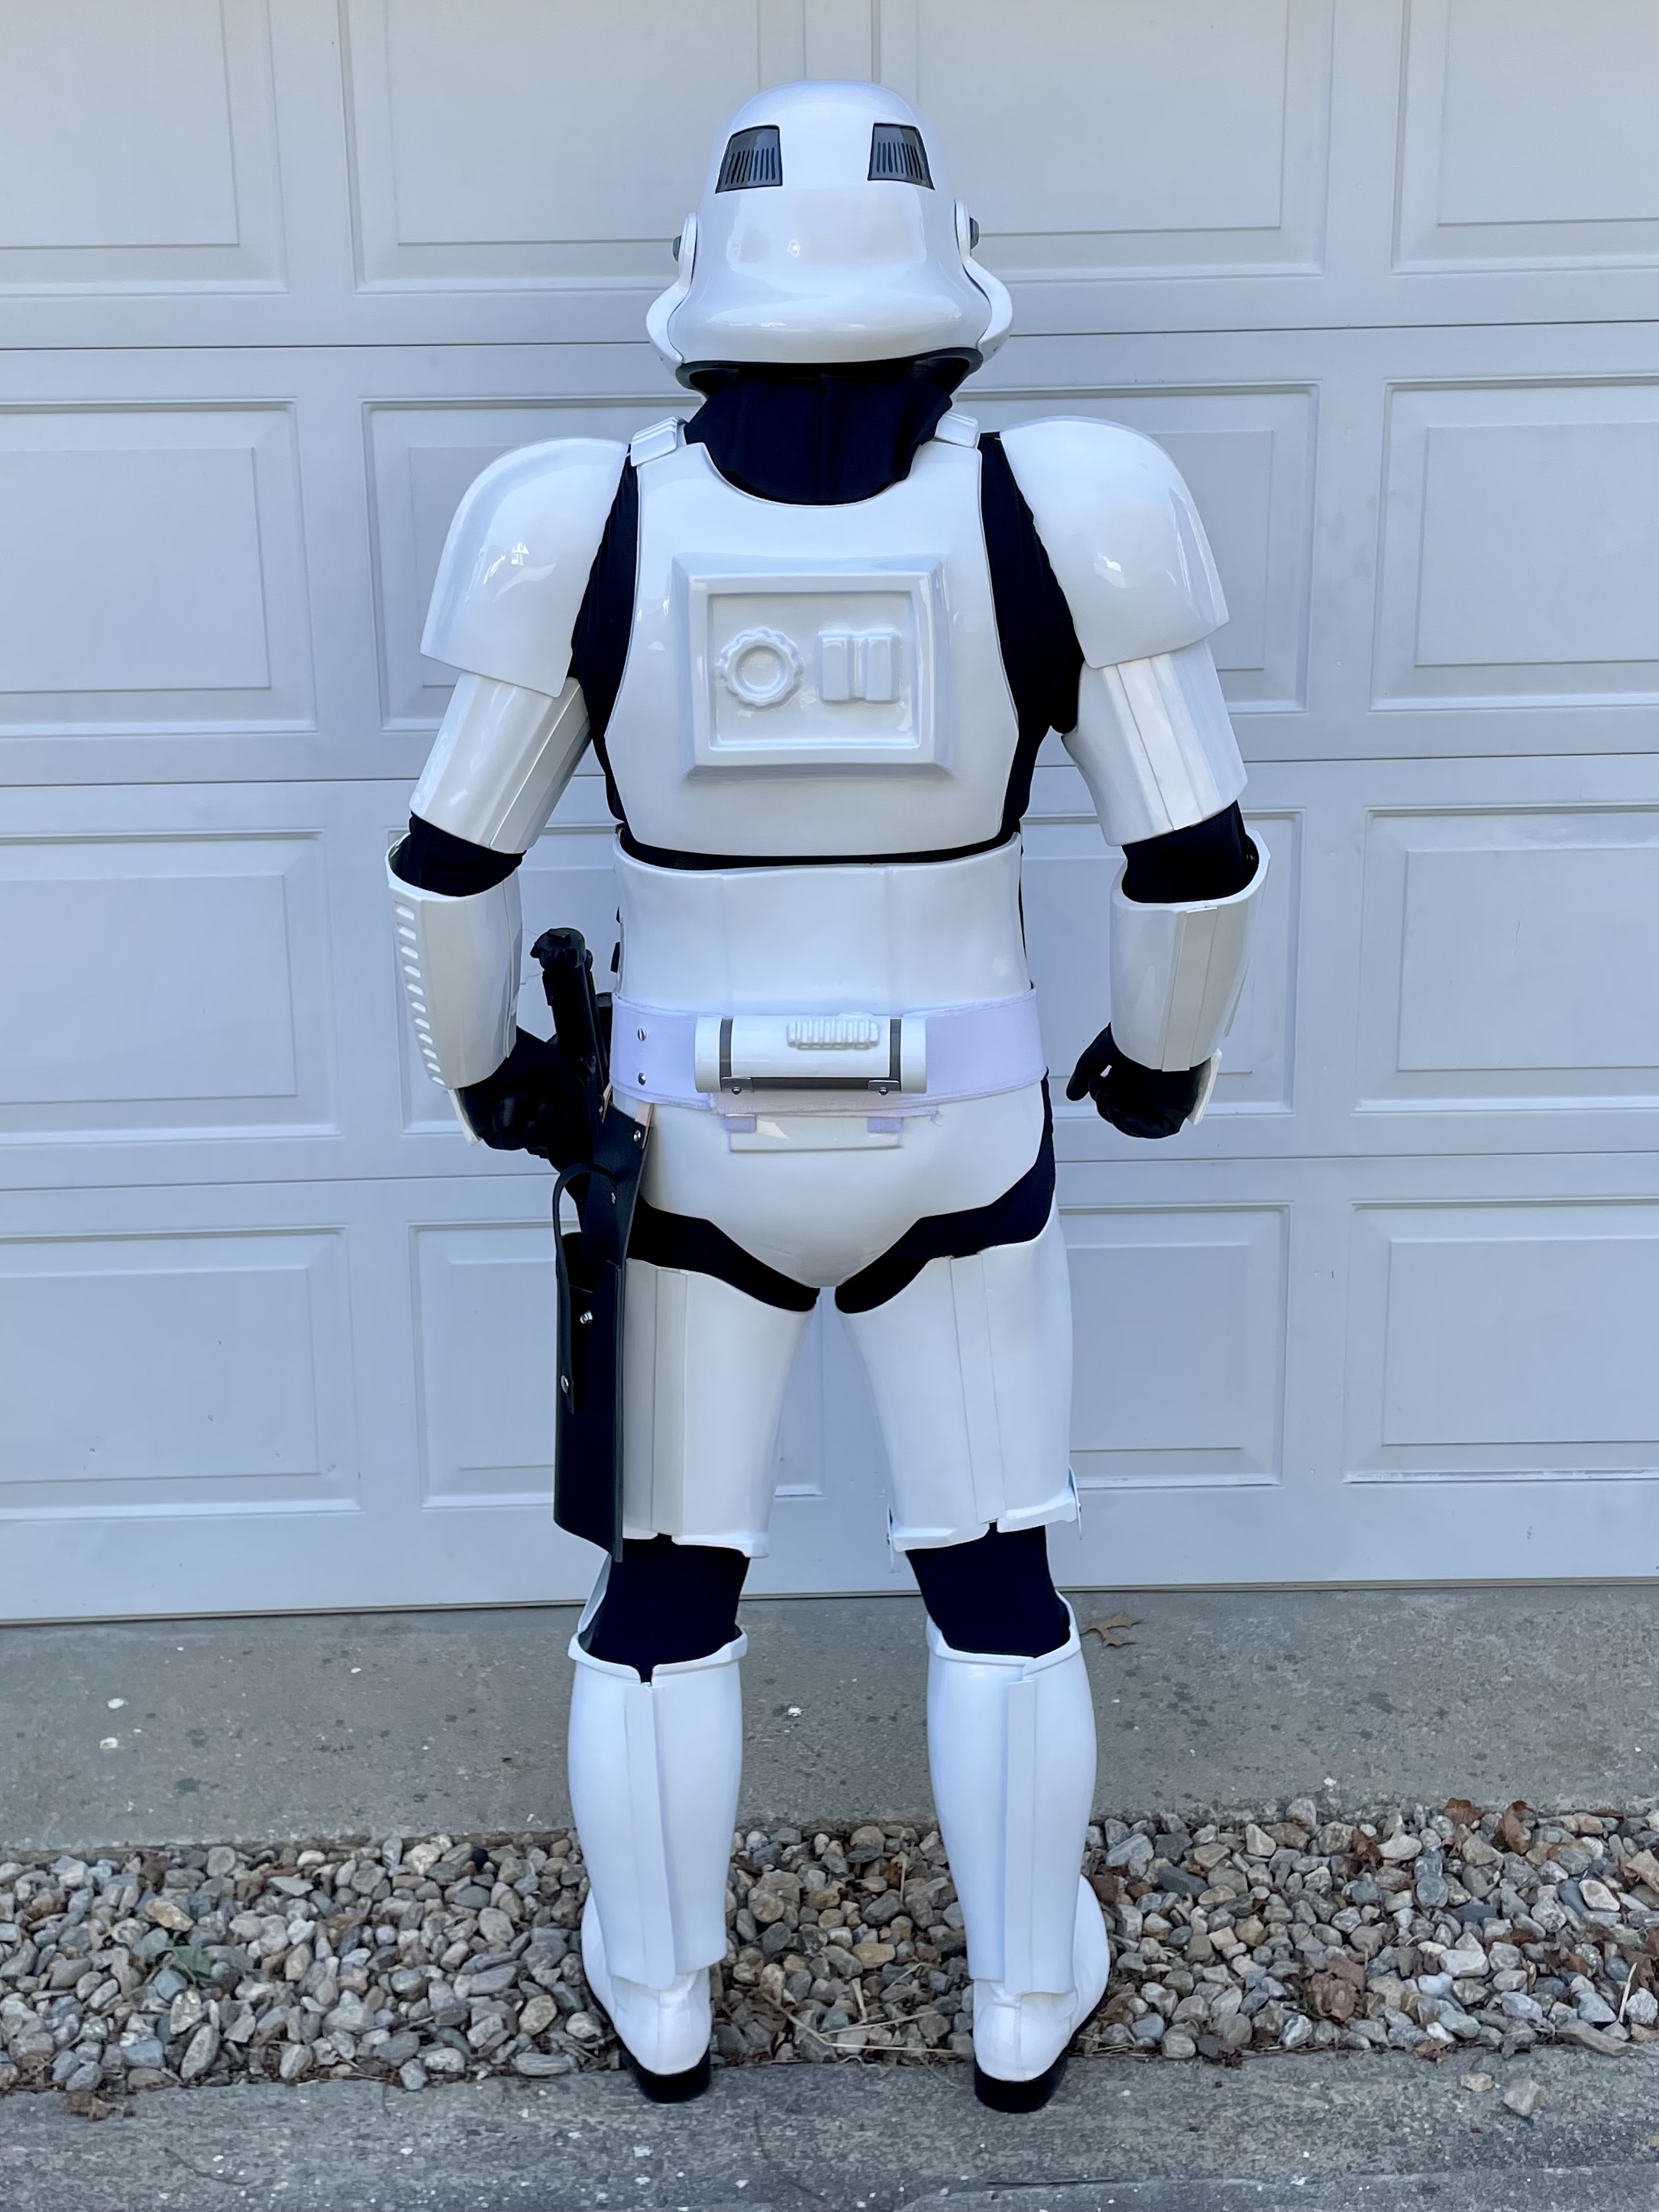
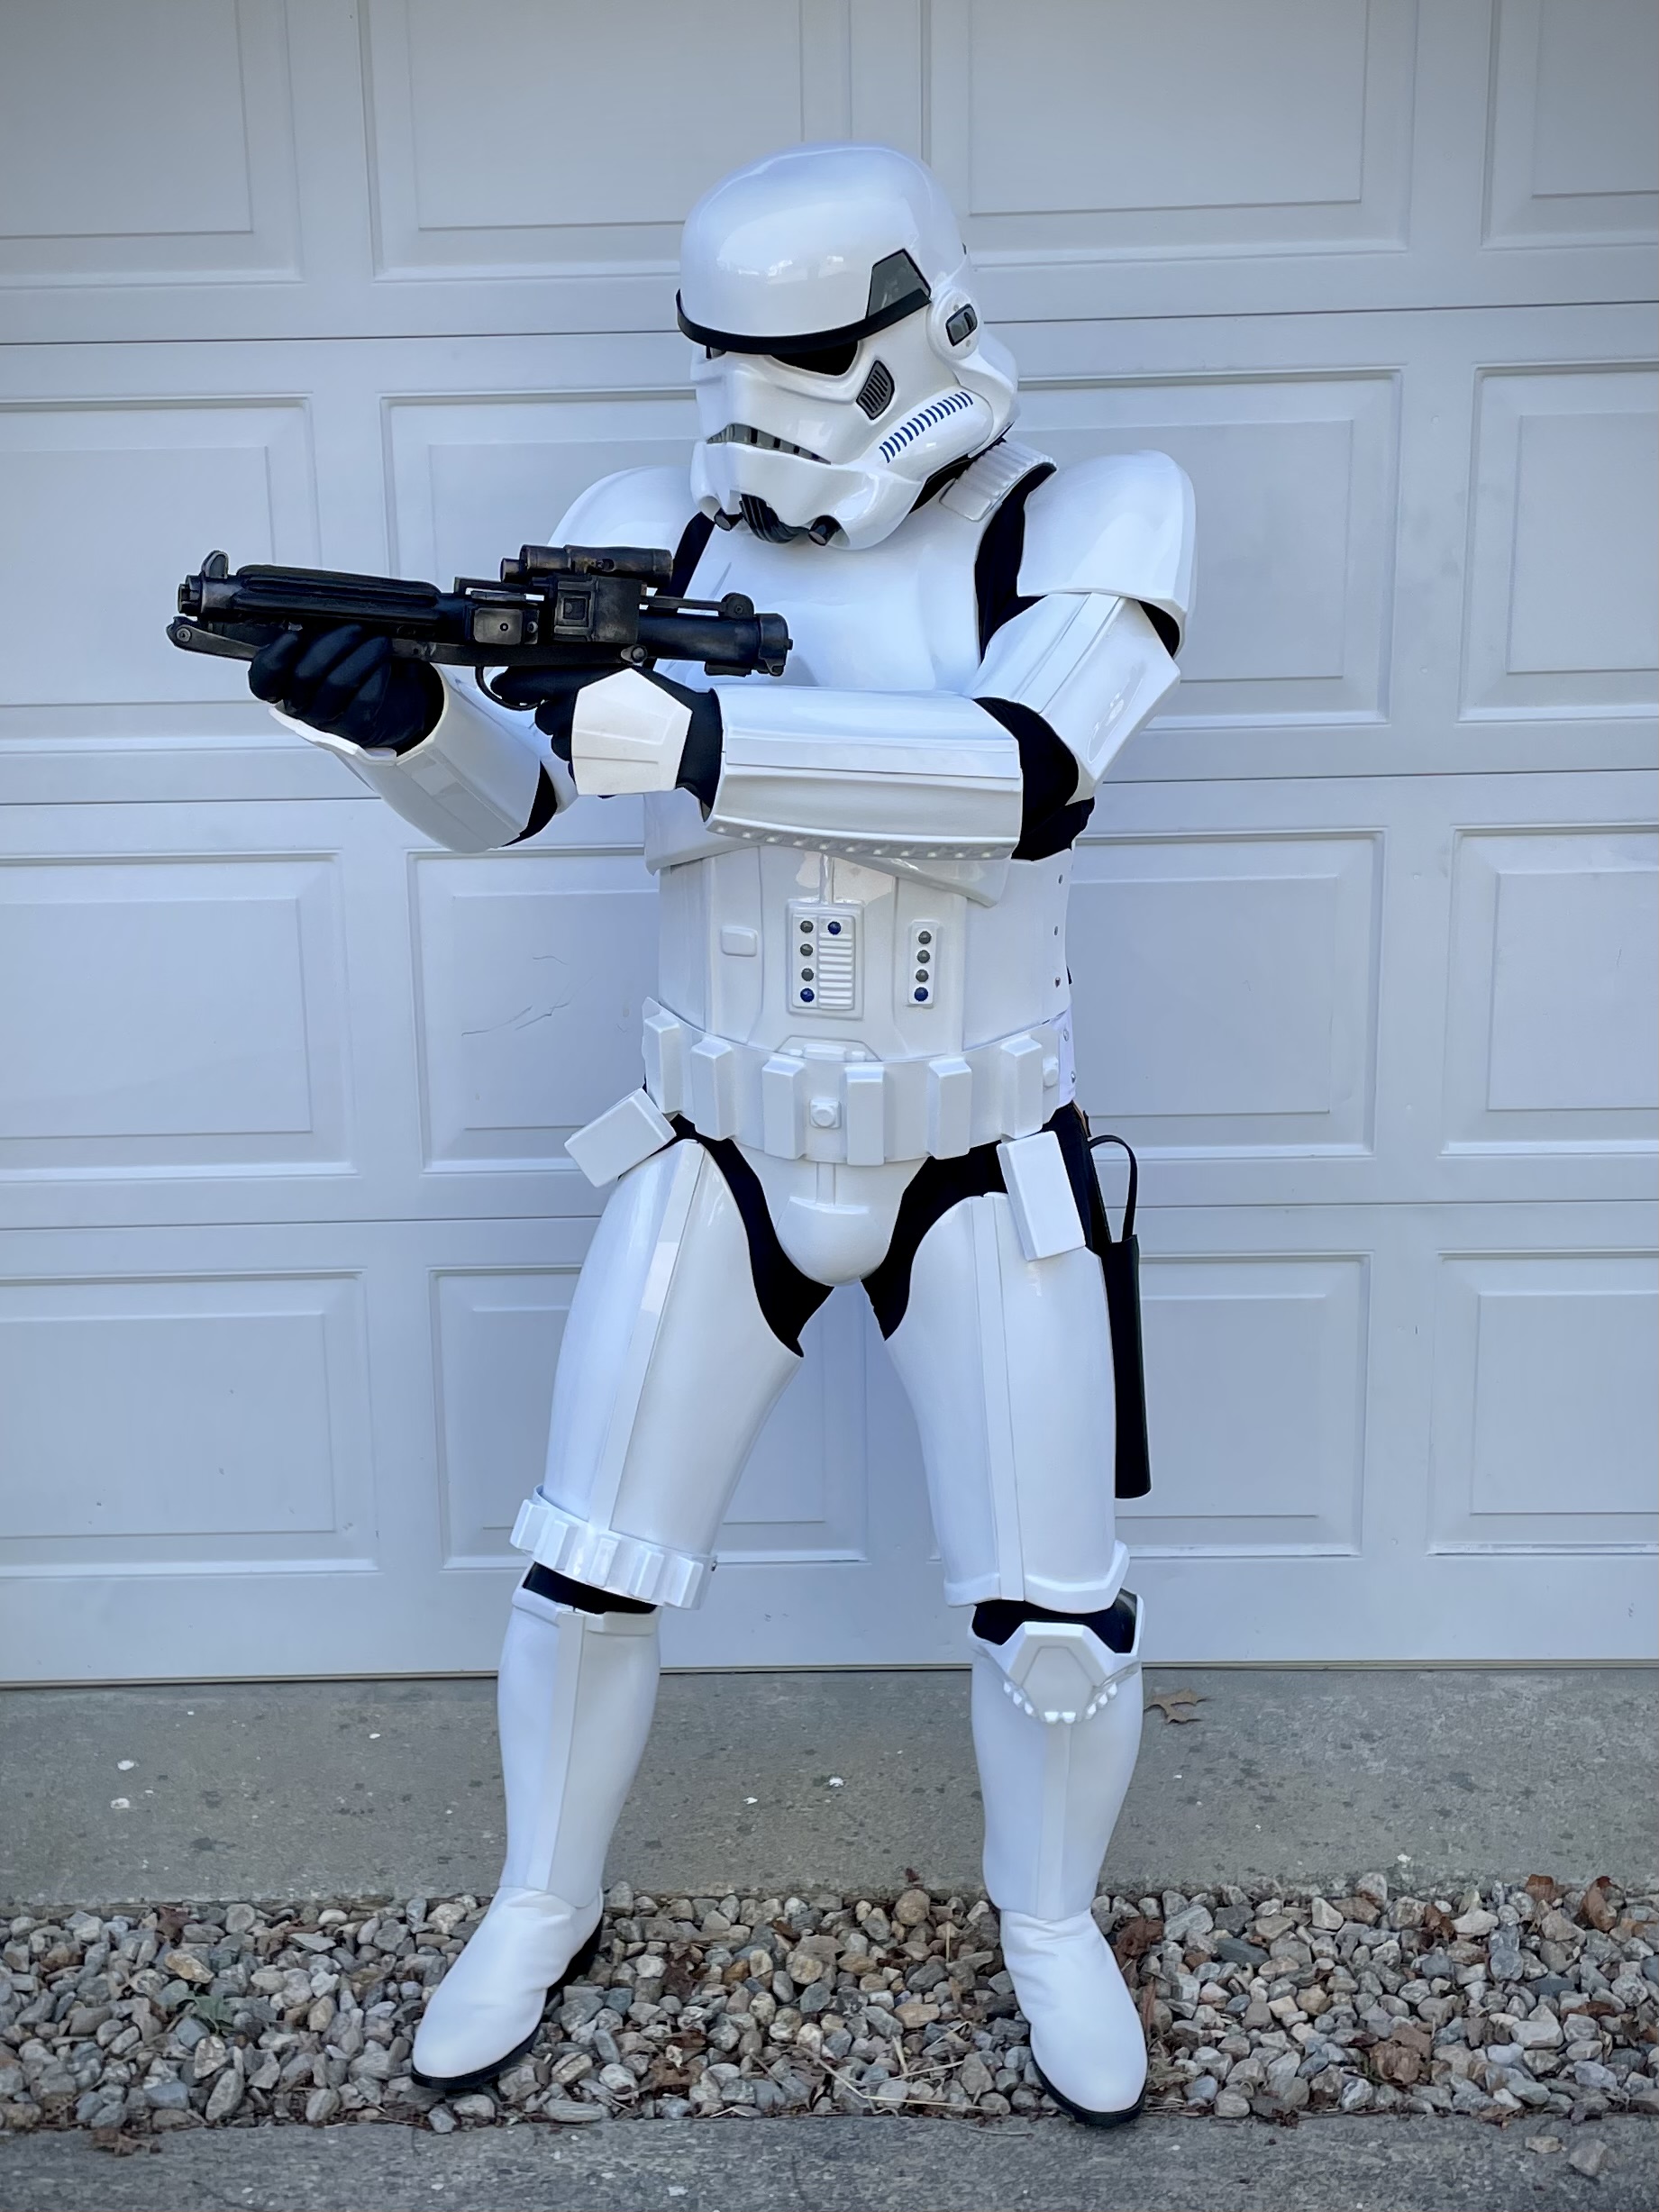
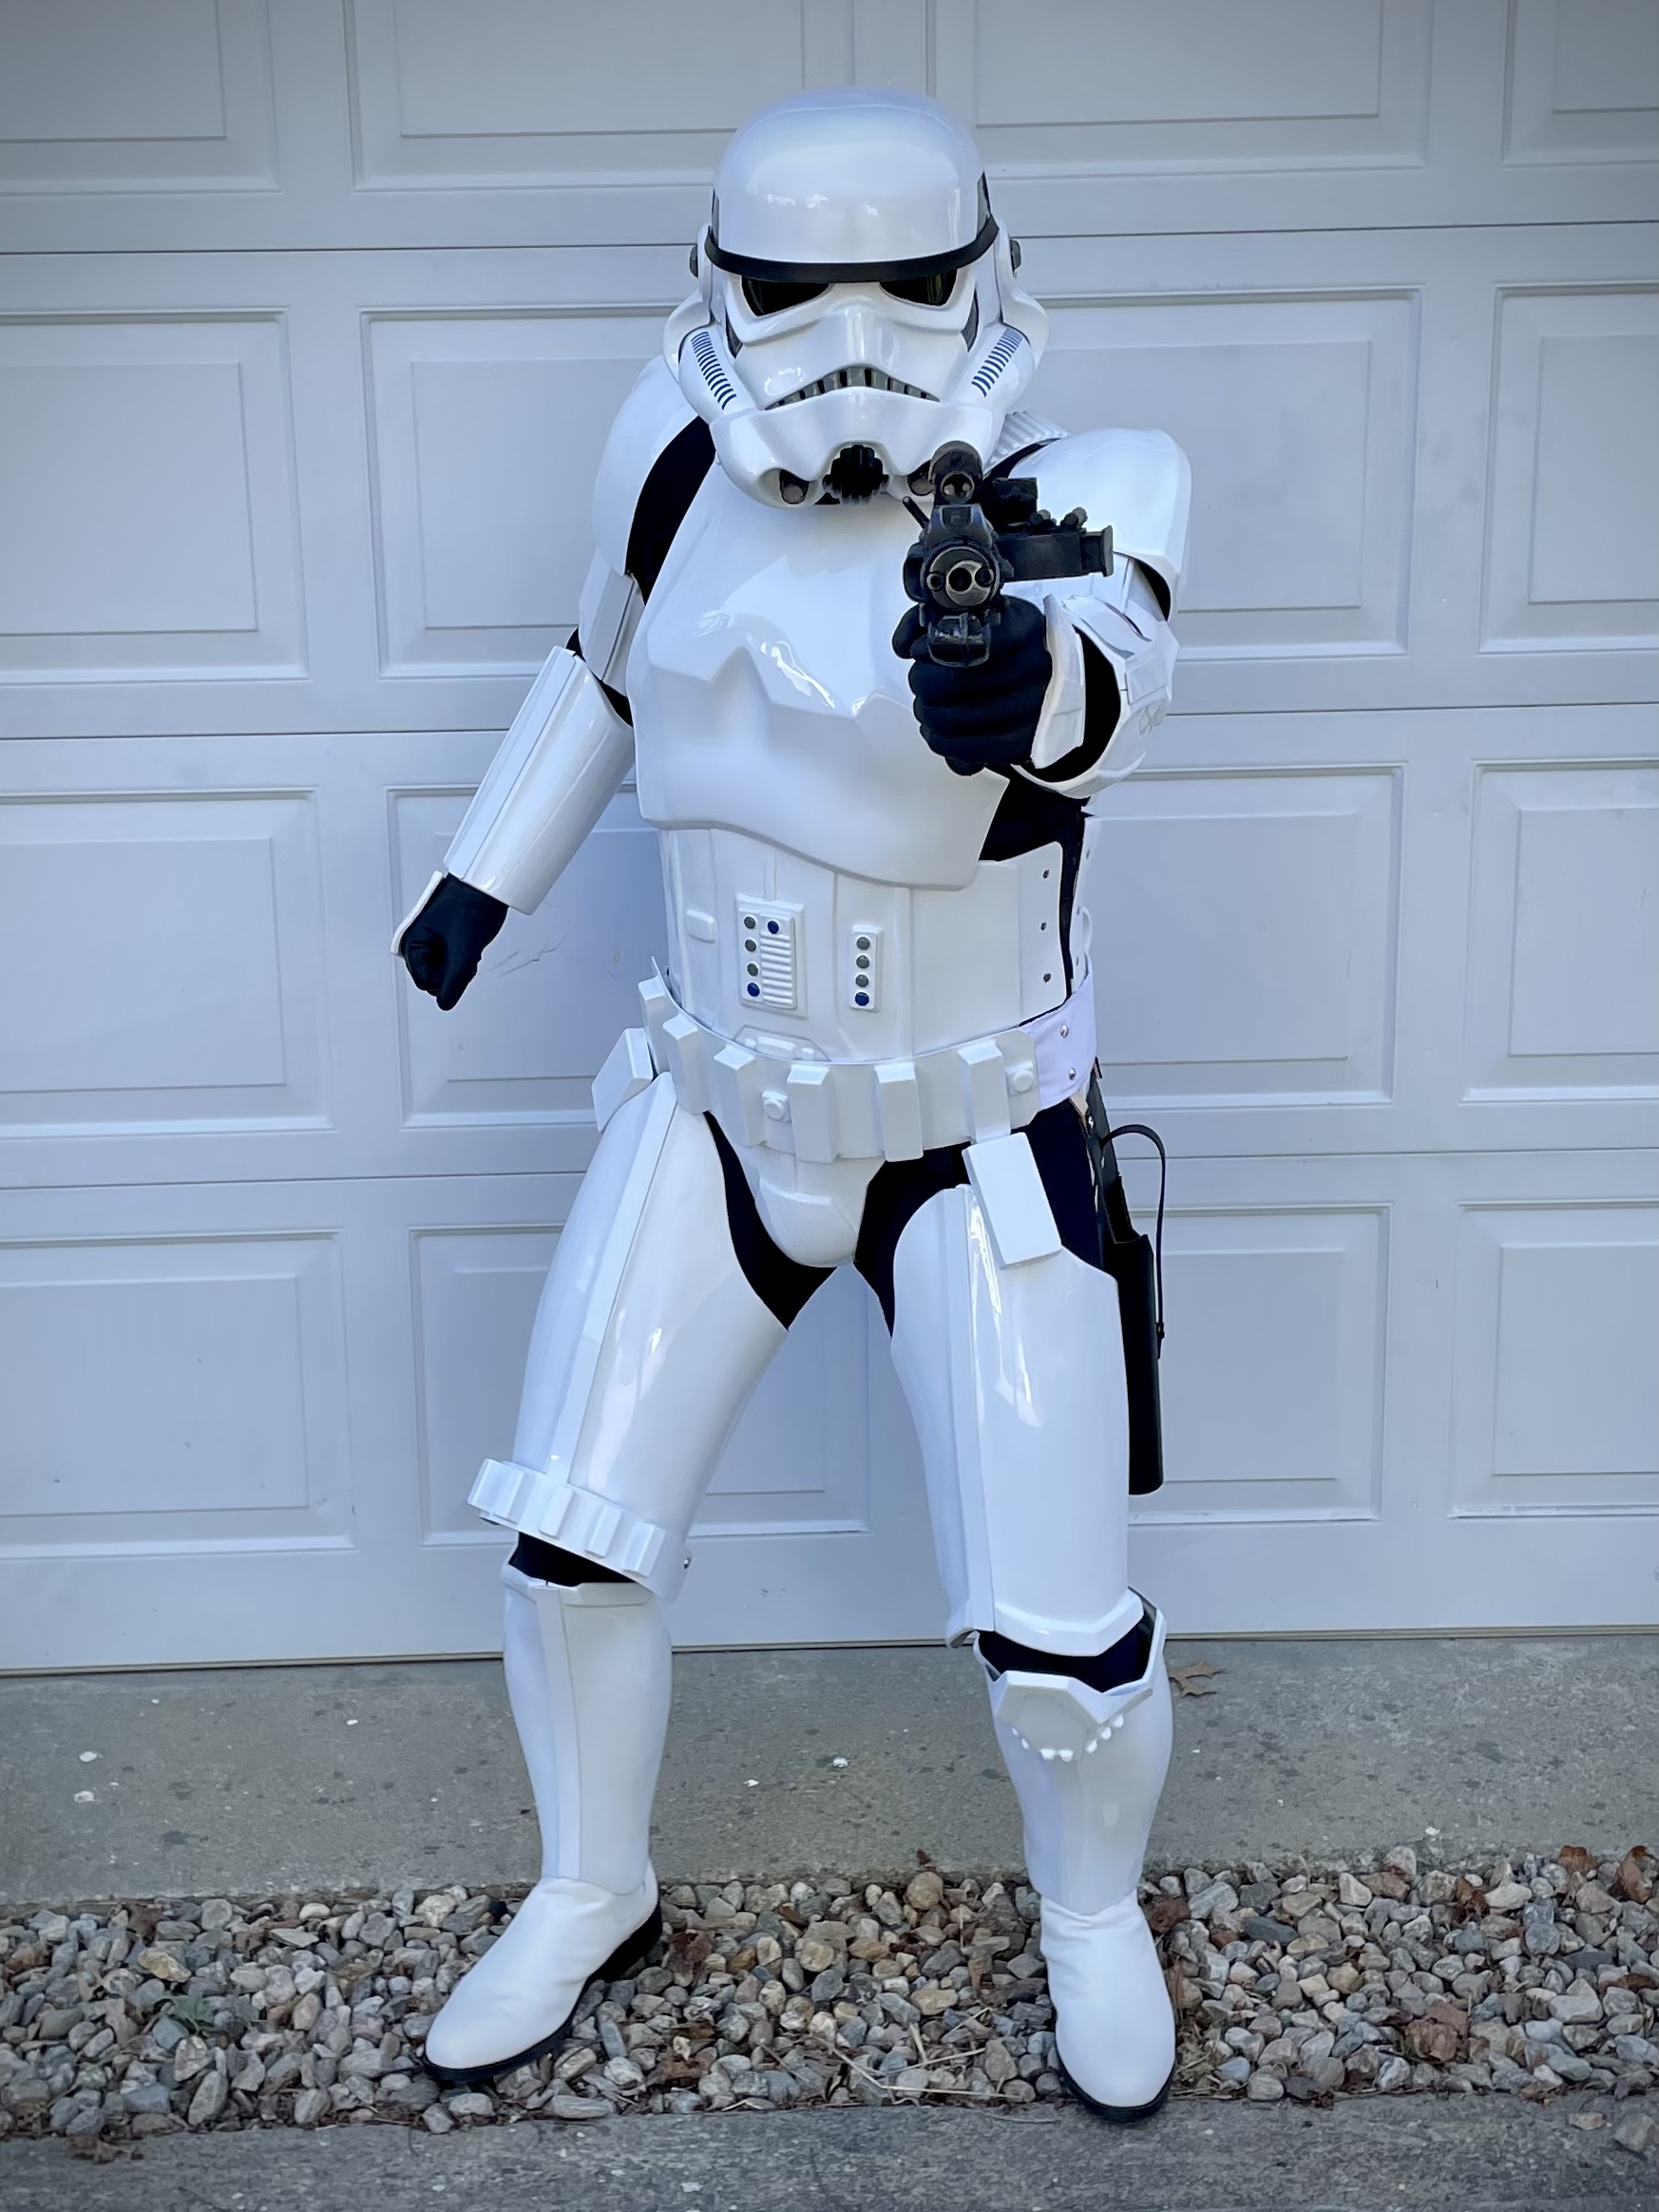
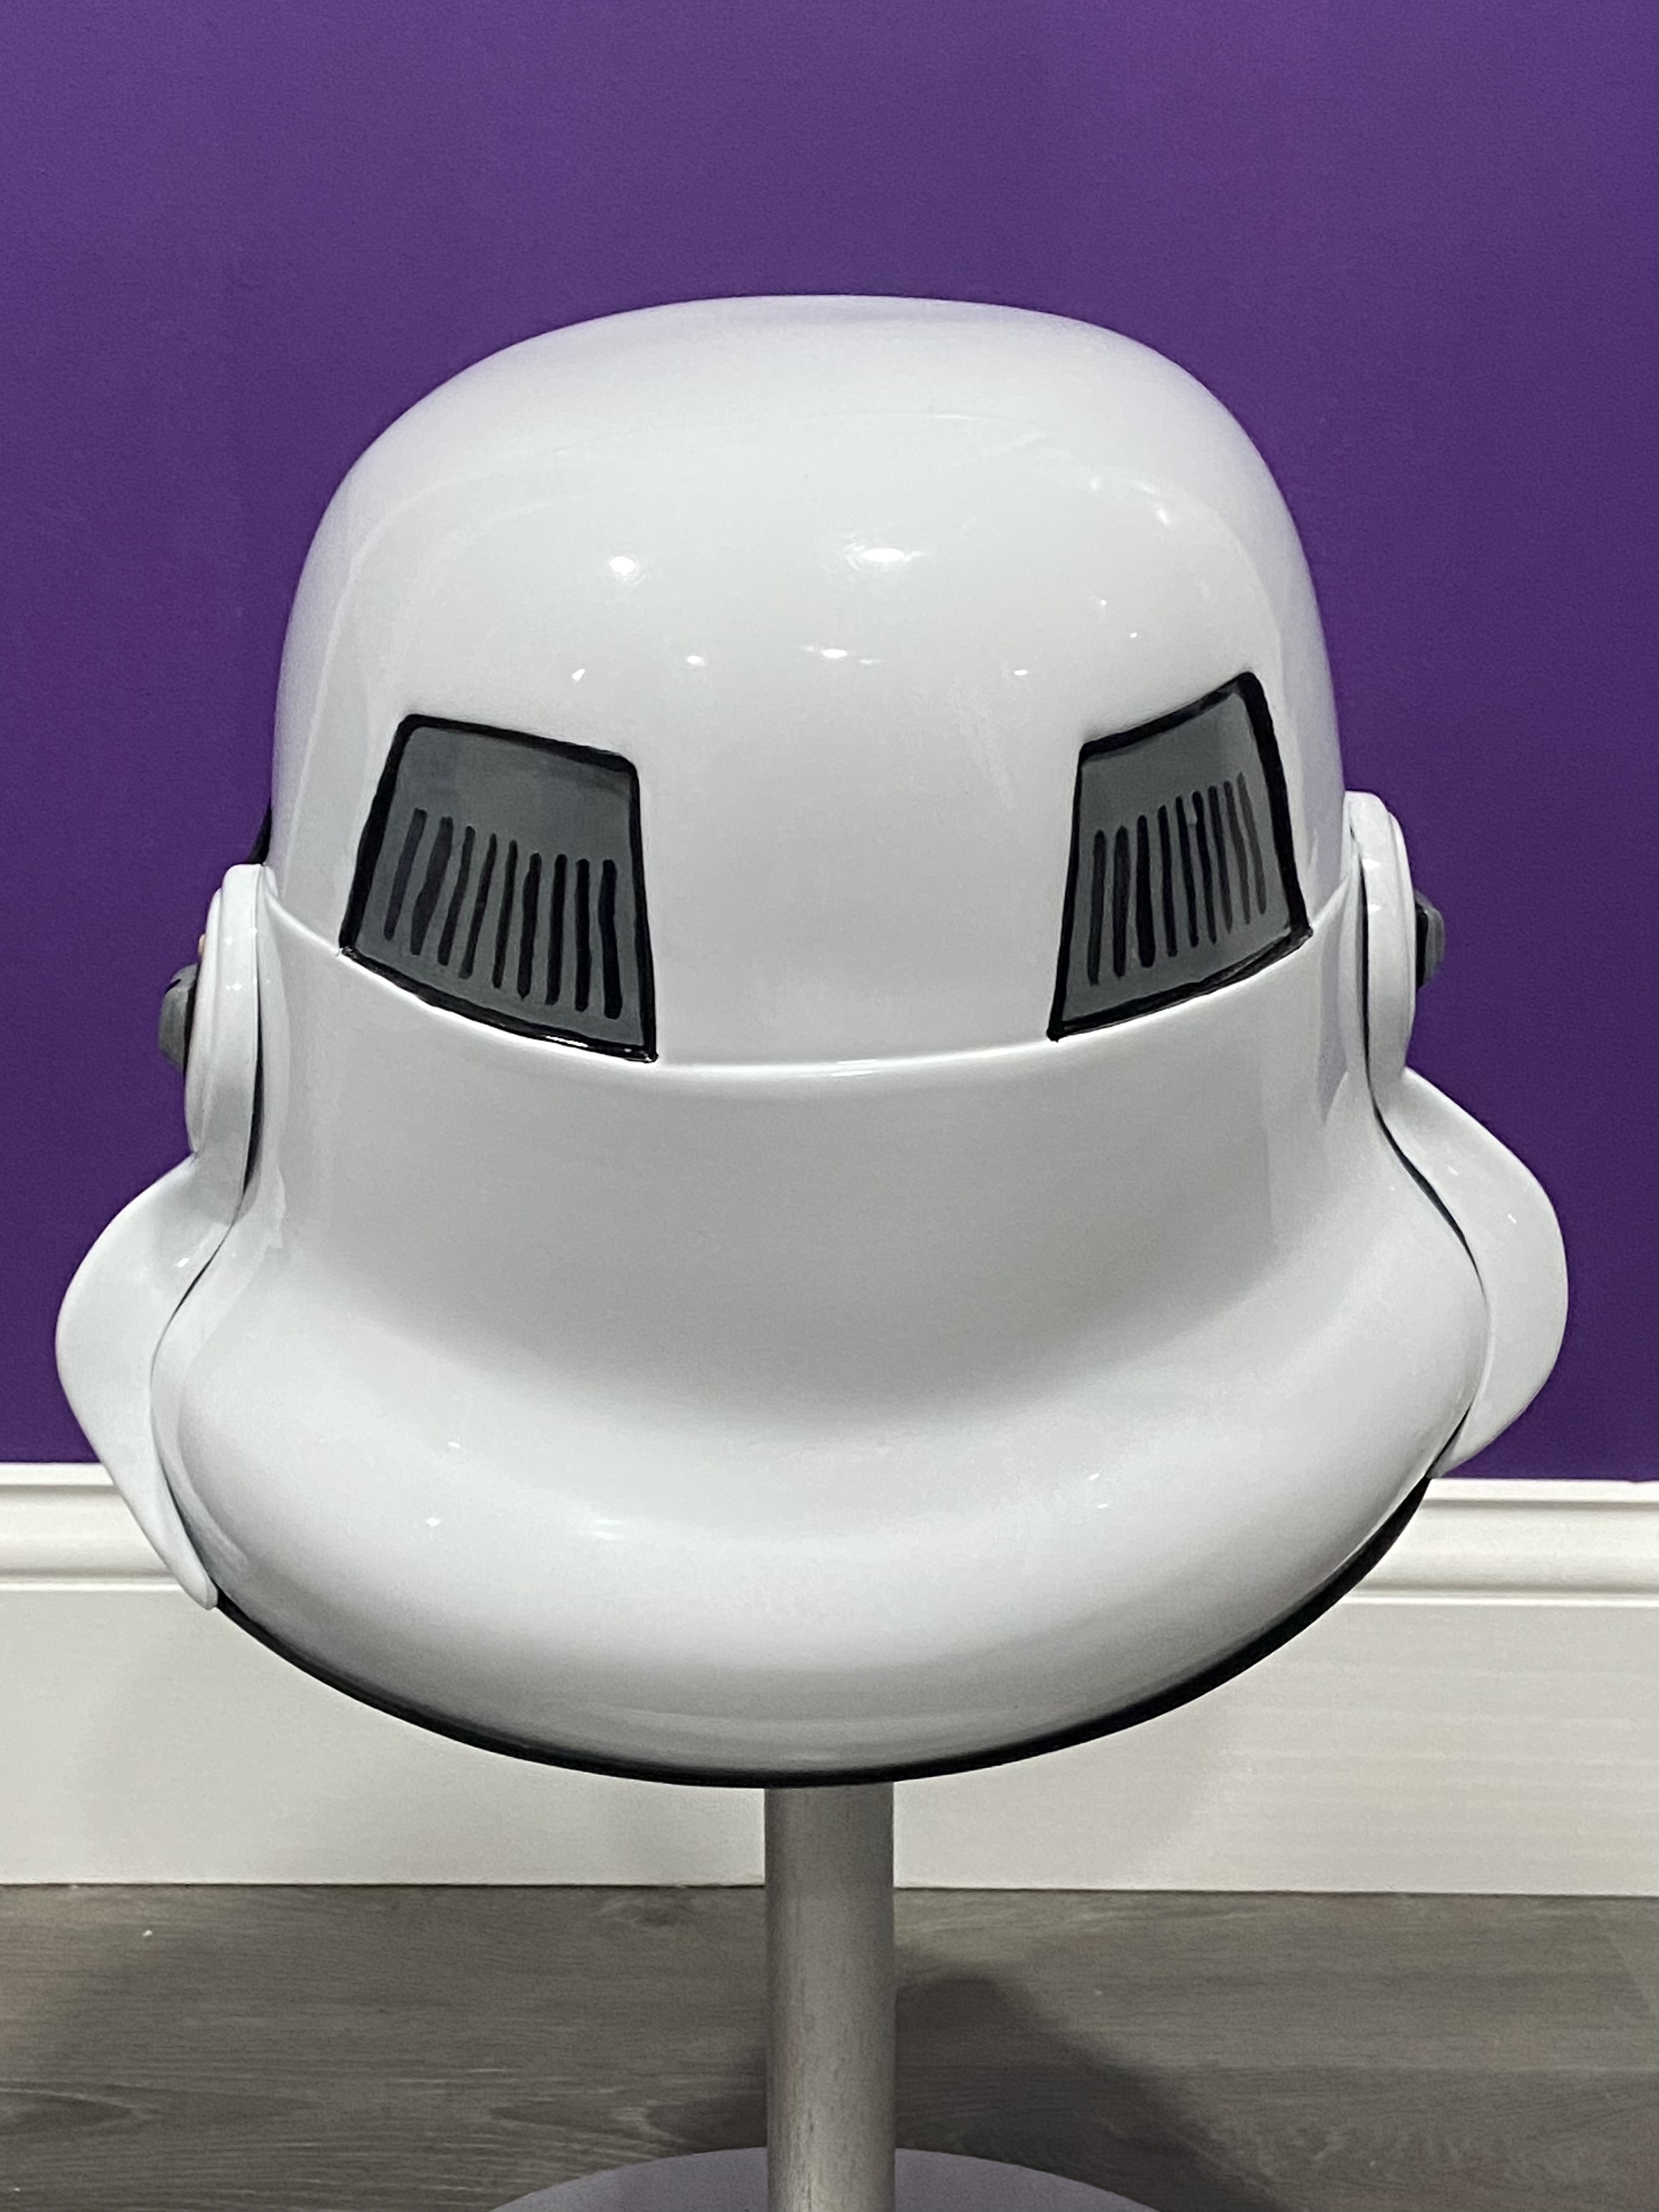
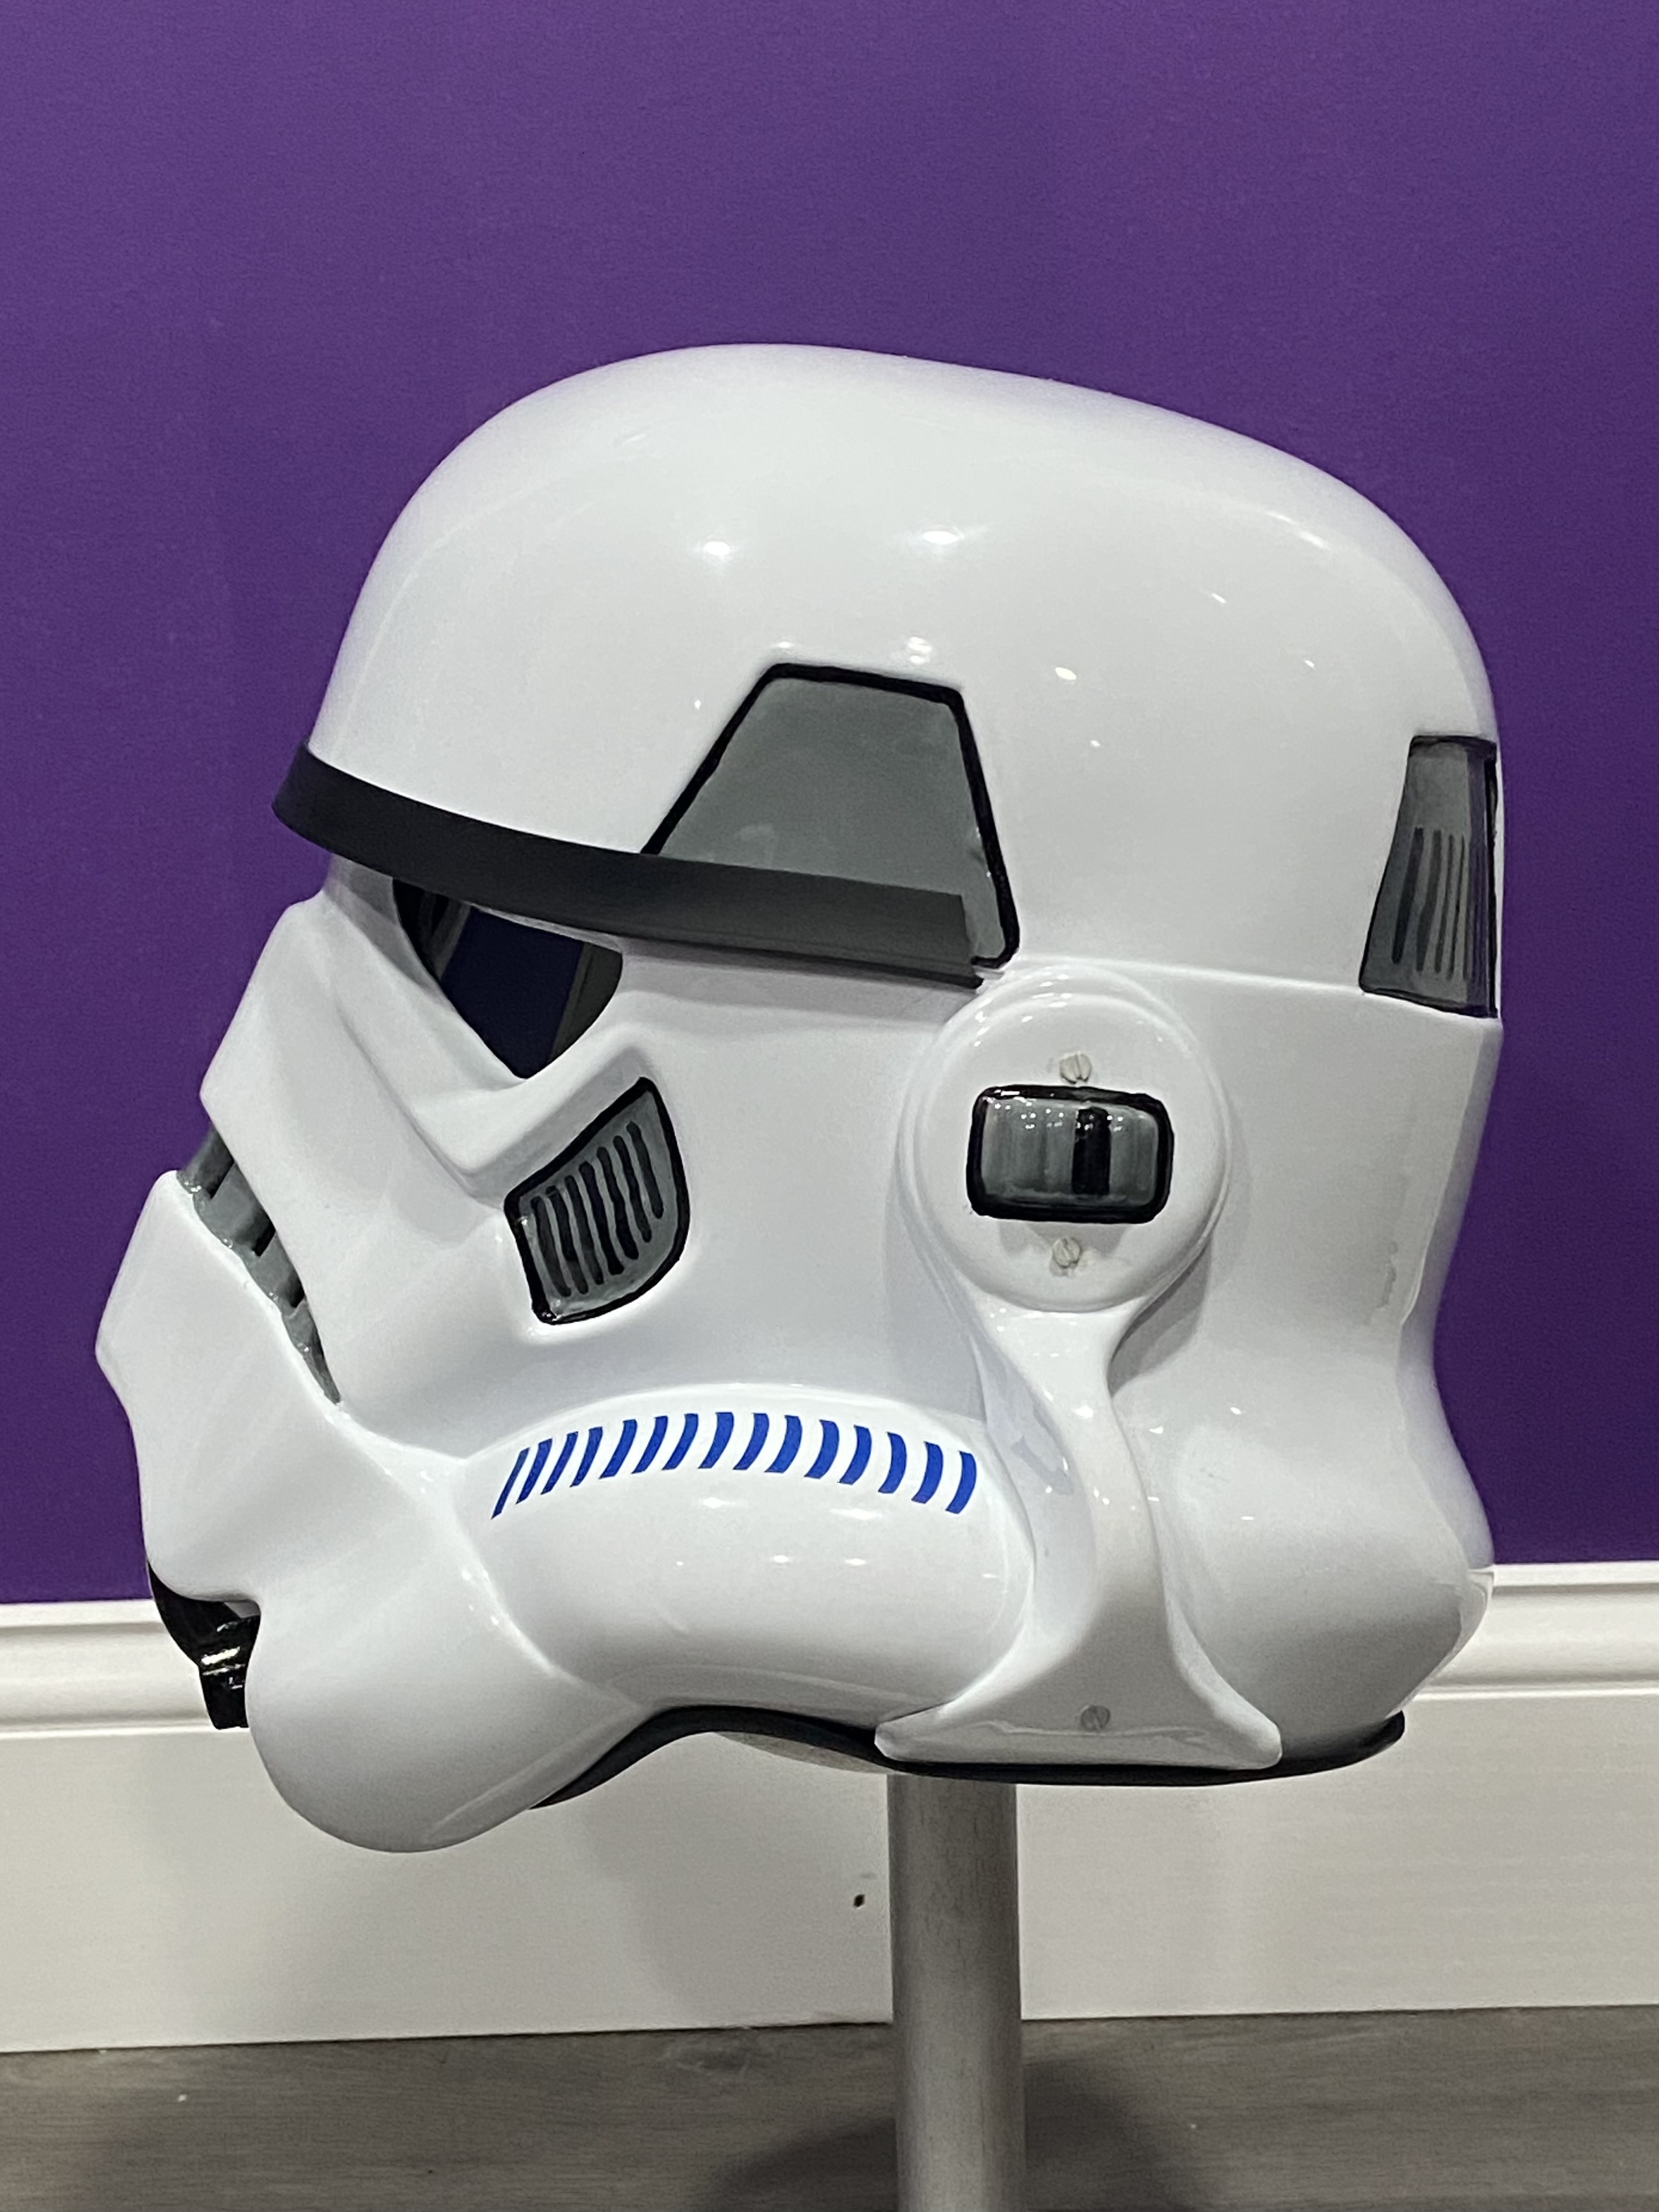
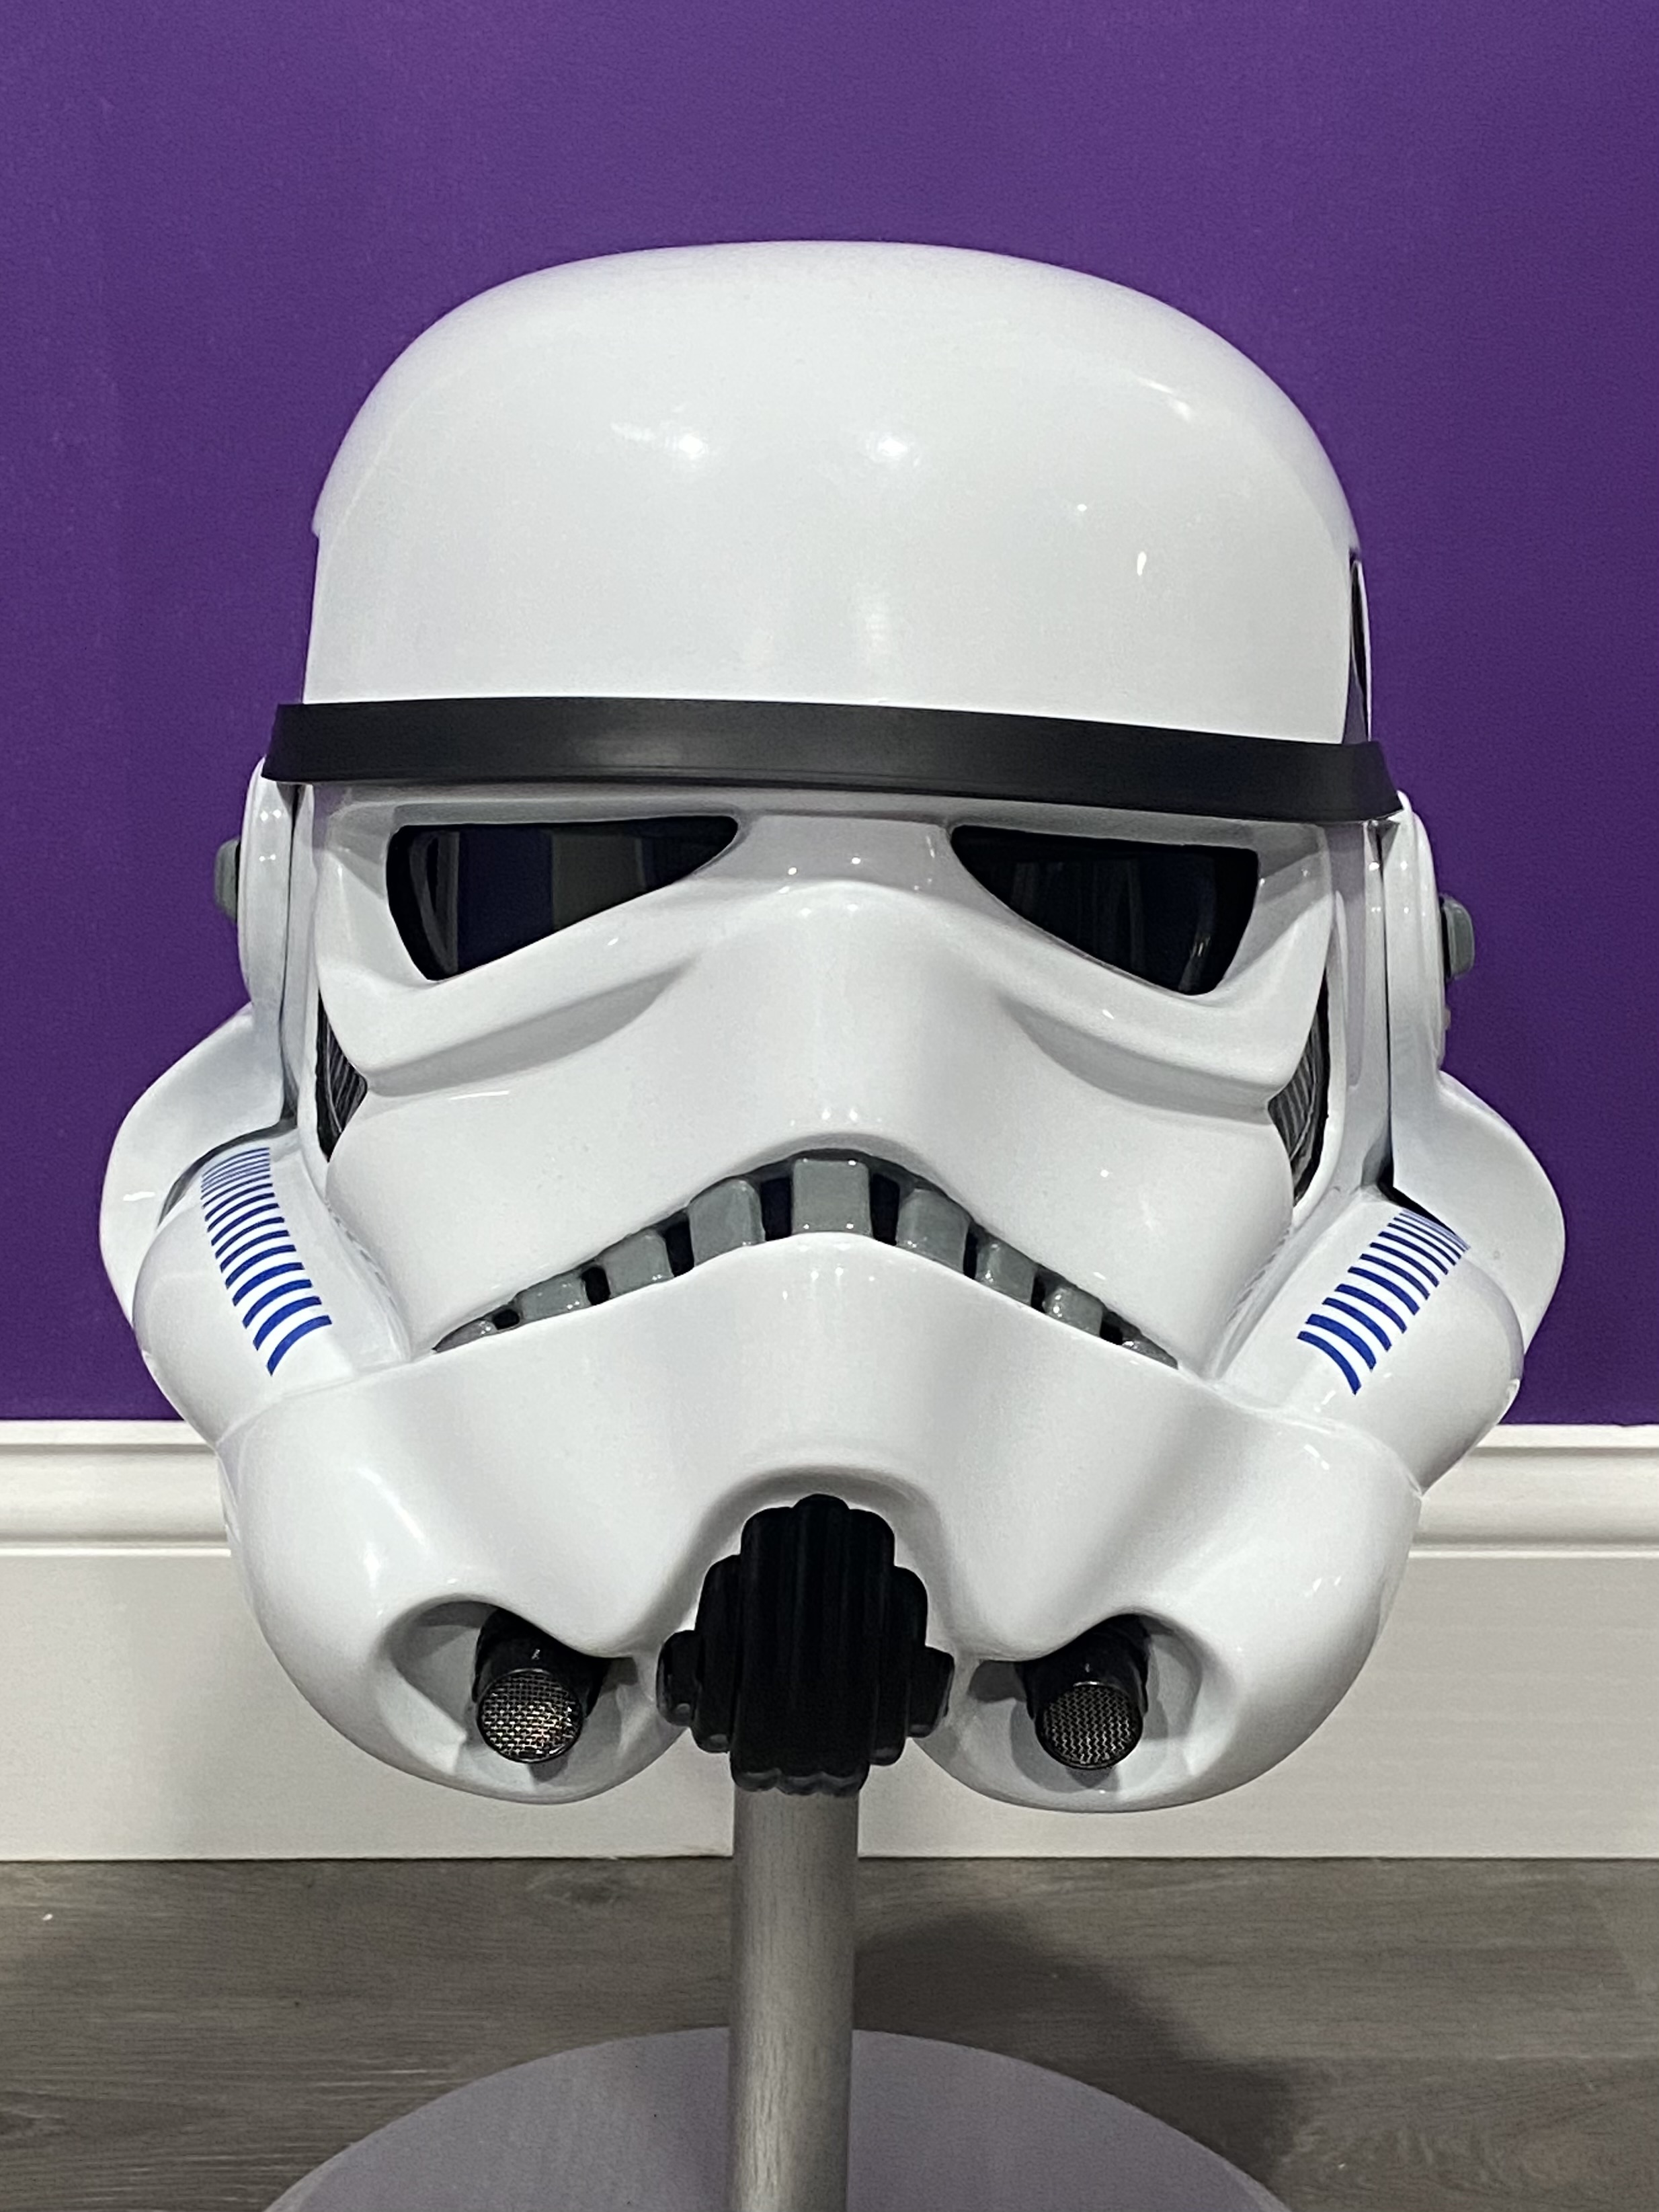
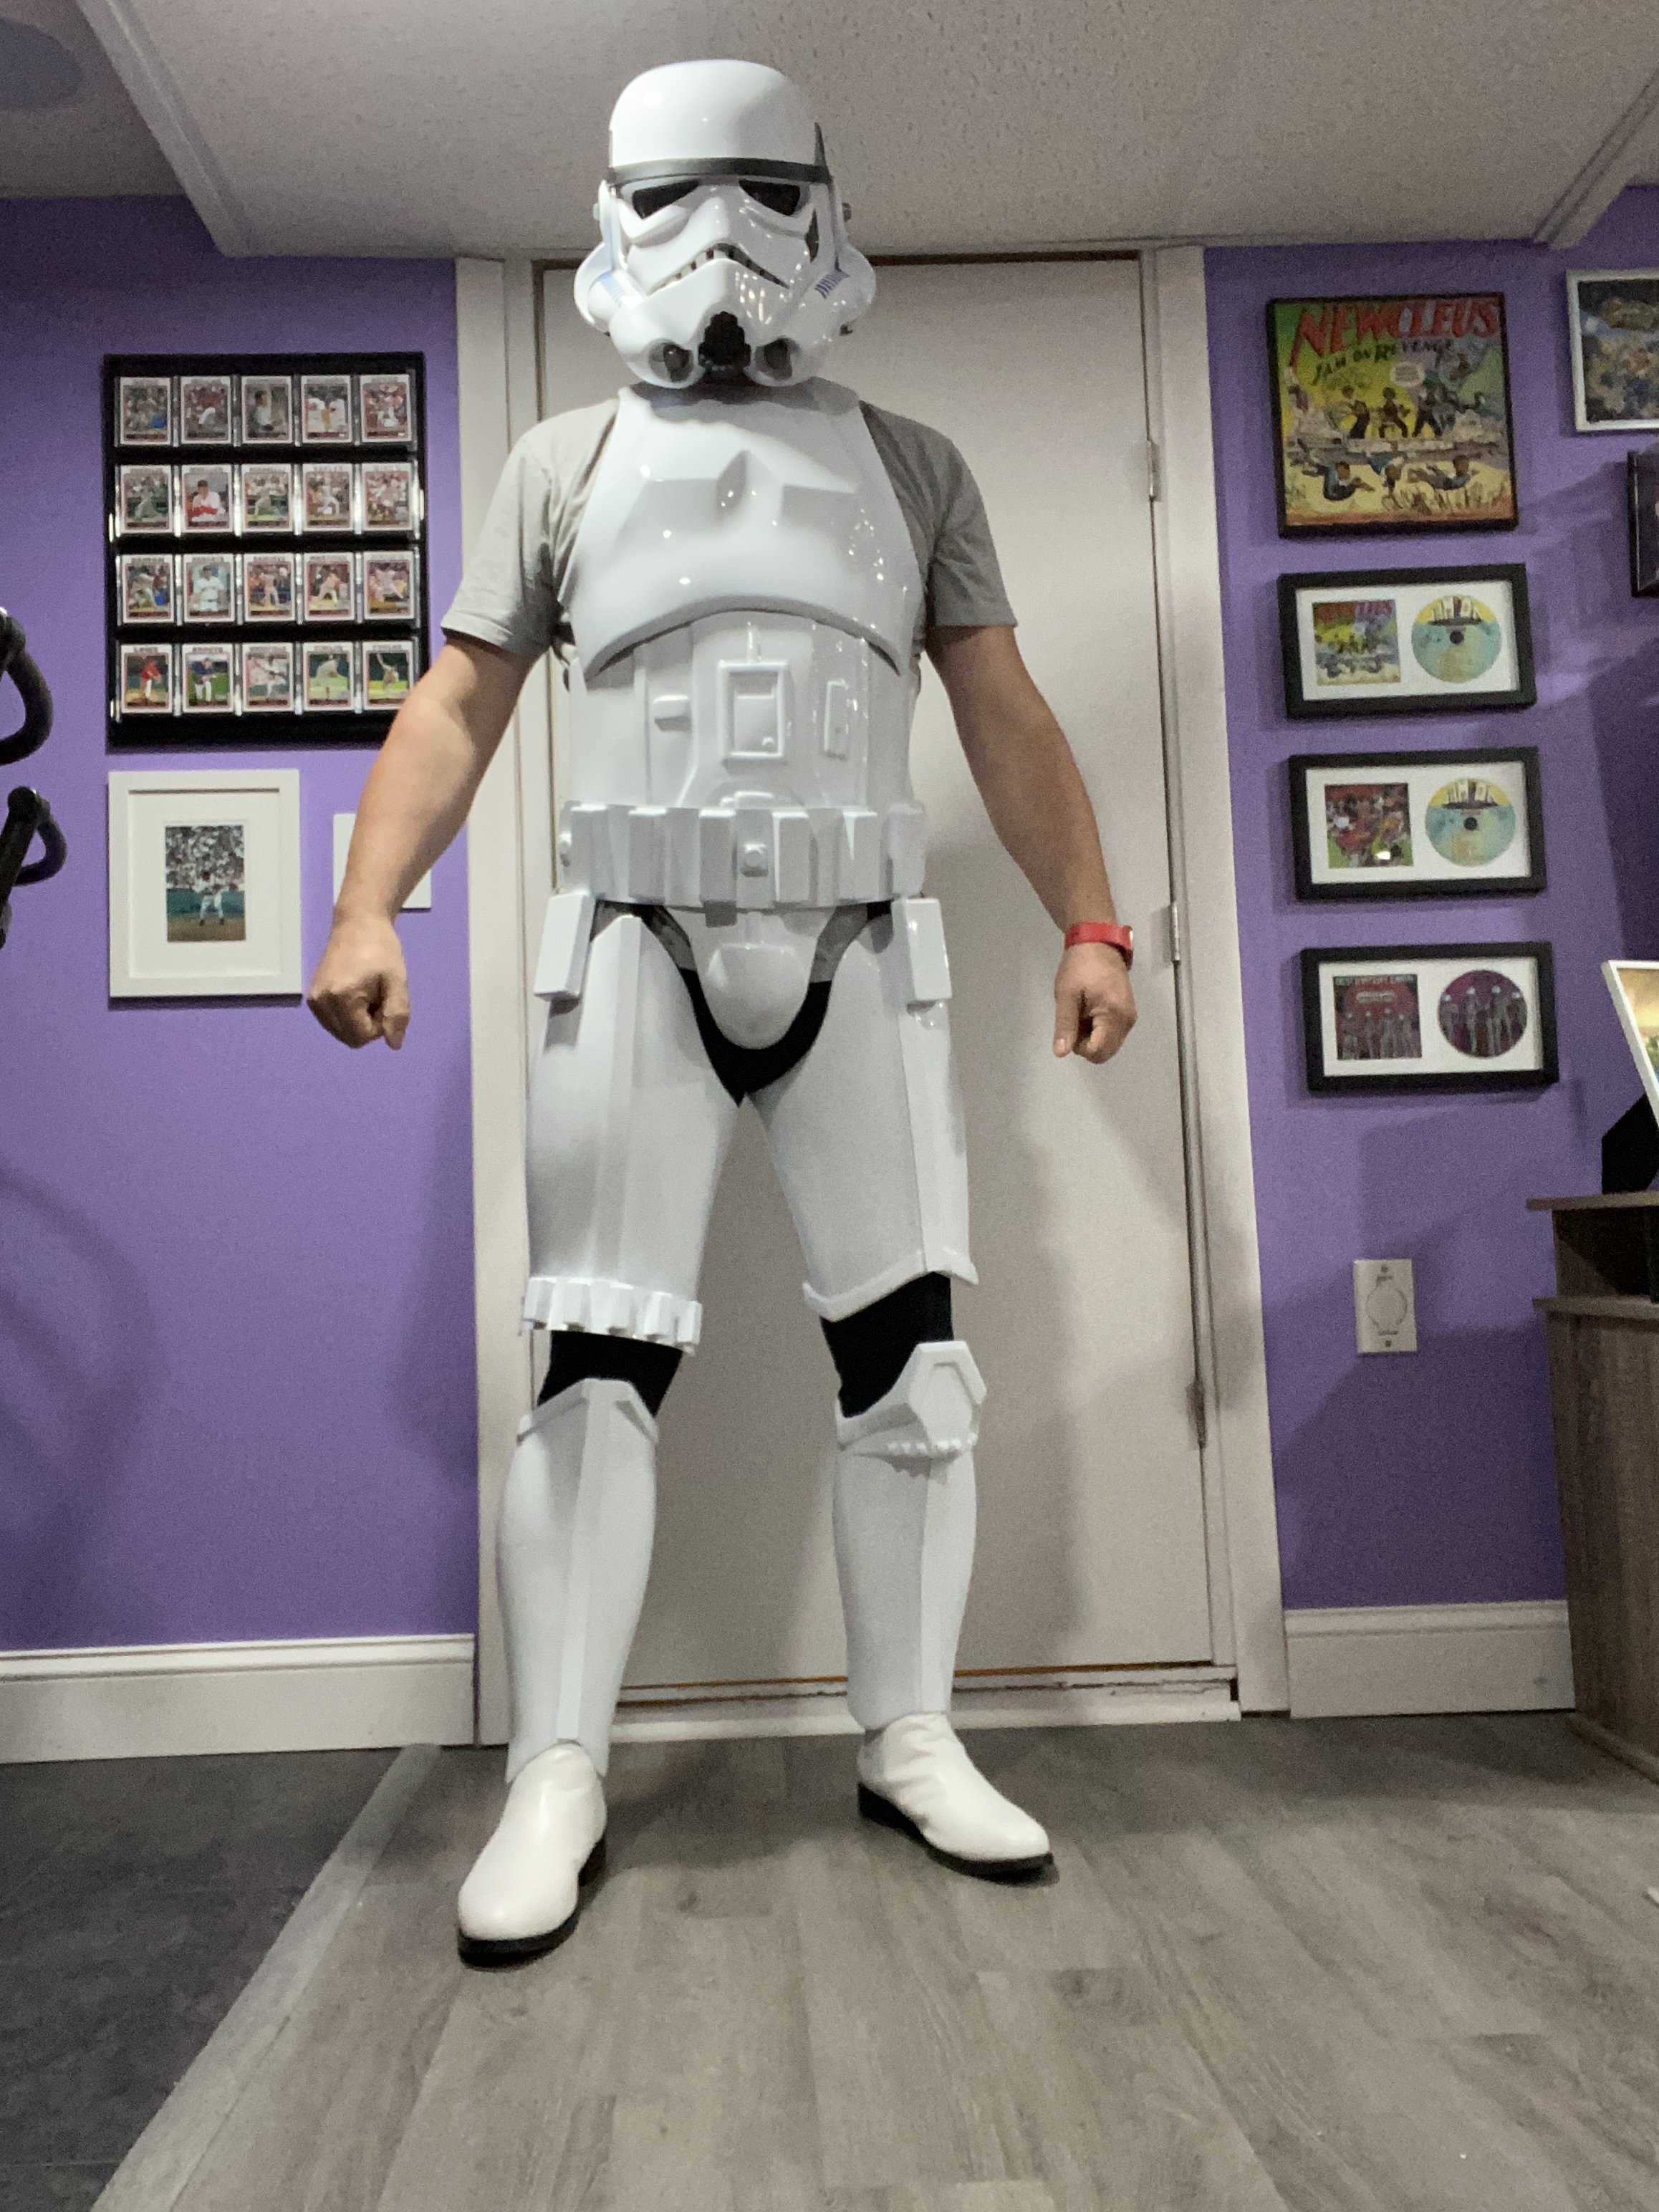
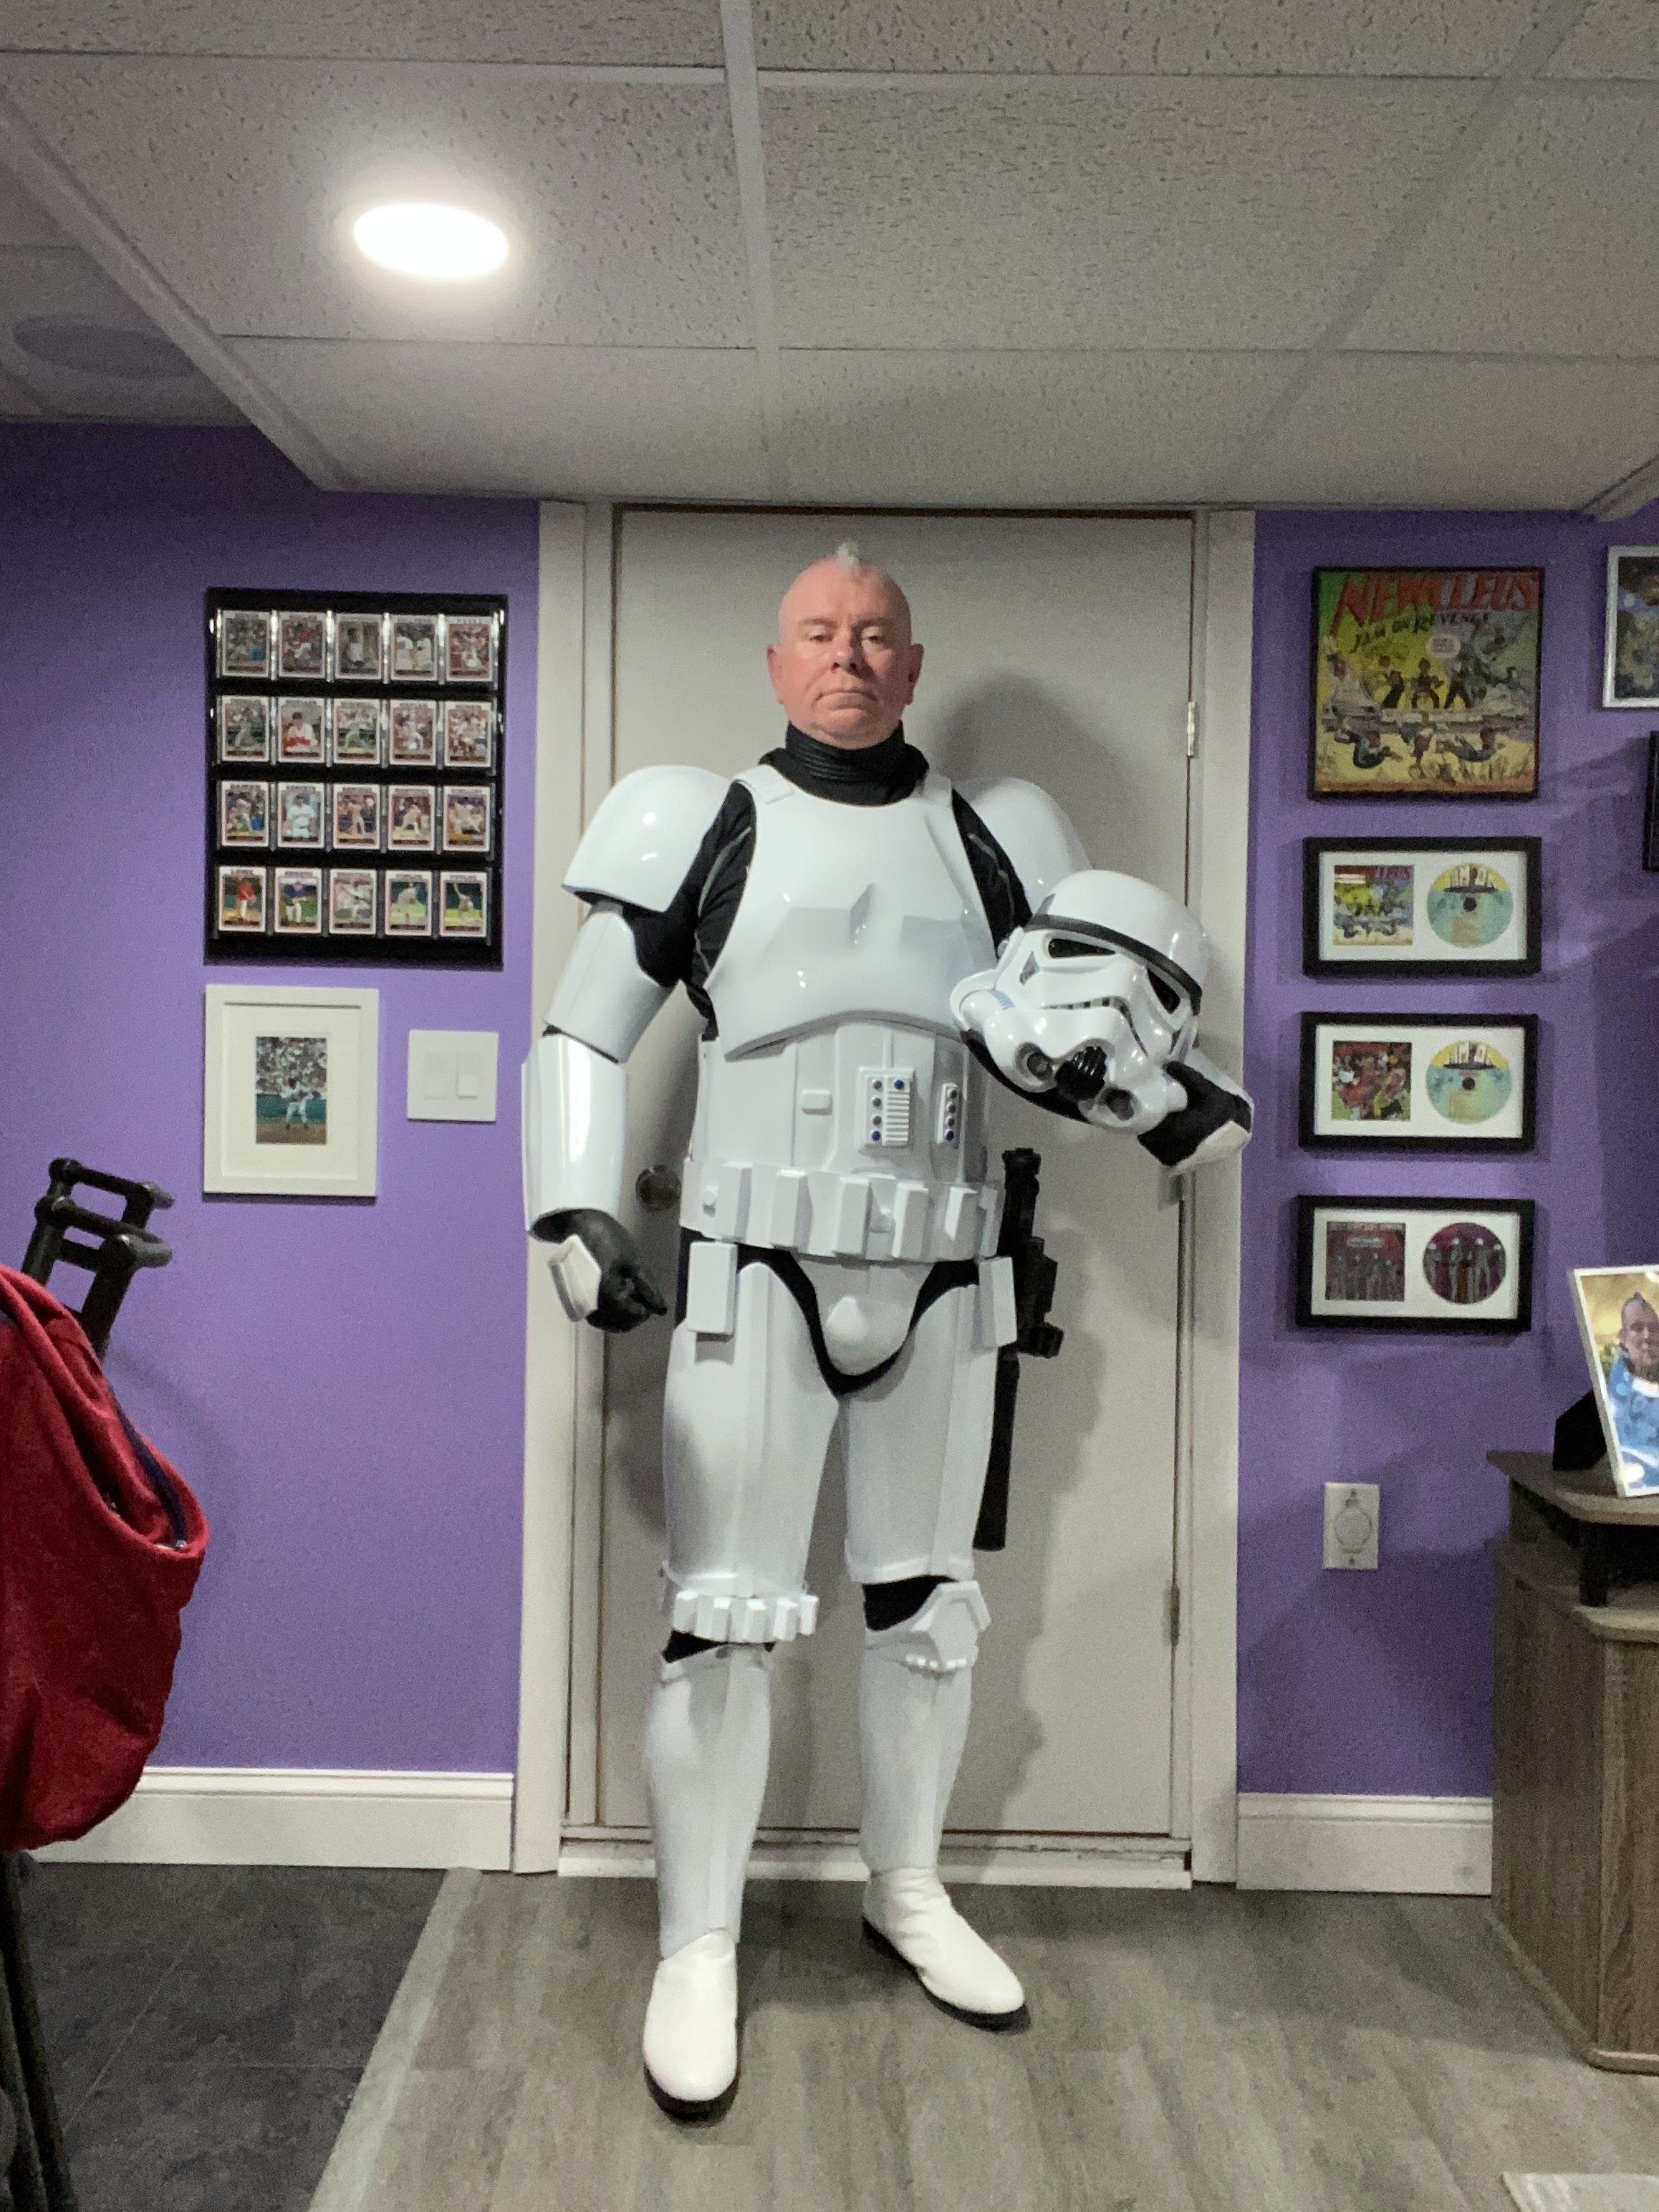
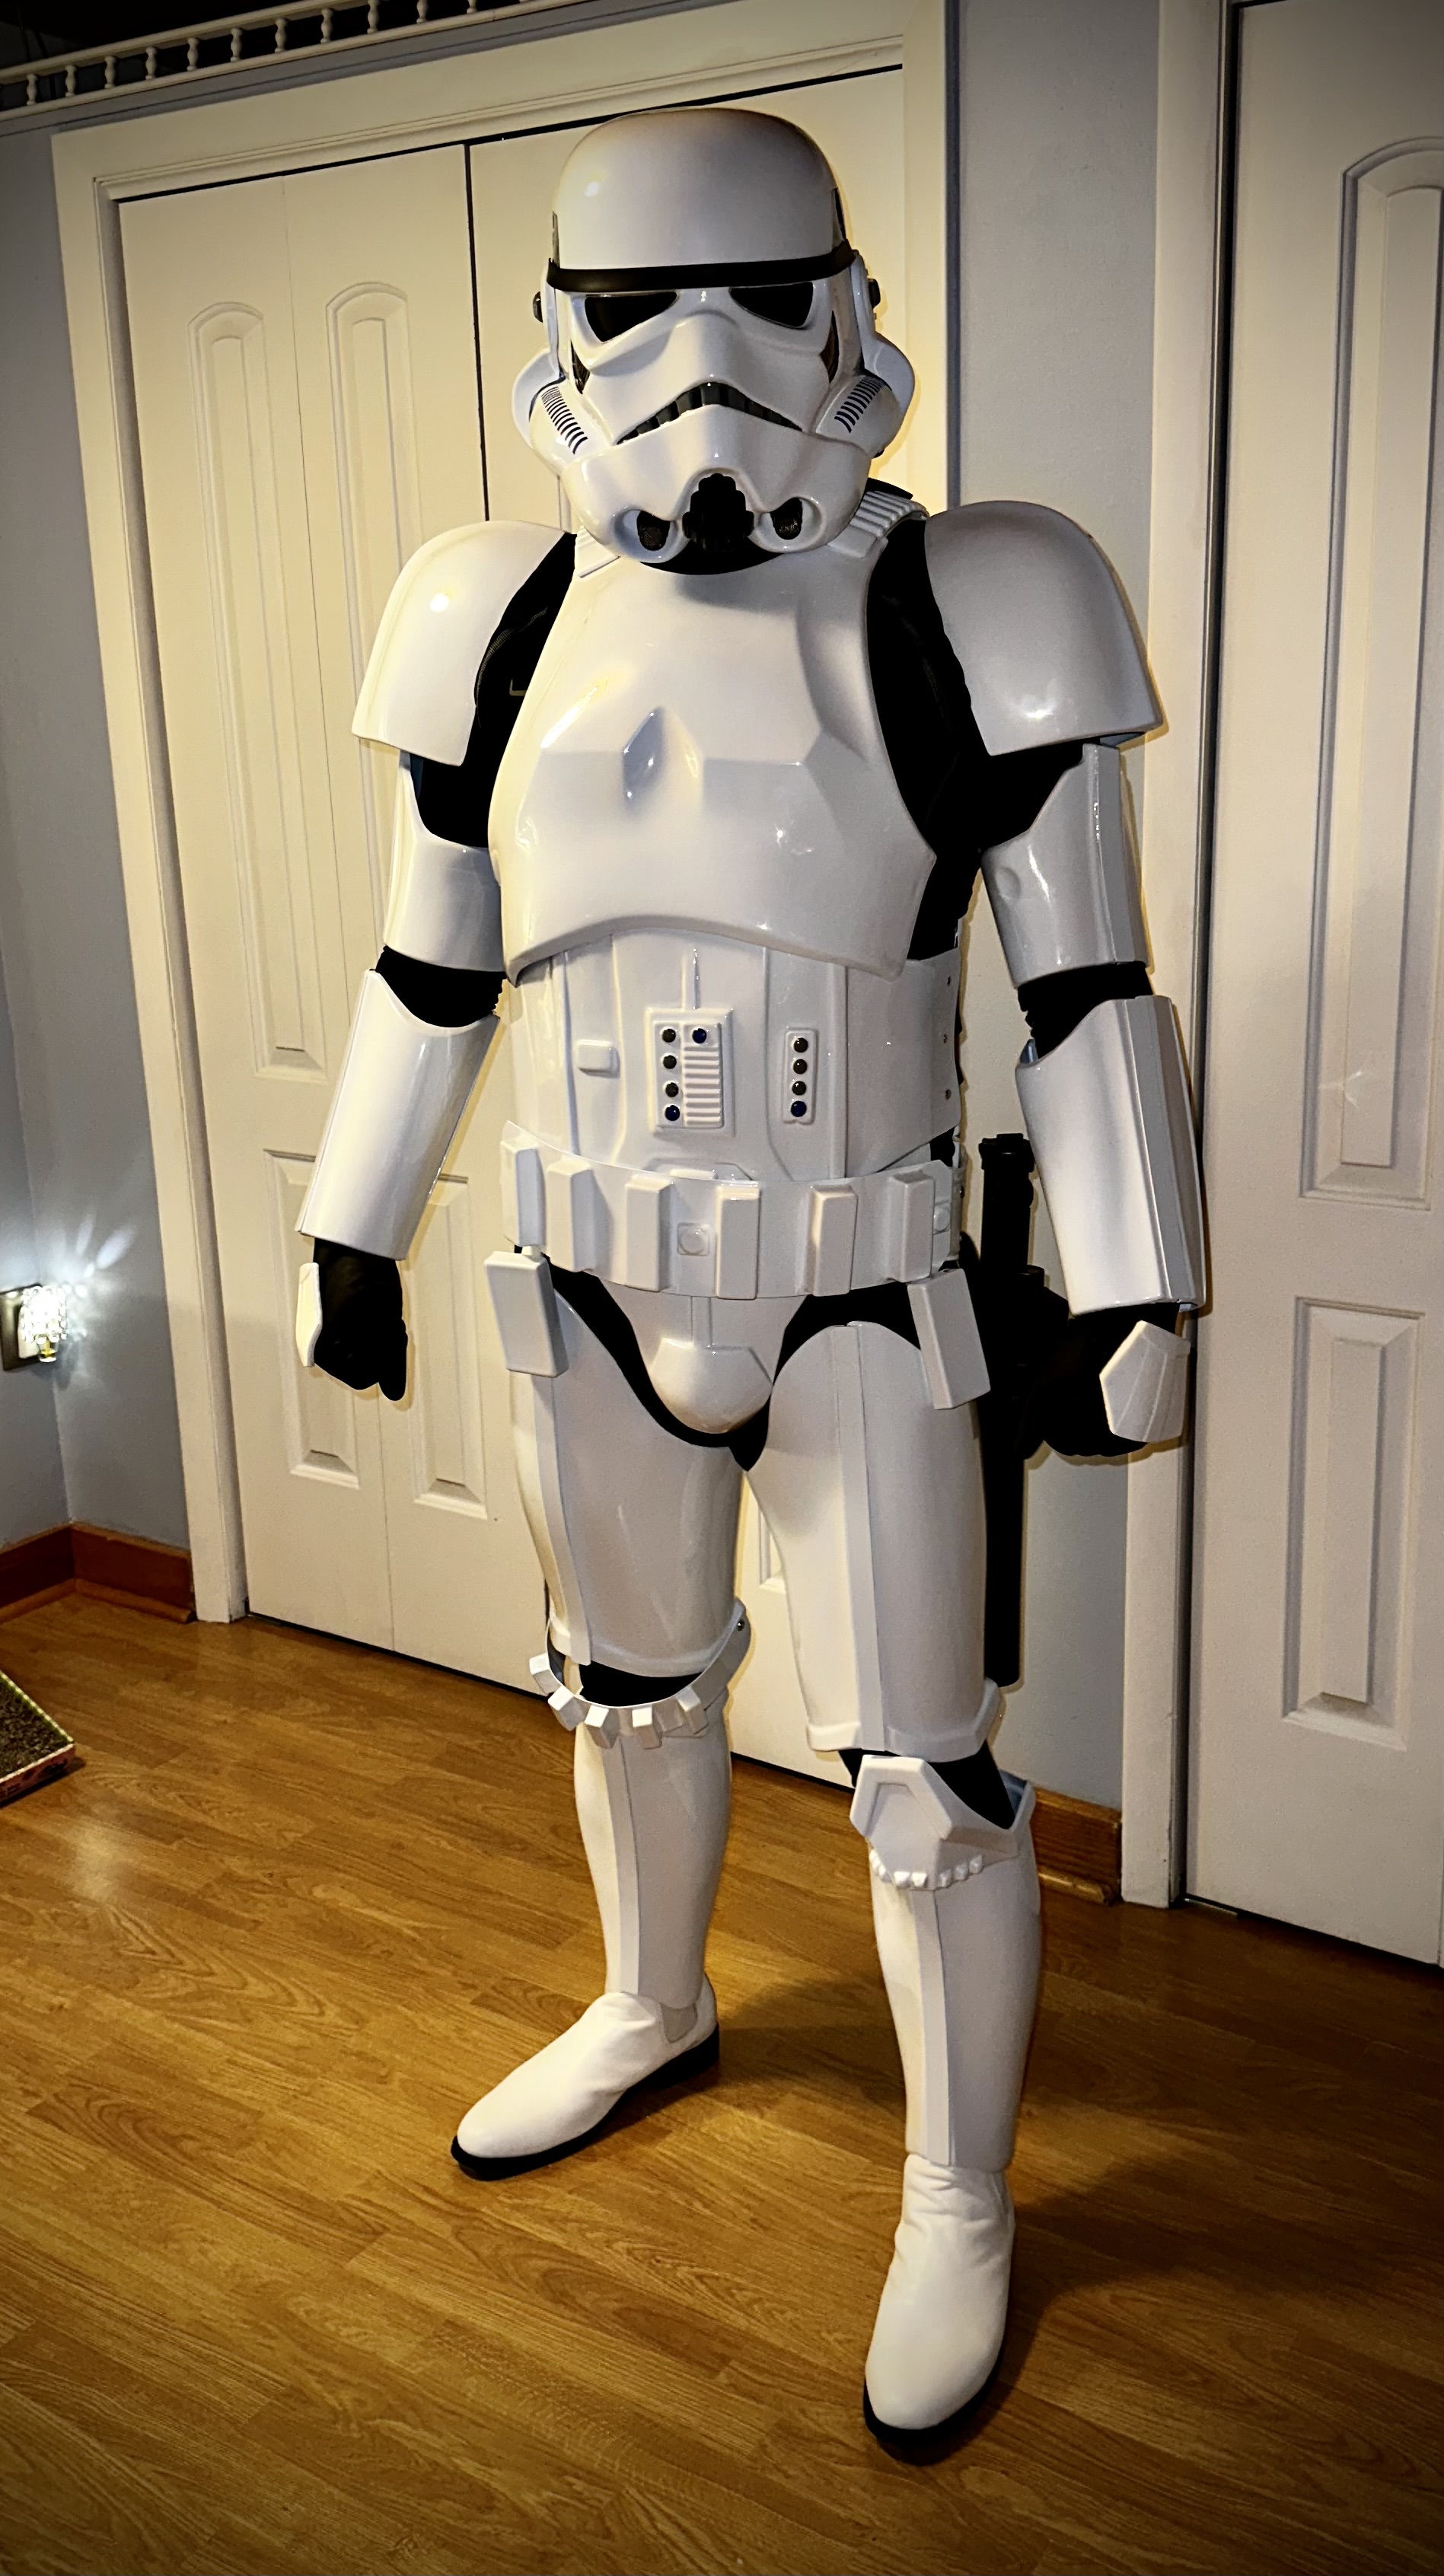
Finally made all adjustments and got a new black shirt. Here are the pics that I sent in for approval.
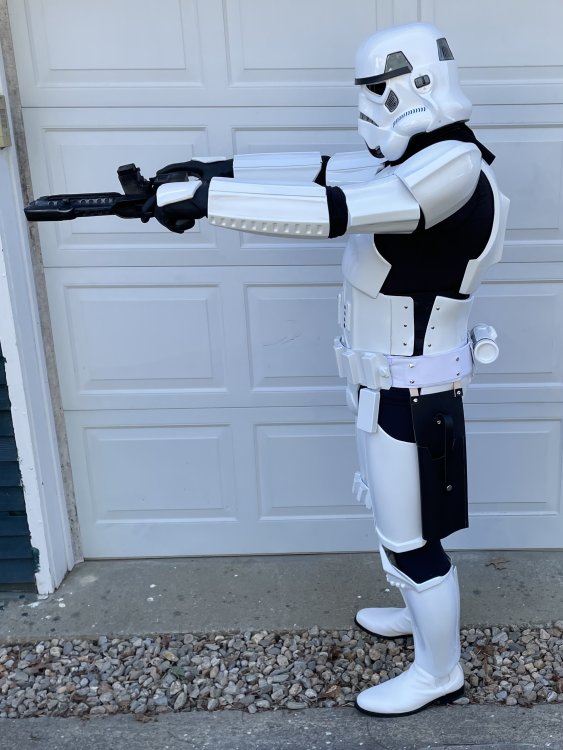


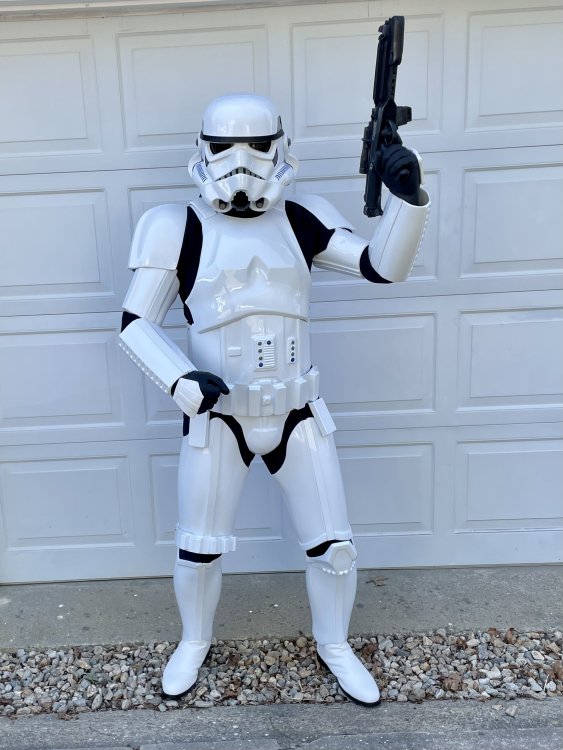


-
1
-
-
Oh boy! I kind-of got so involved in the build process that I forgot to post updates to my progress. So here goes…
So we had 2 Armor Parties at Walt’s shop. That’s the absolute best place to learn about the TK construction. I mean Walt is like the master of the Stormtrooper! What better place is there than where the kit was born?
Many thanks to Walt for giving up his time and his shop just to help us. I learned a lot real quick!
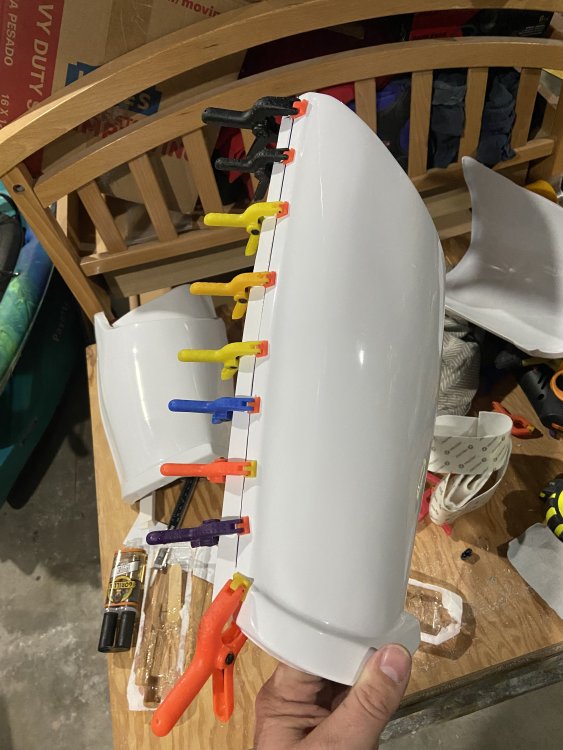
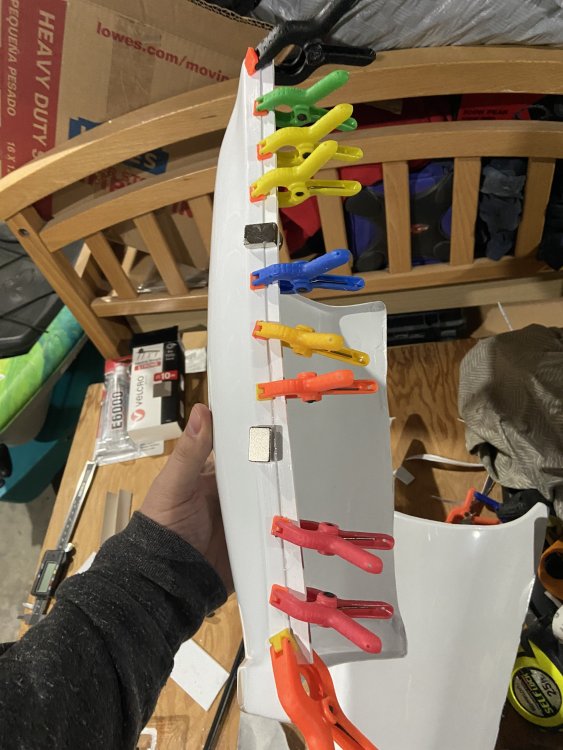
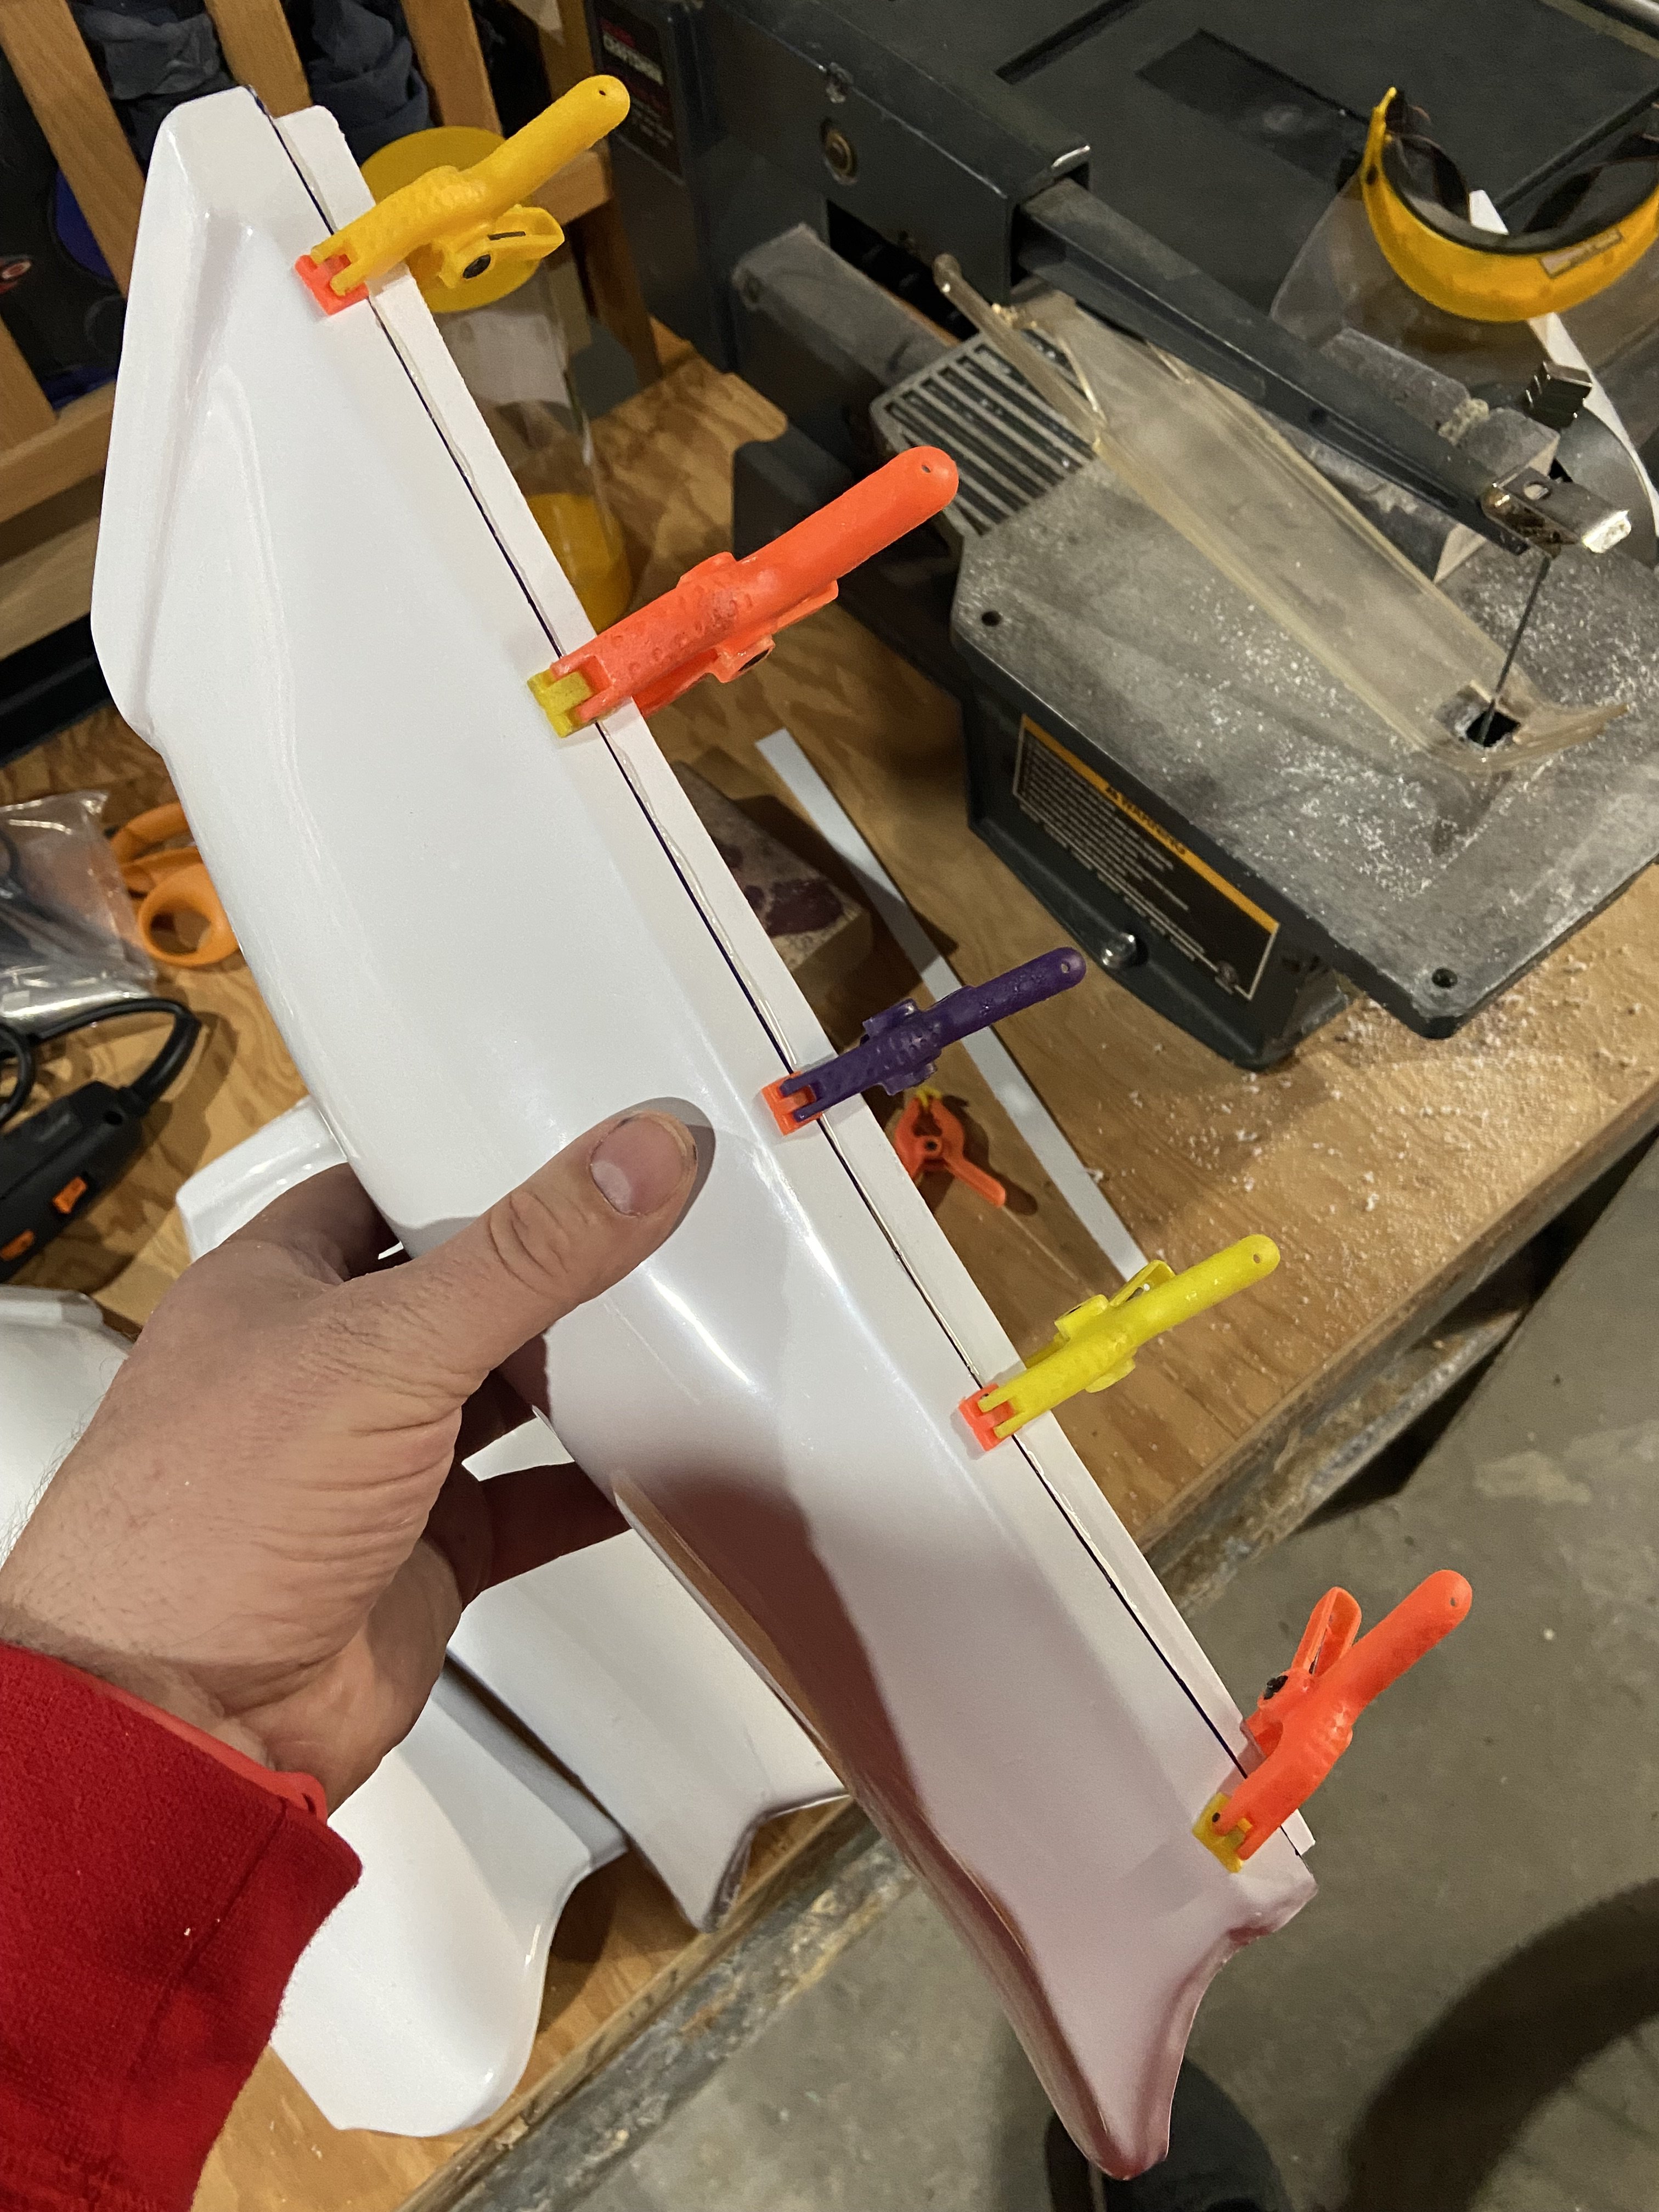
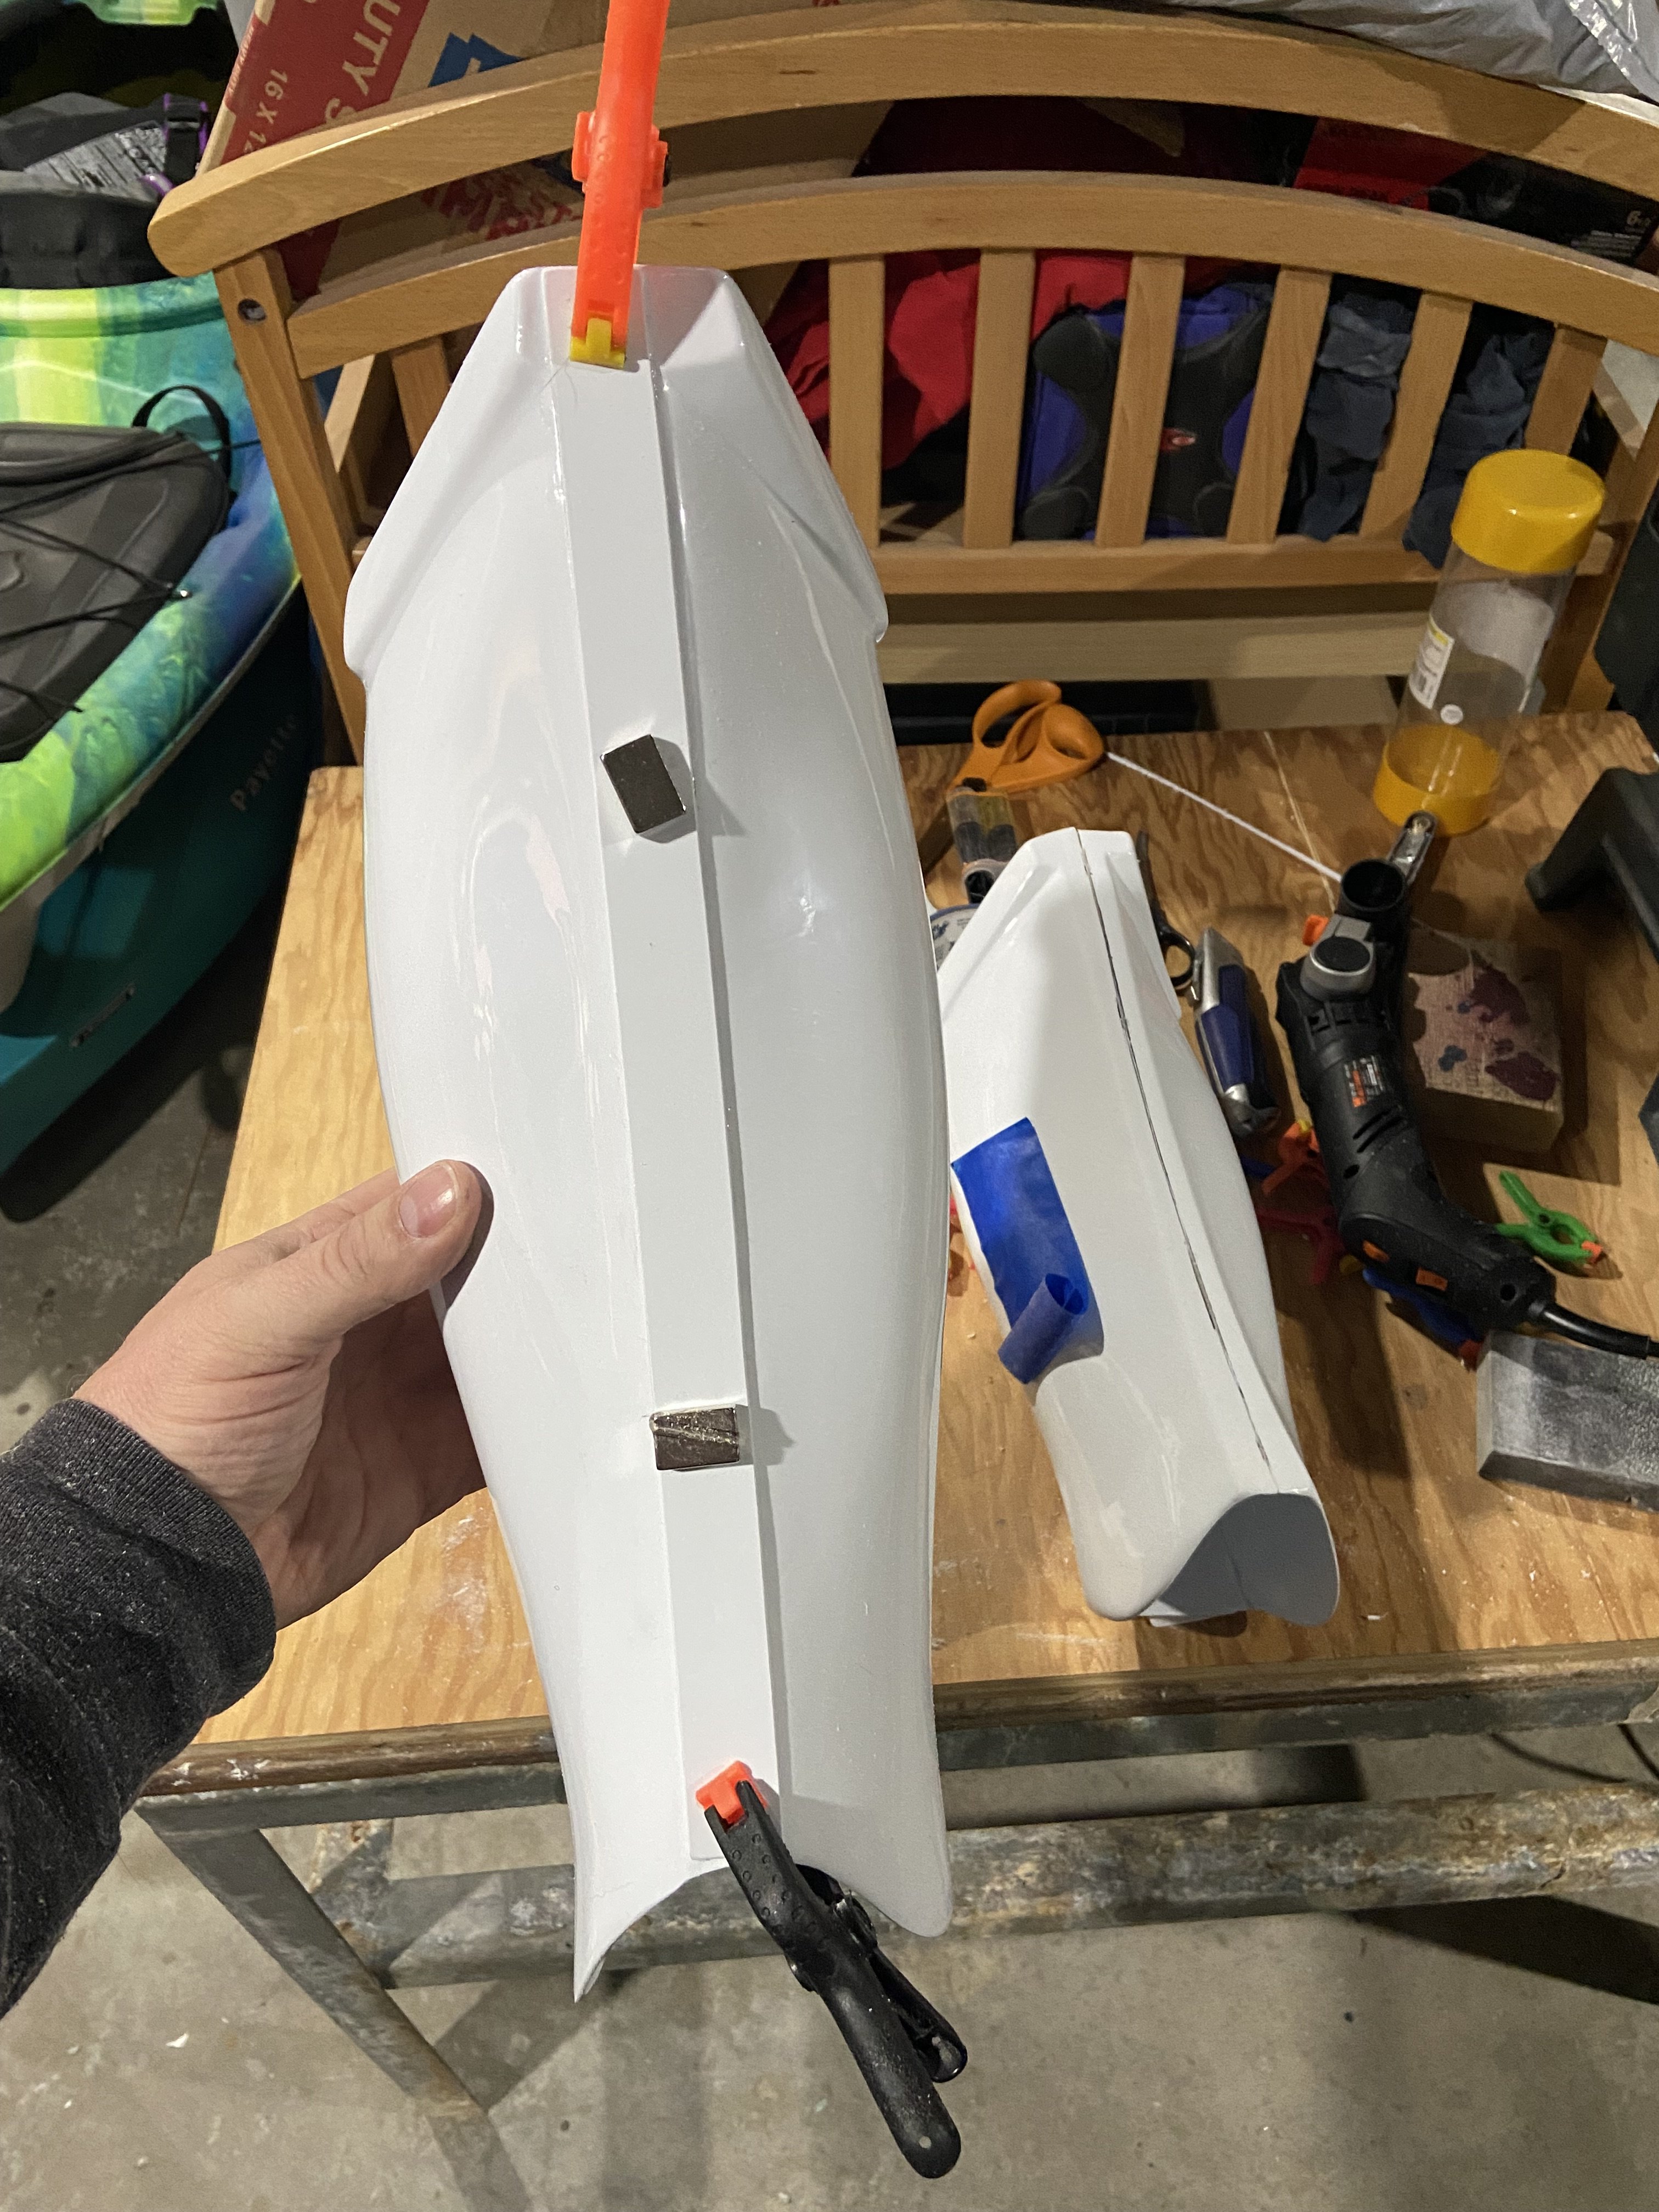
Went home and continued to do trimming and rough fitting legs and arms. Glueing process took several days of patience and anticipation. But waiting was worth it. Parts started fitting pretty nicely.
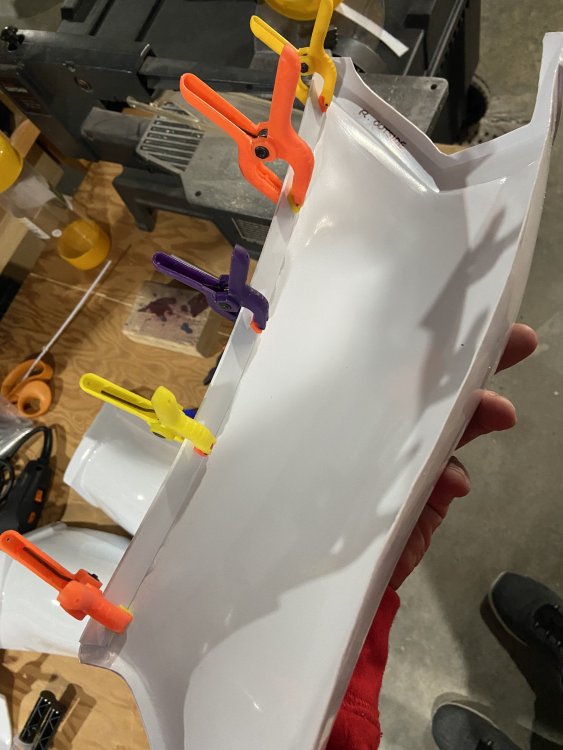
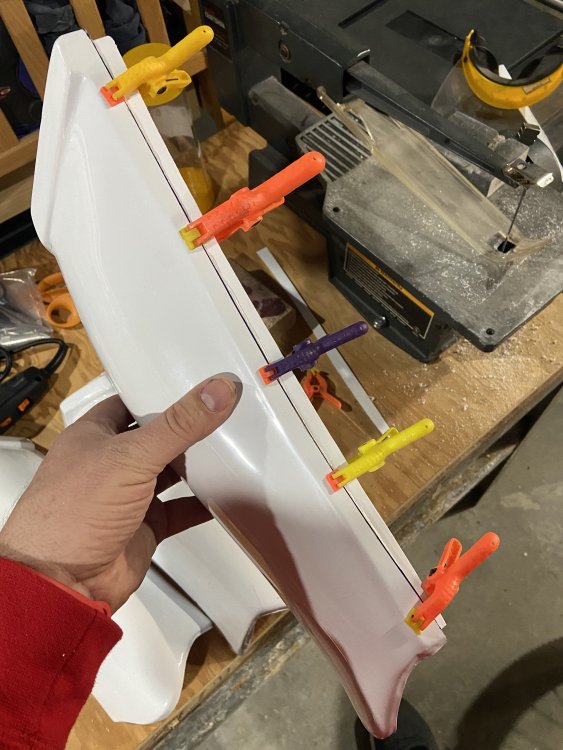
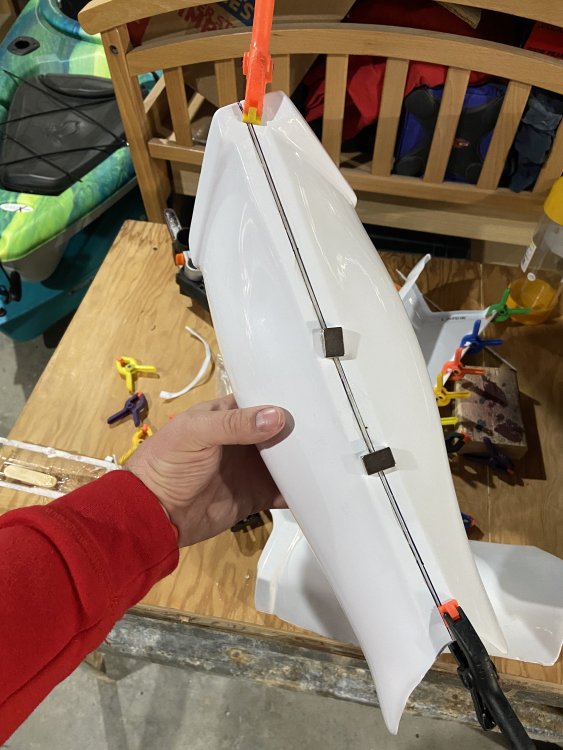

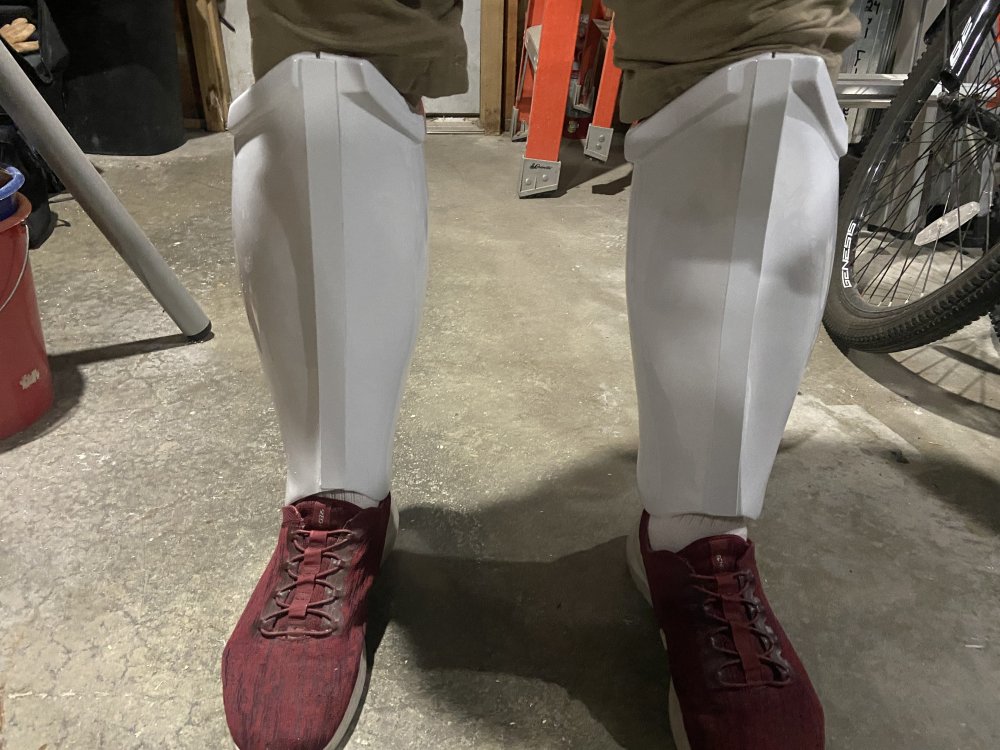
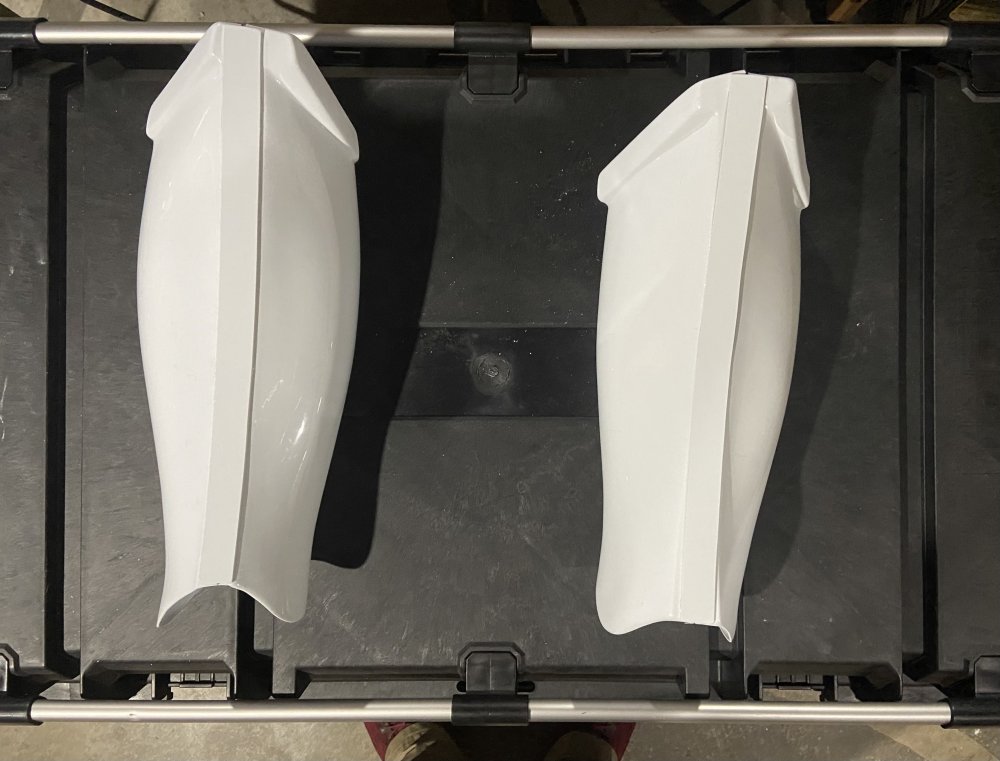


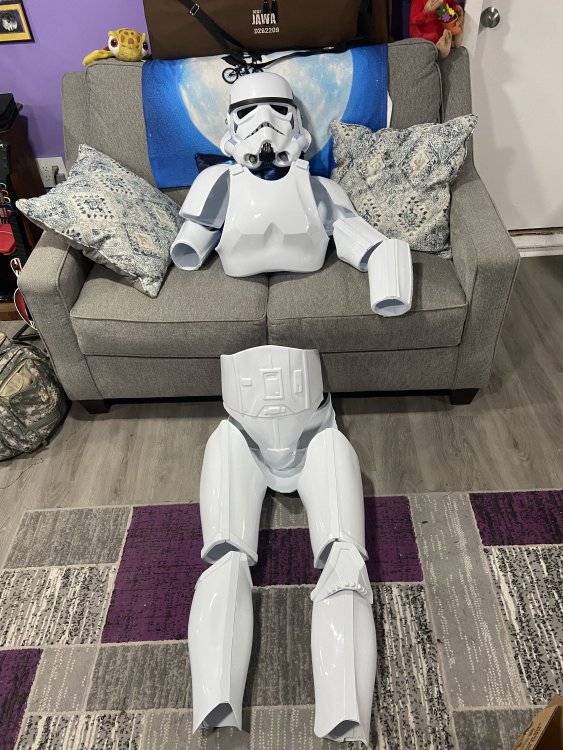


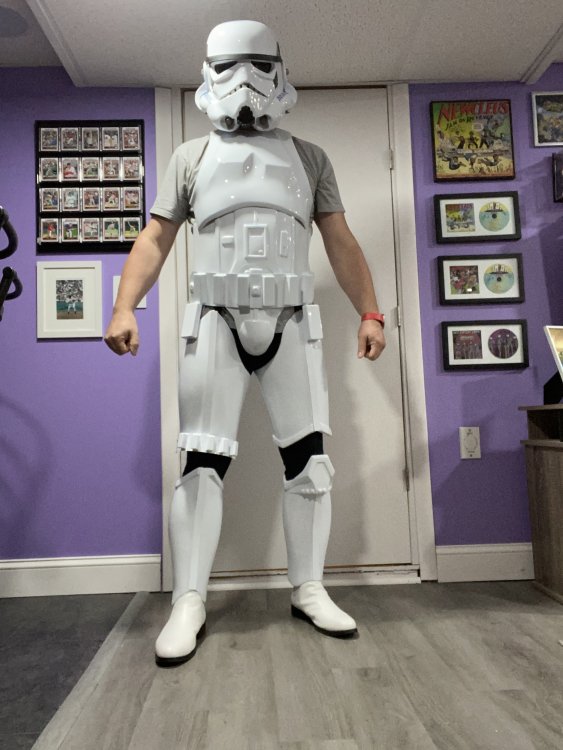
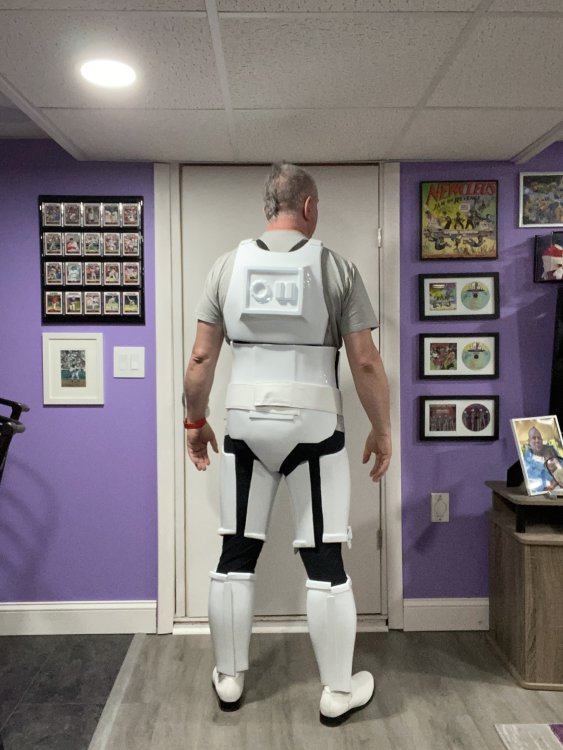

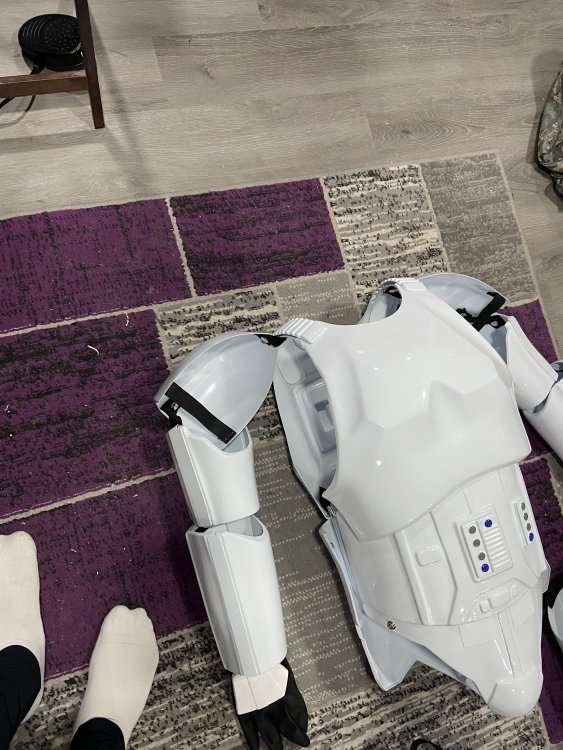
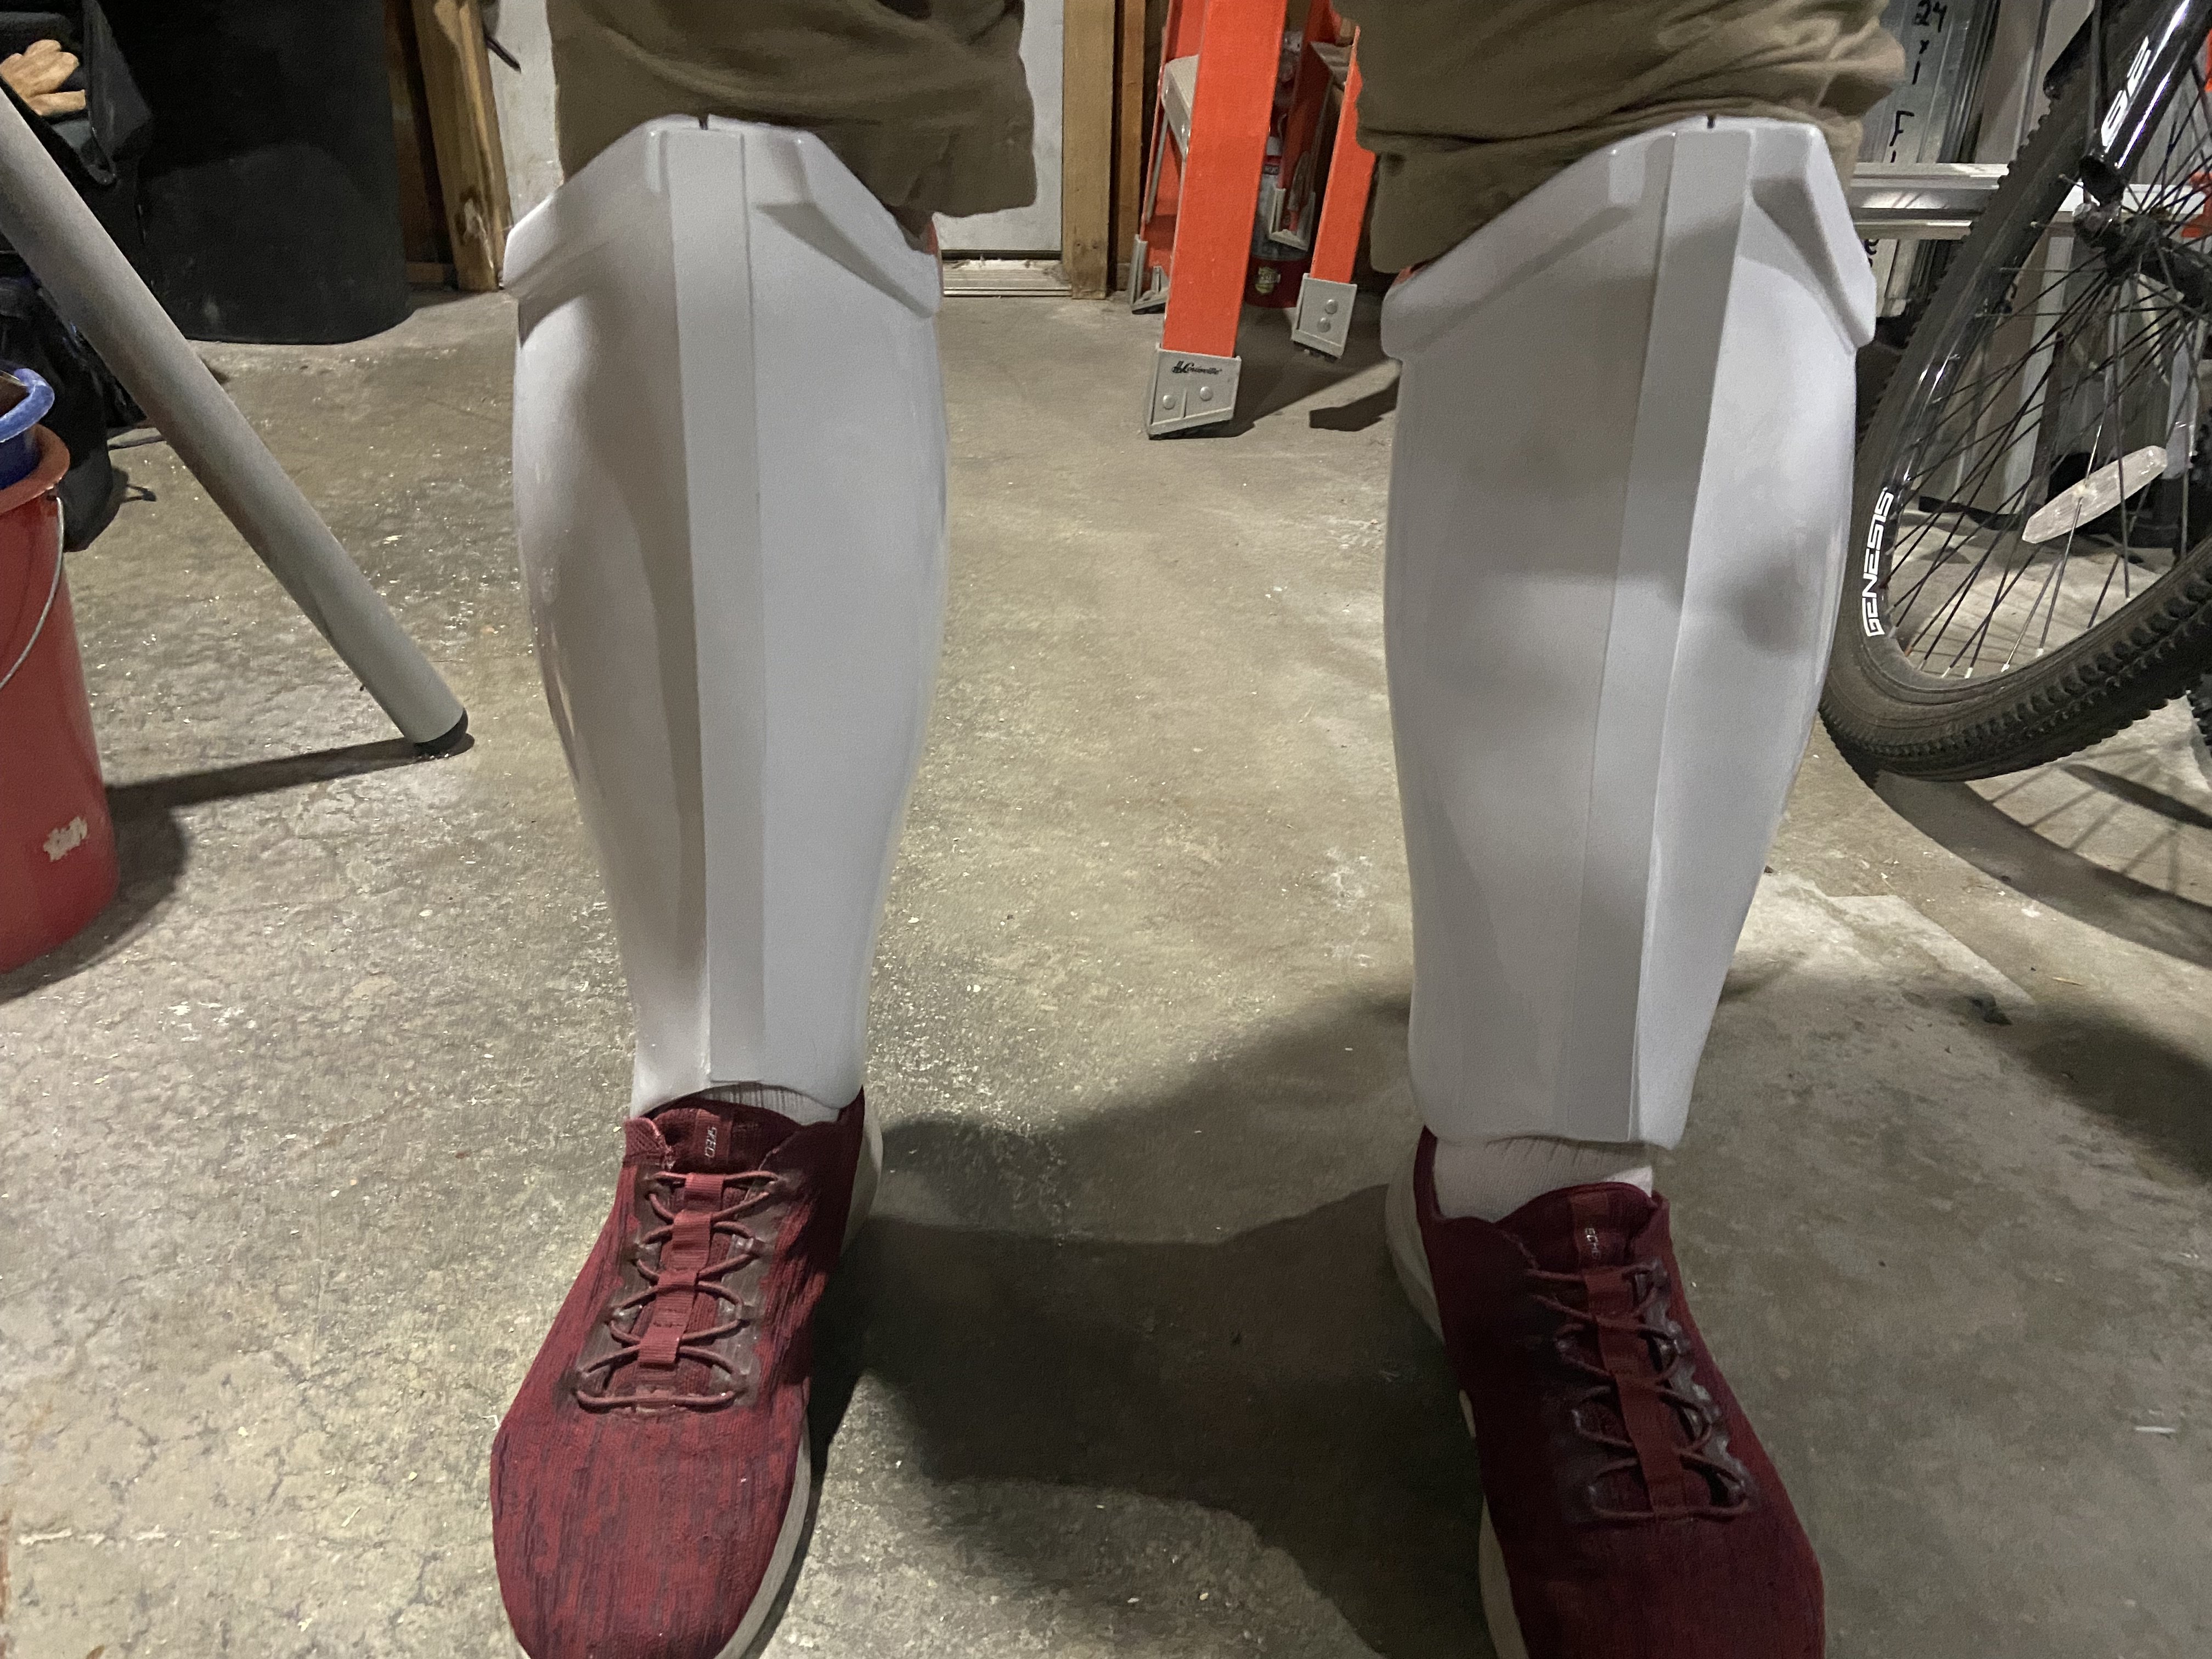
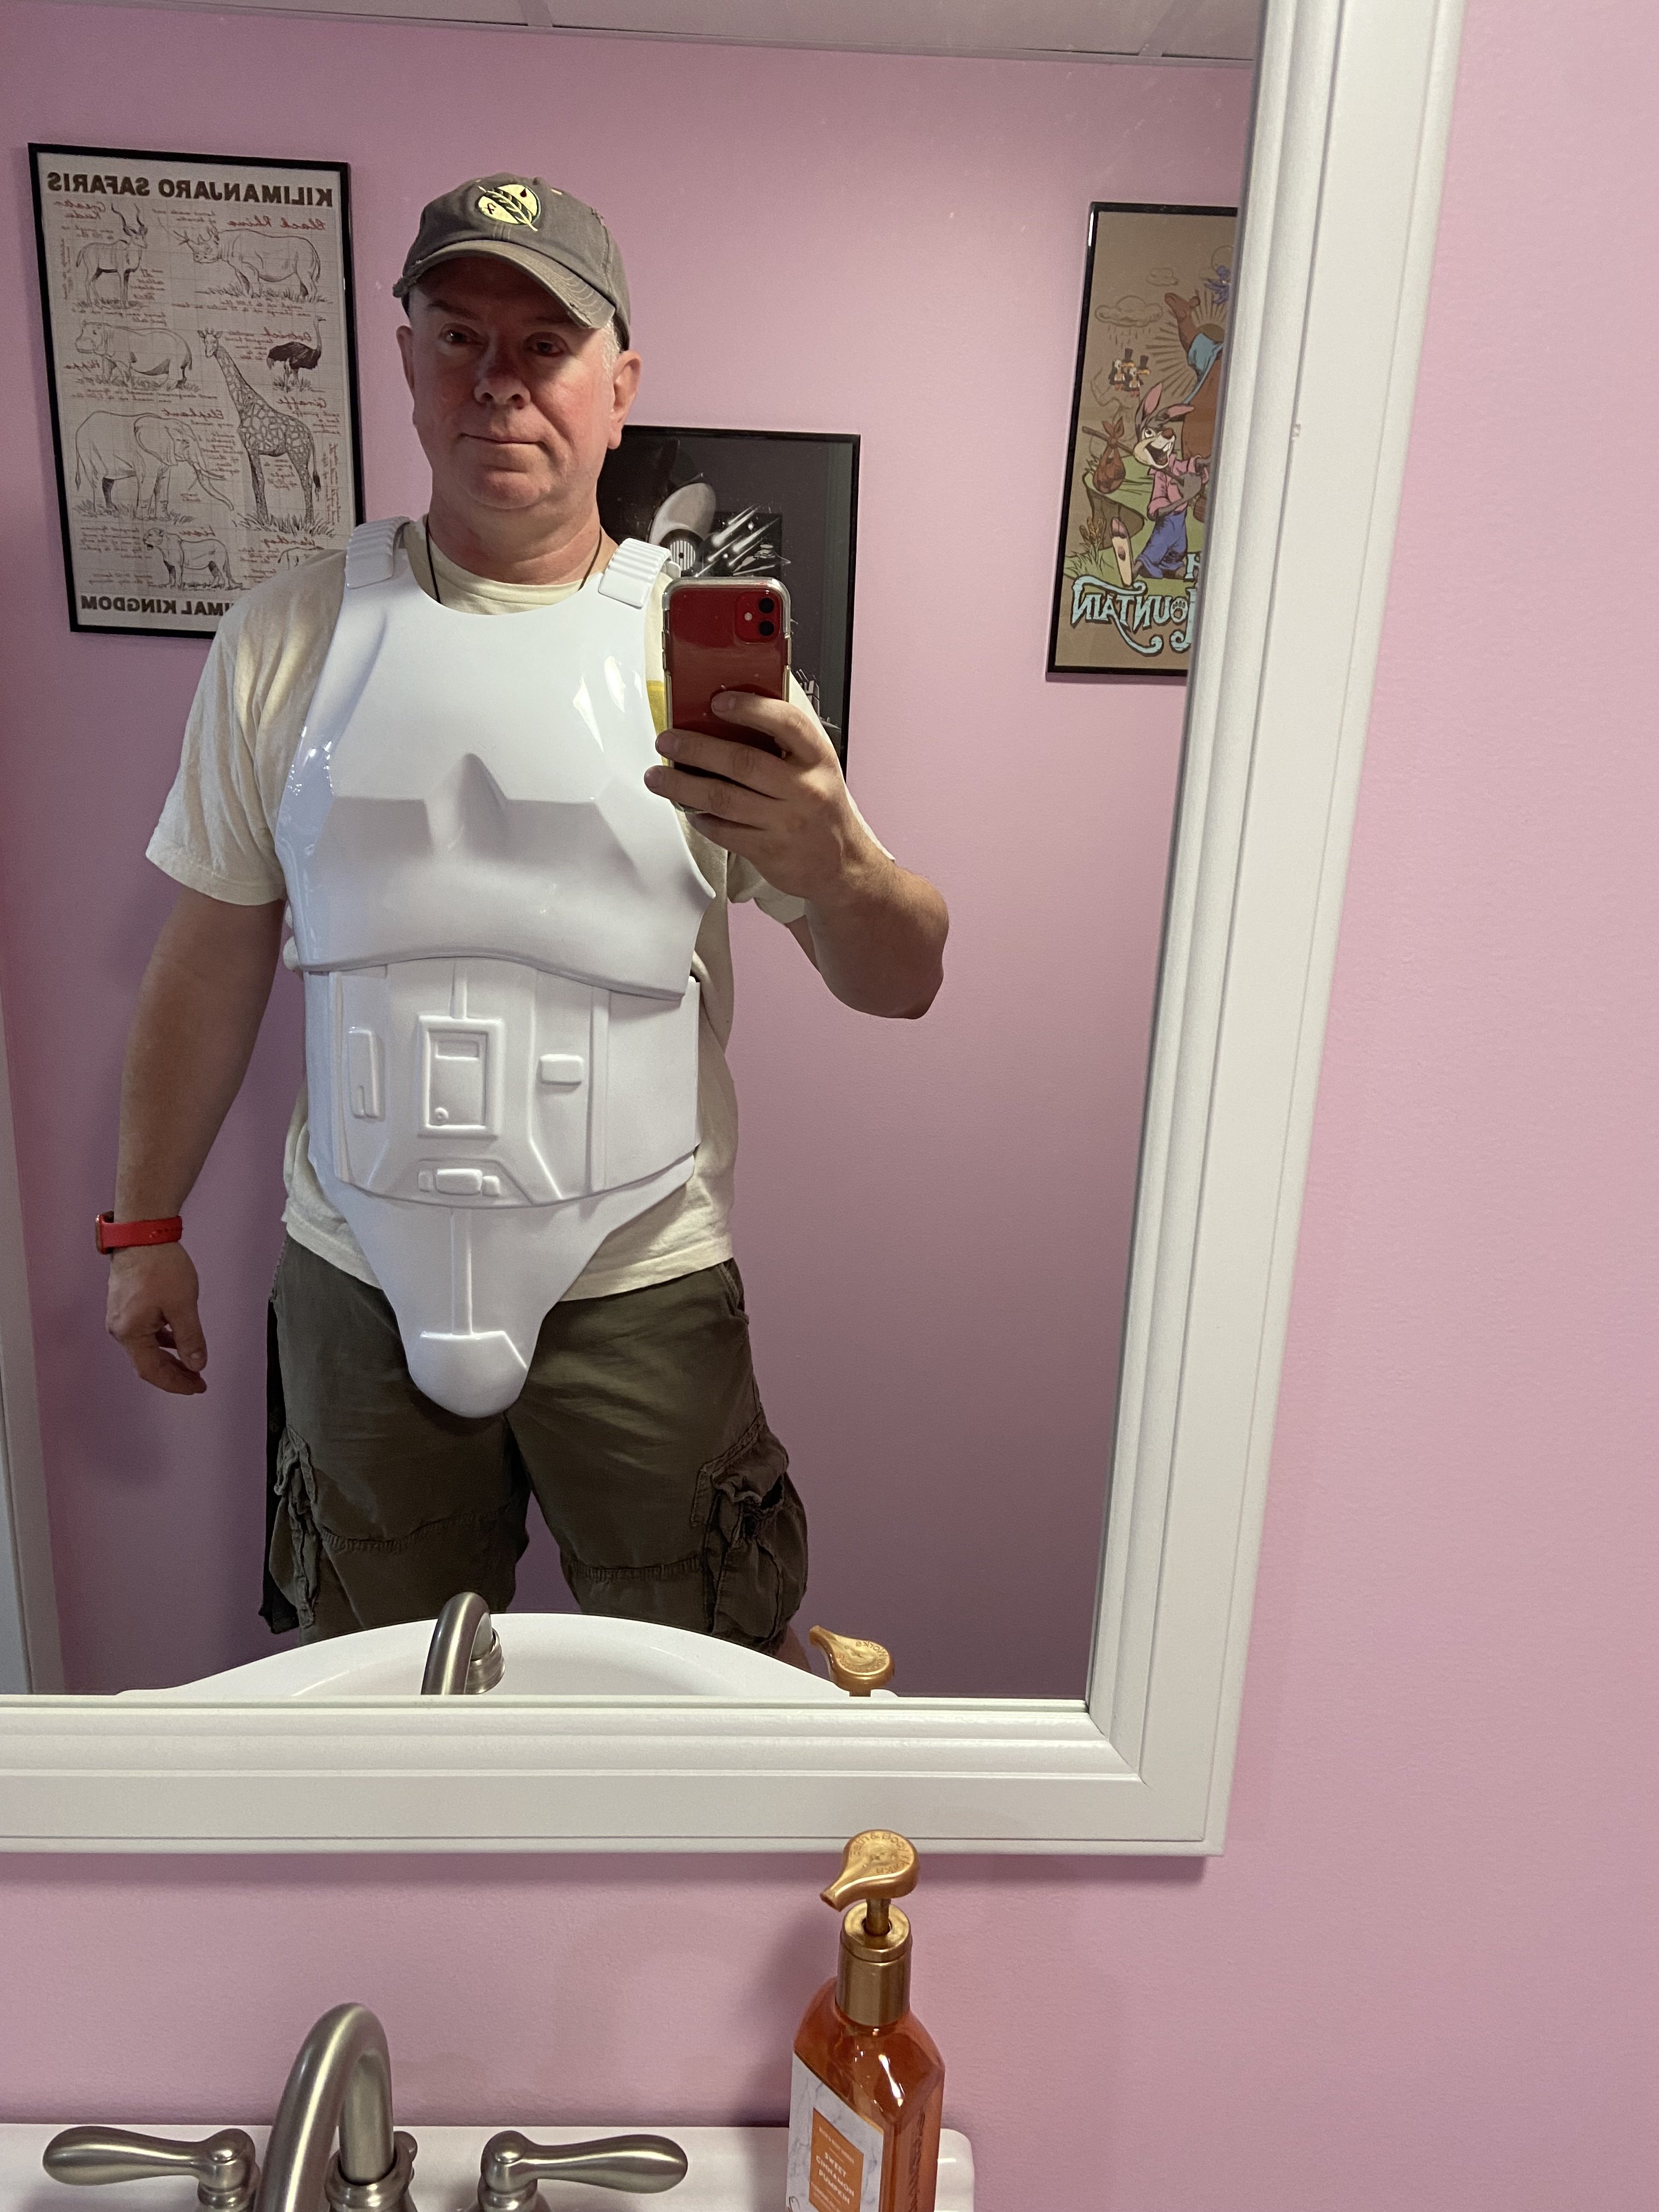
First test fitting of nearly completed kit. I had to make a few more adjustments. My shoulder bells were sitting out a bit too far. And my thighs were not quite where they should be. But all-in-all not a bad fit. Also, my black shirt had grey stitching showing at the arm joints. Time to go find a new fitted athletic shirt.


-
1
-
1
-
-


Hartford Wolf Pack Star Wars Night 2024 - 04/14/24 02:00 PM to 04/14/24 06:00 PM
in Event Archive
Posted
From Legairre’s post on the sign-up page:
Here are parking details below