-
Posts
2699 -
Joined
-
Last visited
Content Type
Profiles
Forums
Gallery
Events
Downloads
Everything posted by Alay
-
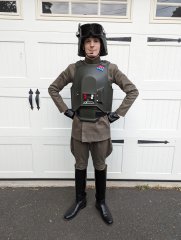
From the album: General Veers (AT-AT Commander)
-
From the album: General Veers (AT-AT Commander)
-
From the album: General Veers (AT-AT Commander)
-
From the album: General Veers (AT-AT Commander)
-
From the album: General Veers (AT-AT Commander)
-
From the album: General Veers (AT-AT Commander)
-
From the album: General Veers (AT-AT Commander)
-
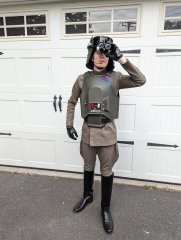
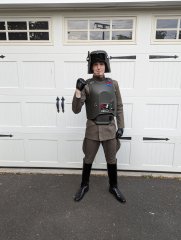
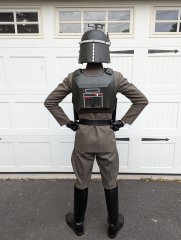
After much back and forth, I went with black for the back greeblie. The reds just looked wrong when put all together and the black looked closer to the screen to me. But I'm also partially blue/yellow colorblind so who the heck knows... I cast parts in the remaining colors for the chest stuff, then got to work gluing. All that was left is strapping, and strap I did. I used olive nylon between the sides and under the bridges. Thee chestplate uses a clamshell attachment method where the right shoulder opens and snaps, and the left is permanently cap riveted together. This feels closest in balance to screen used strapping and reusable needs-to-exist-for-more-than-one-take. Strapped up, put on my Bailey Builds headset, and took some photos Submitting a costume on my birthday! Best way to close out the day. Next stop, any adjustments and then Spearhead!
-
RidgeCon 2023 - 08/05/23 10:00 AM to 08/05/23 12:00 AM
Alay replied to Feliz's topic in Event Archive
I'm in! @Maulevolent this is right by you if you wanna try and make it happen too! Glad to come as a TK or an Officer -
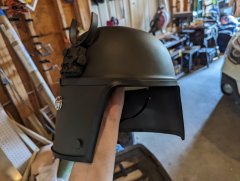
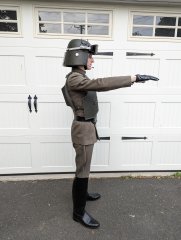
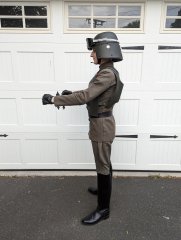
As I near the completion of this build, I finally did the part I dreaded most; the stenciling of the lines. I went for a free-hand drawn look that was not free hand drawn at all but using thin sloppily moved vinyl that was cut. I also attached my rank badge buttons while I was at it. I make these buttons myself and use resin inserts to make them flat, same as I do when making rank badges from scratch. These particular ones were pressure casted off a master mold as part of a batch of about 25 each. I used tape to line them up, then E6000 to glue them in place and left them overnight I think the placement is about right, judging from screen watching and comparing. The back stenciling is done via white black and gold vinyl on a cut acrylic board. I tried to make the connectors look a little worn so some have the gold caps, others have a bit of sharpie. I dunno... I don't know if I'm gonna leave the black detailing on there. I watched the movie again today with some of the back lit up shots, and I honestly see 0% of the supposed lines and black marks. Might leave them on for Spearhead then take them off for better accuracy.
-
Thank you thank you!
-
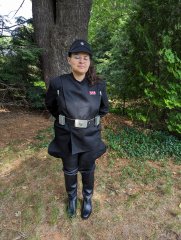
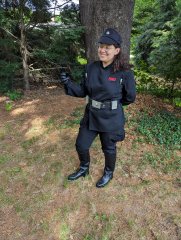
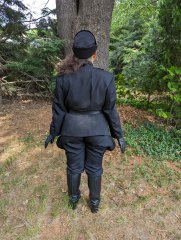
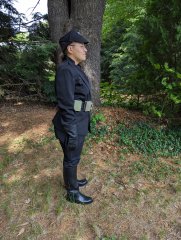
From the album: Imperial Security Services Officer (NS)
-
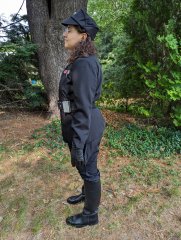
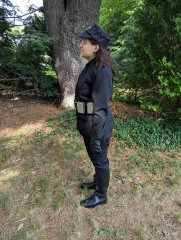
From the album: Imperial Security Services Officer (NS)
-
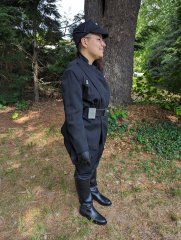
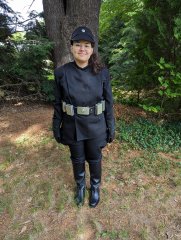
From the album: Imperial Security Services Officer (NS)
-
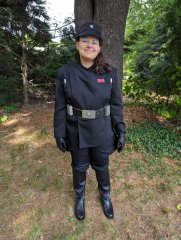
From the album: Imperial Security Services Officer (NS)
-
From the album: Imperial Security Services Officer (NS)
-
From the album: Imperial Security Services Officer (NS)
-
From the album: Imperial Security Services Officer (NS)
-
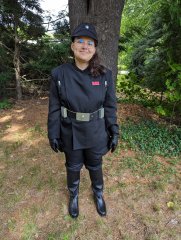
From the album: Warrant Officer
-
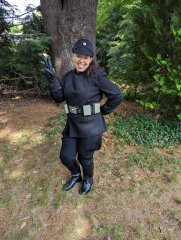
From the album: Warrant Officer
-
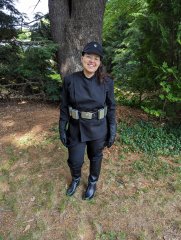
From the album: Warrant Officer
-
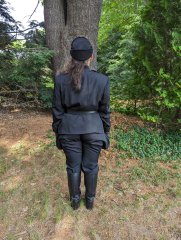
From the album: Warrant Officer
-
From the album: Warrant Officer
-
From the album: Warrant Officer
-

From the album: Warrant Officer