
Swiftcloud
-
Posts
1062 -
Joined
-
Last visited
Content Type
Profiles
Forums
Gallery
Events
Downloads
Everything posted by Swiftcloud
-
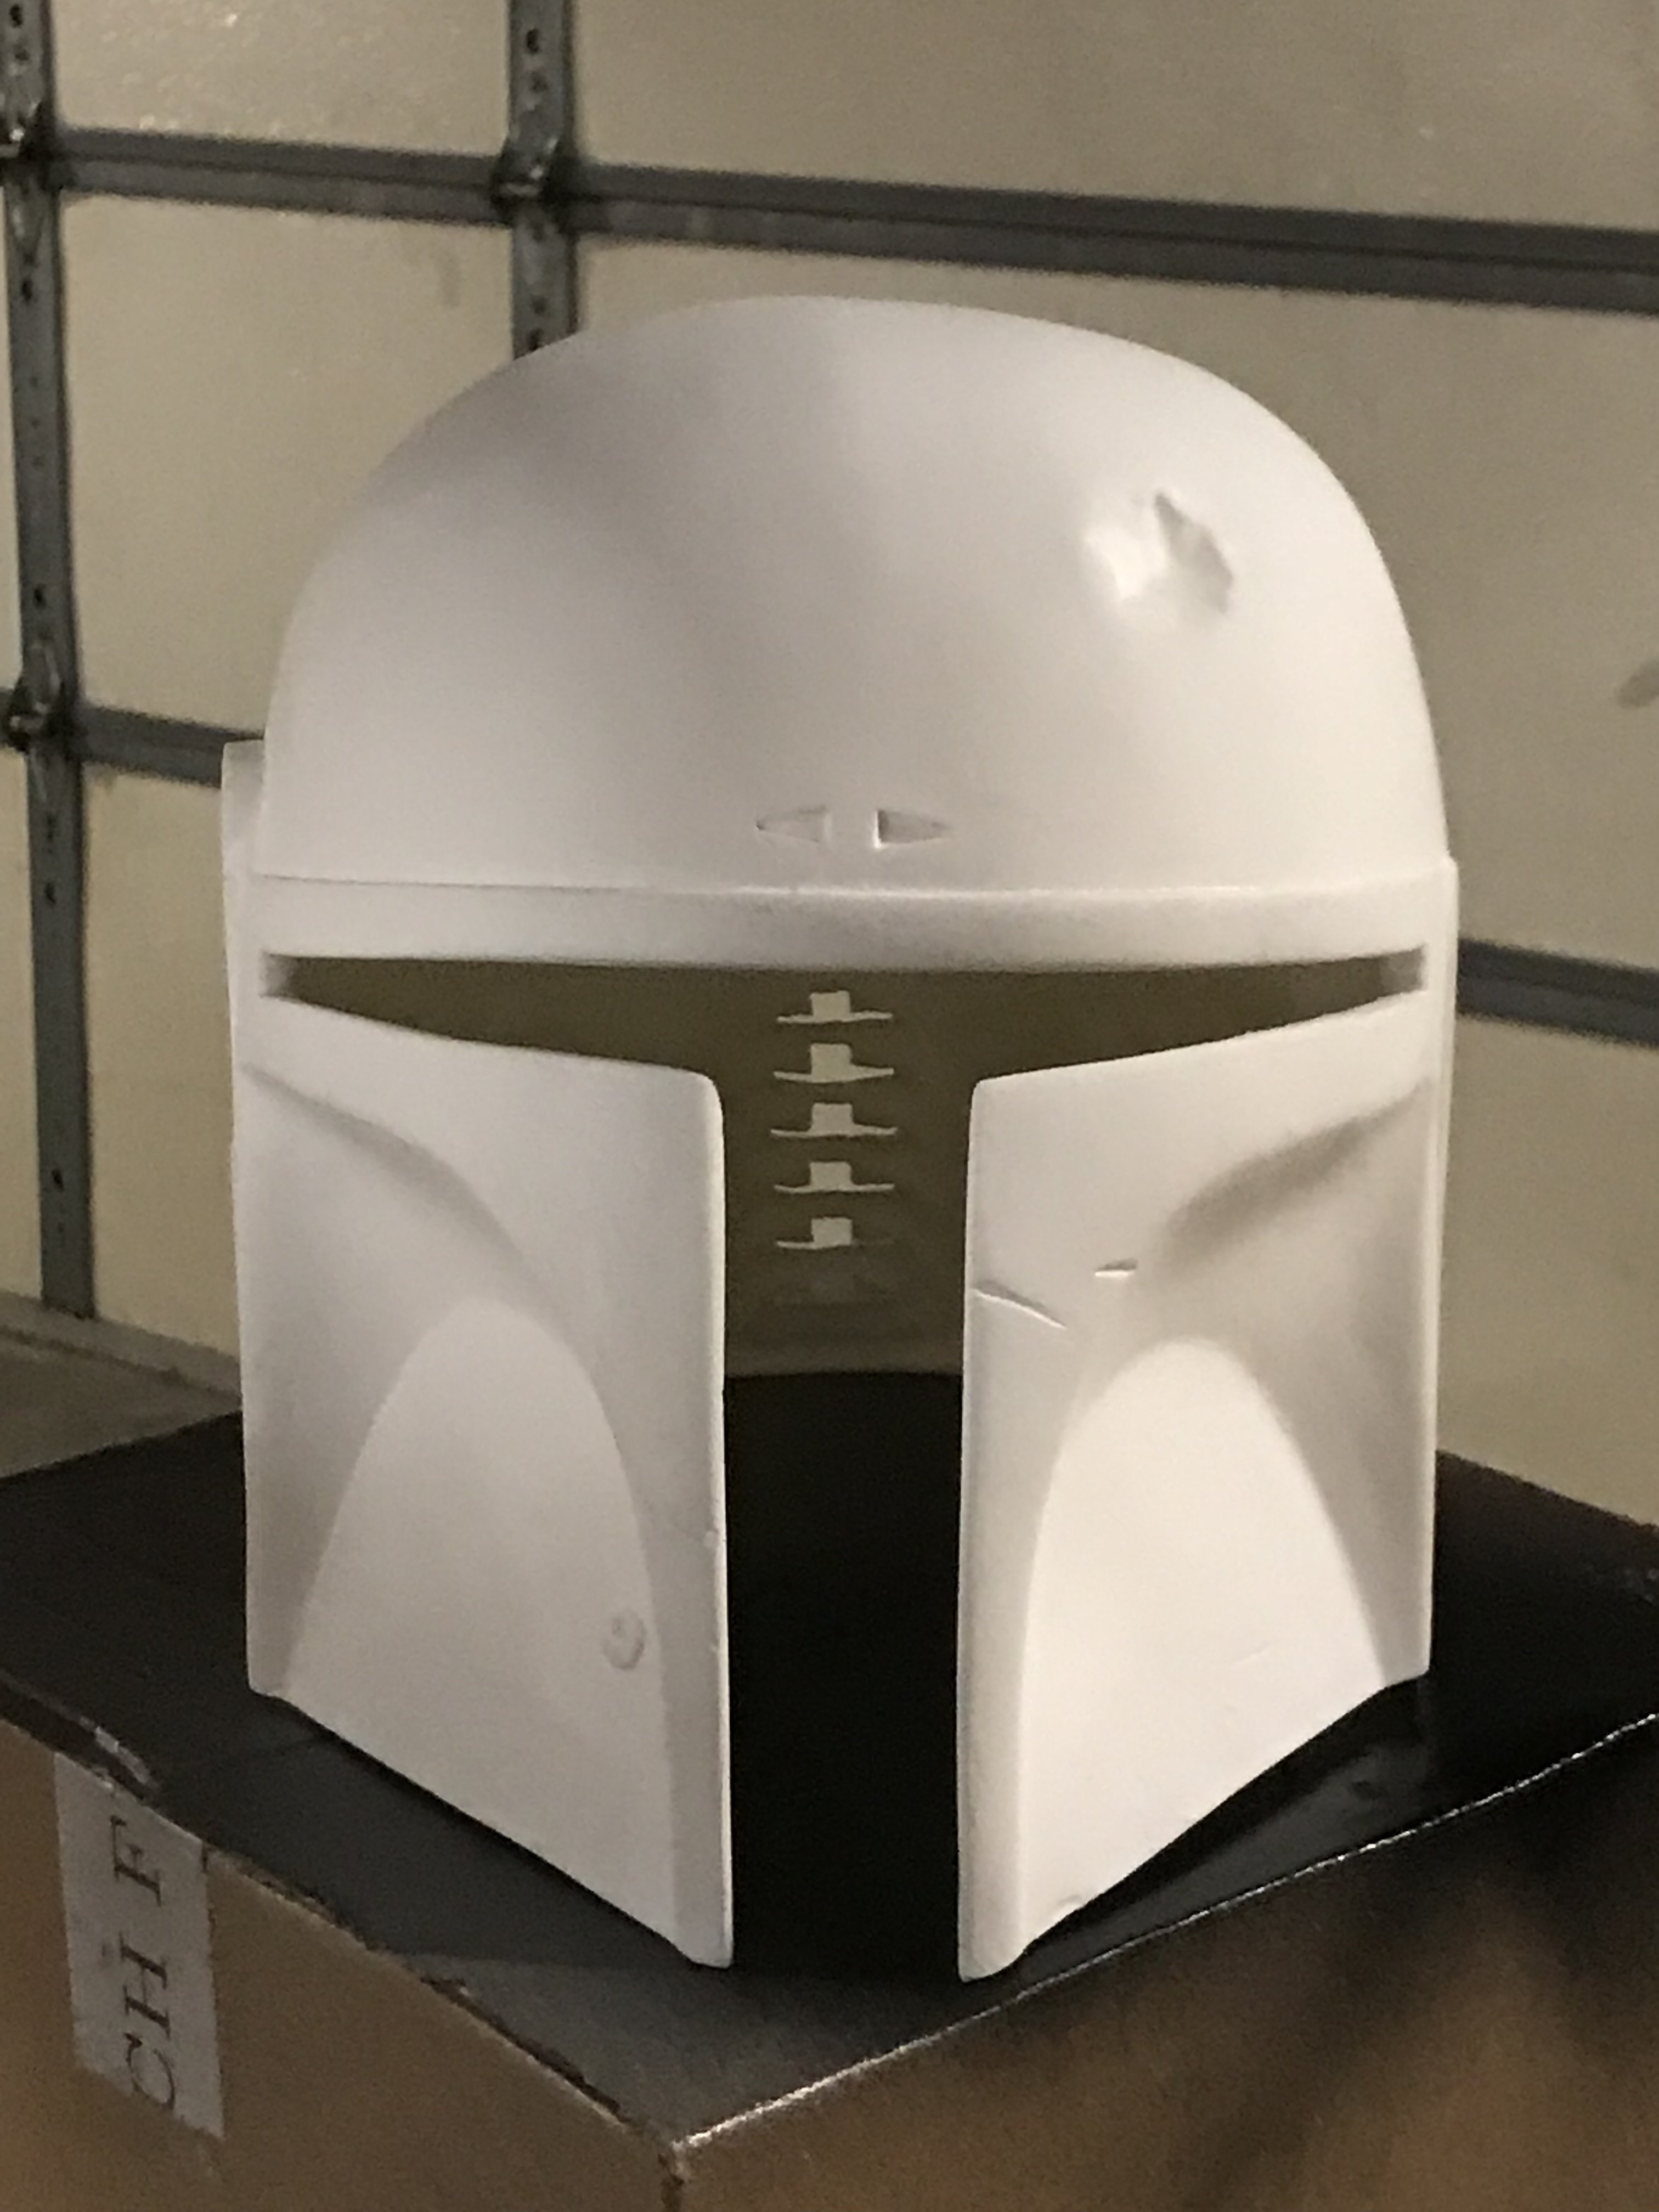
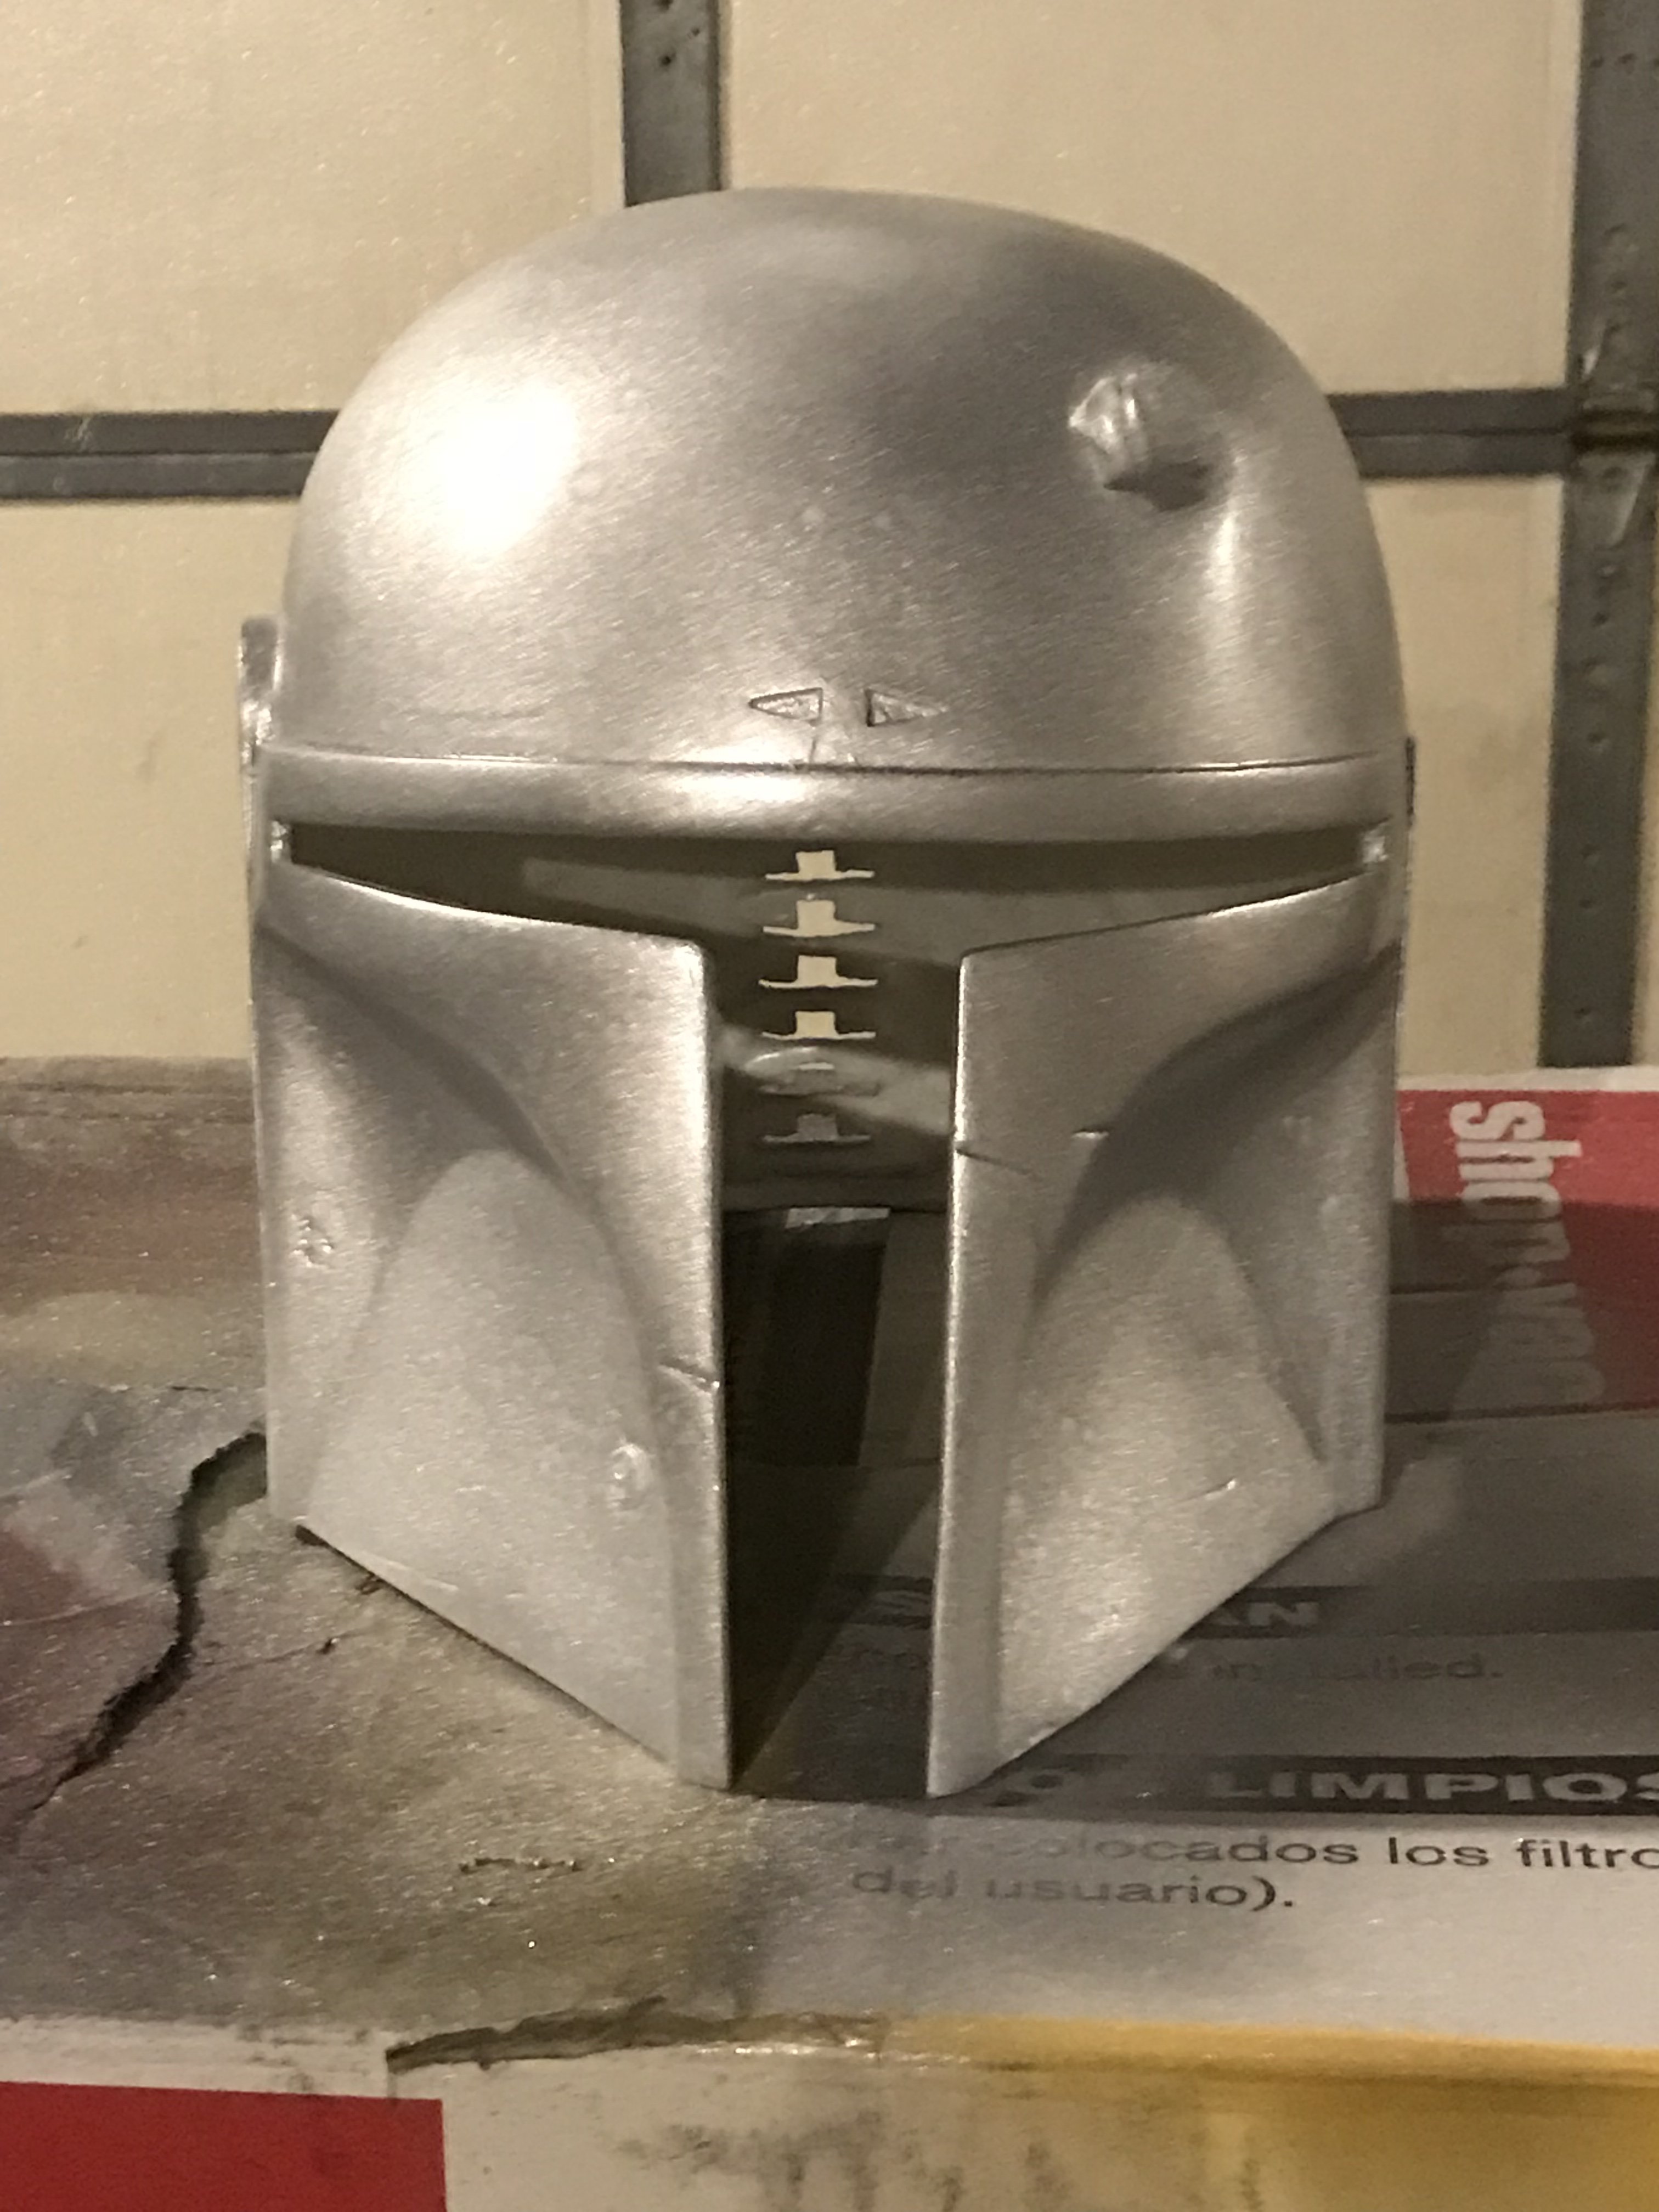
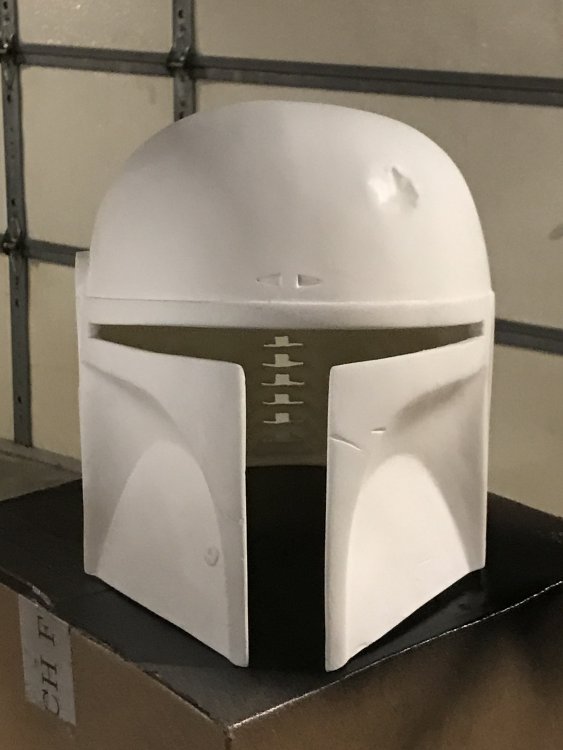
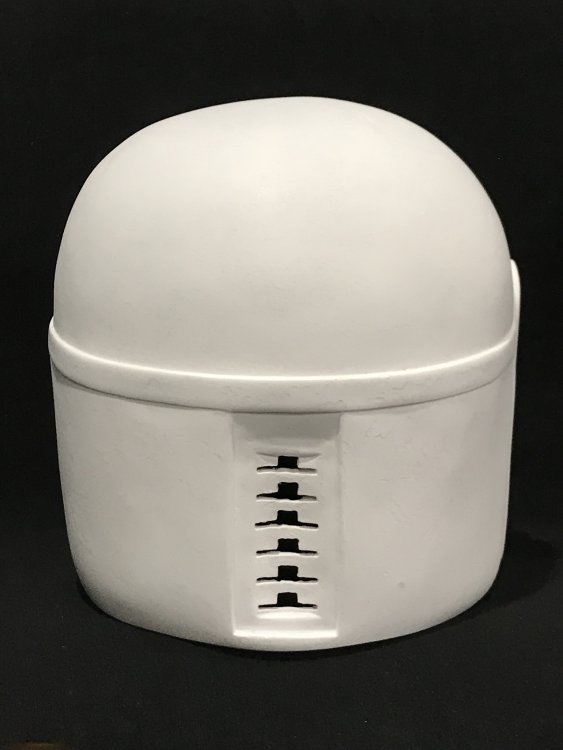
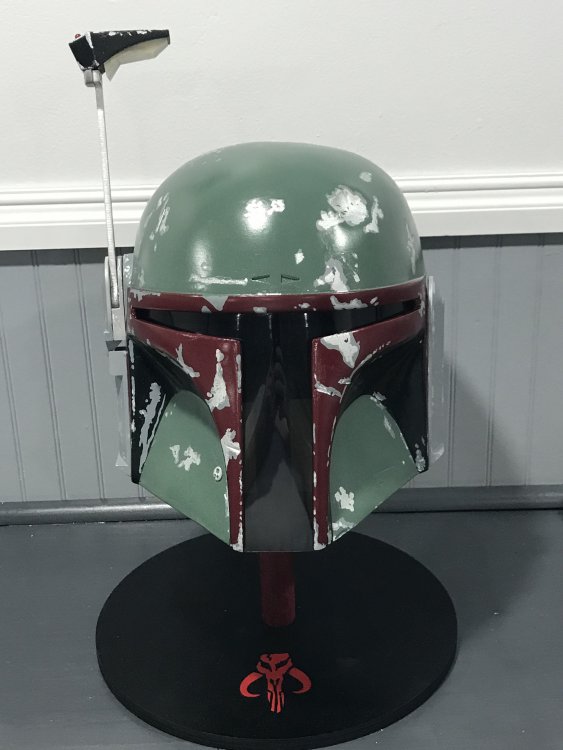
So, I worked hard on the new (better and more accurate) helmet. I think it came out pretty fantastic! ??Thanks again to Sarah for her awesomeness in helping make this possible. ??


-
I ordered from Man Of War. It should be on its way soon. thanks
-

Completed Better than that old fossil - Jodo Kast (long WIP)
Swiftcloud replied to Alay's topic in Costume Building
Yah, I???m STILL waiting for my refund from Anovos. Can???t buy from HFX until then. -
Completed Better than that old fossil - Jodo Kast (long WIP)
Swiftcloud replied to Alay's topic in Costume Building
???Bought a Hyperfirm EE-3??ROTJ??style.?? Probably won't use it in the end as Jodo Kast only uses it for the first act of the comic, and I'm modeling off the second??????????????????, but I'???ll find a use for it.????????? ?? ....or you could sell it to someone who is building a Boba Fett and desperately needs one. ?? -
MOW jet pack ordered! ????
-
I have neither time nor know how to scratch build. So scratch that. Lol ??I know MOW is almost out of production too. As soon as I can get my money back from ???Anever??? I will order from Christian. Unless, of course, if Sarah is successful with her casting. (She did an awesome job on the helmets at Terrificon!)
-
Thank you Sarah. I would gladly give you $50 plus more for your time and effort. Let me know if it works out. If not, don???t worry. I???ll get one somewhere.
-
It seems like the jet pack is like one of the hardest things to come by these days. Most of the trusted makers listed on TDH??have all retired from building it. Lots of old links. I should have started this build like 10 years ago, I guess. But Anavos has the nerve to keep me on a string for 5 months just to tell me that I would have to wait about another 6 more months. -After I had already paid in full! ??So, I???m willing to pay anybody who can sell me a descent kit that will be 501st approvable. Sarah, you have already helped me out in a big way??with the bucket you gave??me, so I just couldn???t impose on you again. But if you manage to pull a new casting from one, I would gladly pay for it. If not, I will order one from MOW as soon as I get my refund from Anovos (aka ???Anever???). -as in Anever again!
-
So, I???m kinda pissed and upset today. Anovos finally emailed me to tell me that the jet pack is delayed until winter! I pre-ordered it in April. That???s some bull shhhh right there. So, I am in the process of getting a refund and now I have to find someone else that sells the kit. ??? So, I???m thinking maybe Manofwar? Any ideas folks???
-
Please welcome our newest recruit - Shaun DeMarco
Swiftcloud replied to Alay's topic in New Member Introductions
Welcome Shaun! Can???t wait to see what you decide to build. -
Please welcome our newest recruit - Christopher O'Conner
Swiftcloud replied to Alay's topic in New Member Introductions
Welcome Christopher! Good luck with your build. -
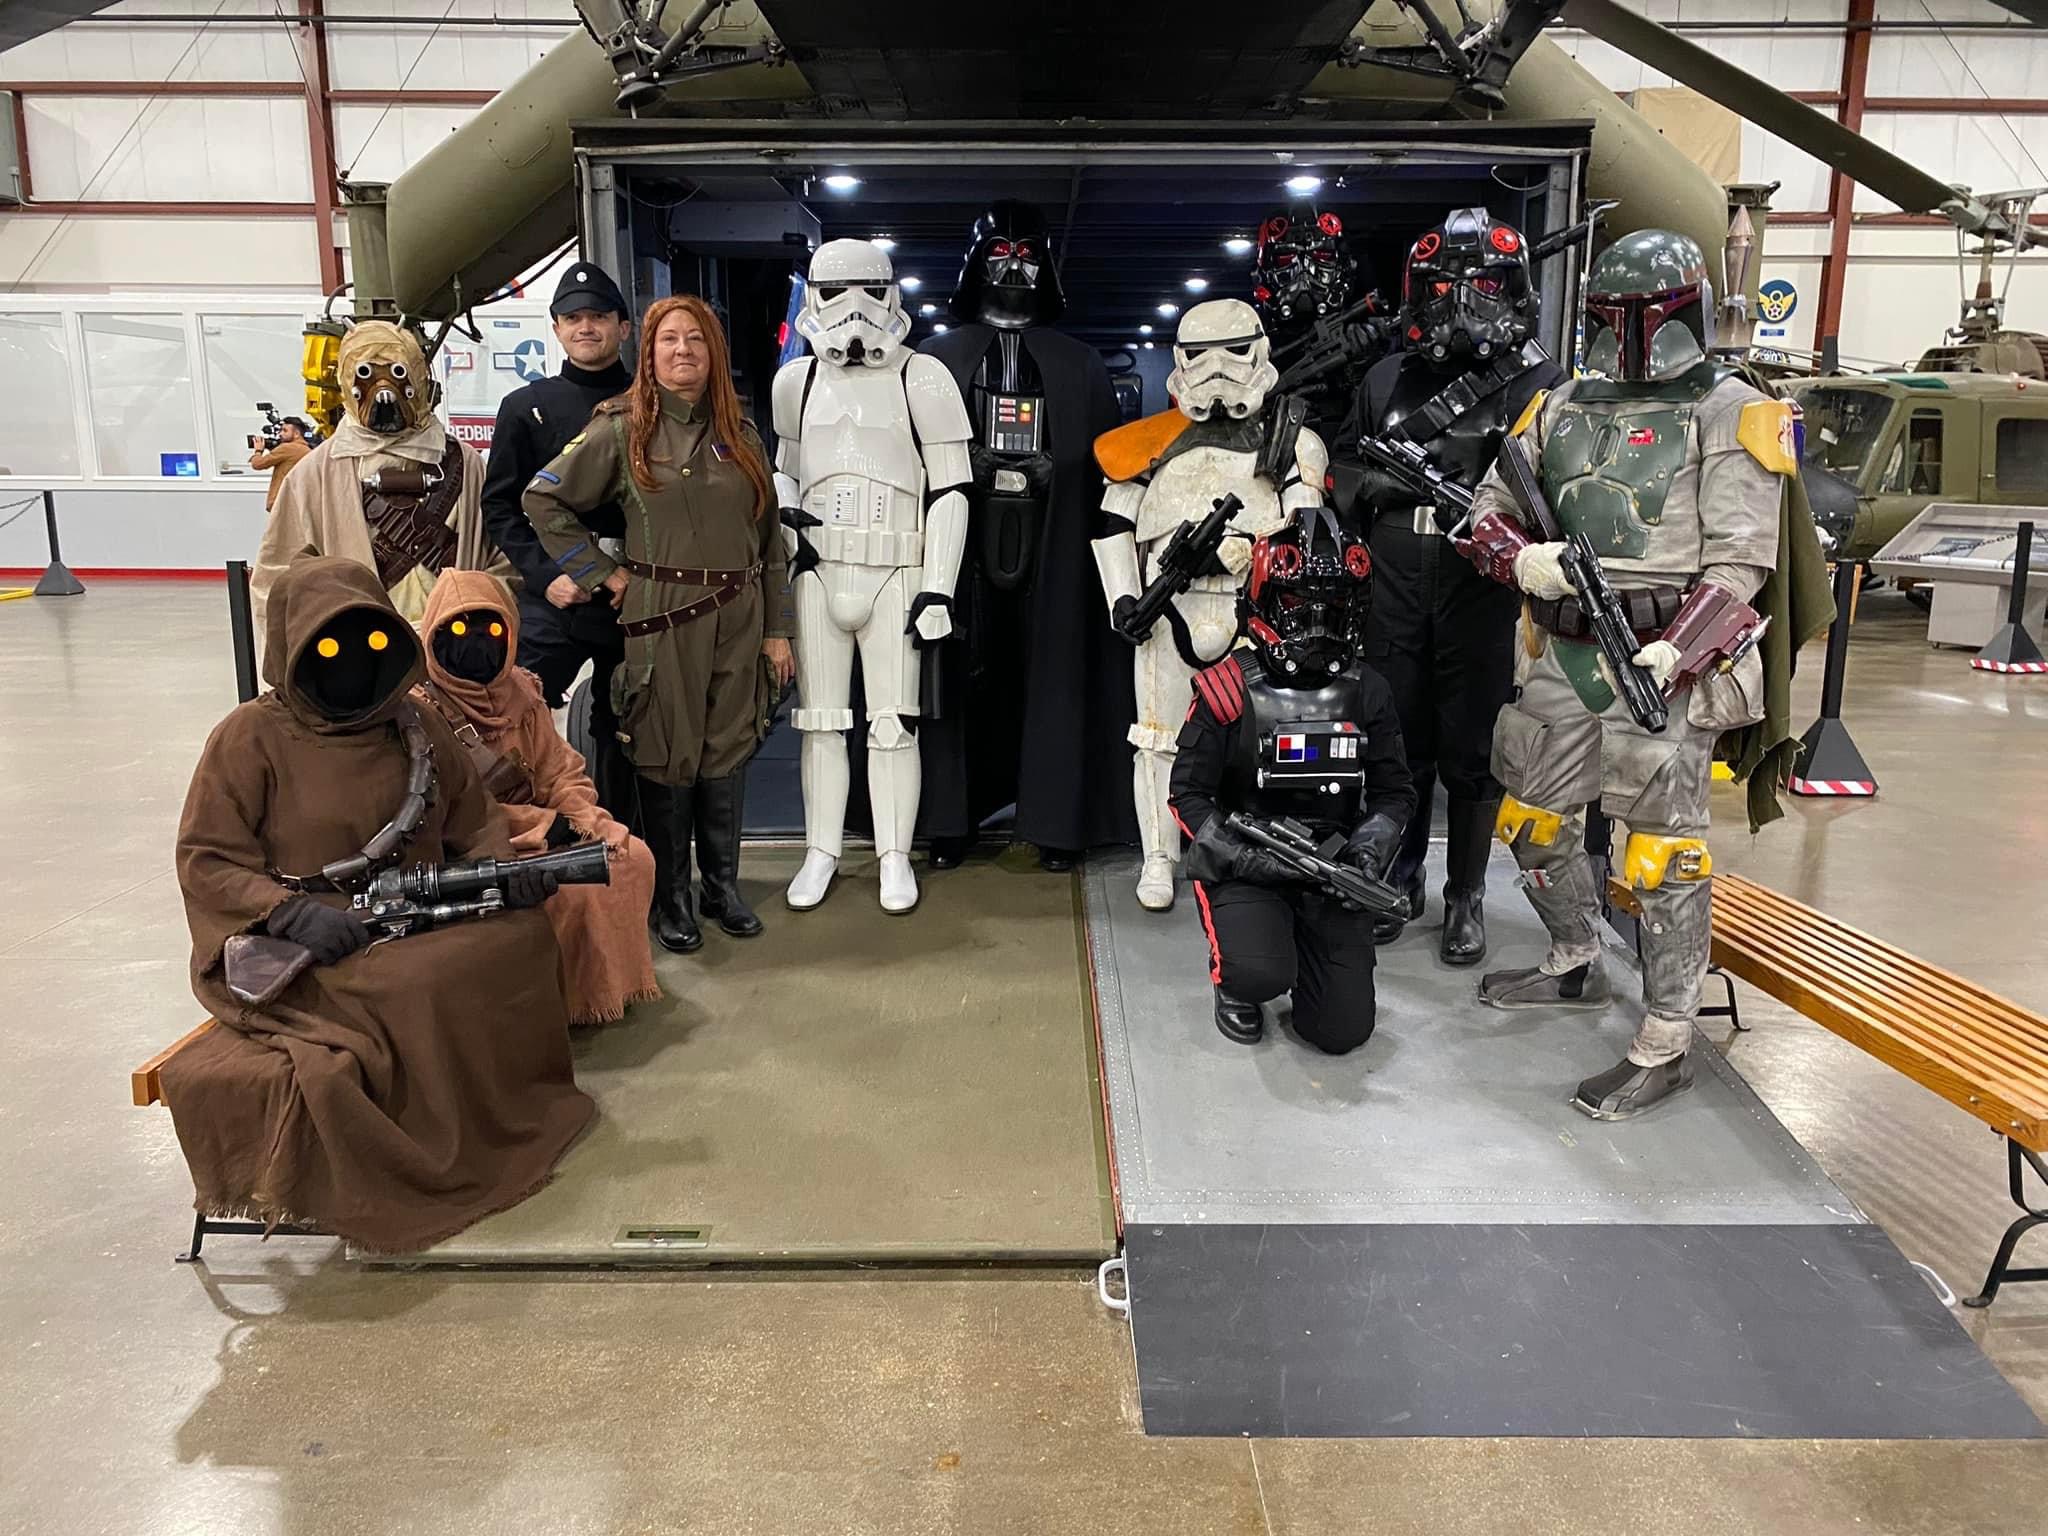
Convention TerrifiCon - 2018 - 08/17/18 10:00 AM to 08/19/18 12:00 AM
Swiftcloud replied to Alay's topic in Event Archive
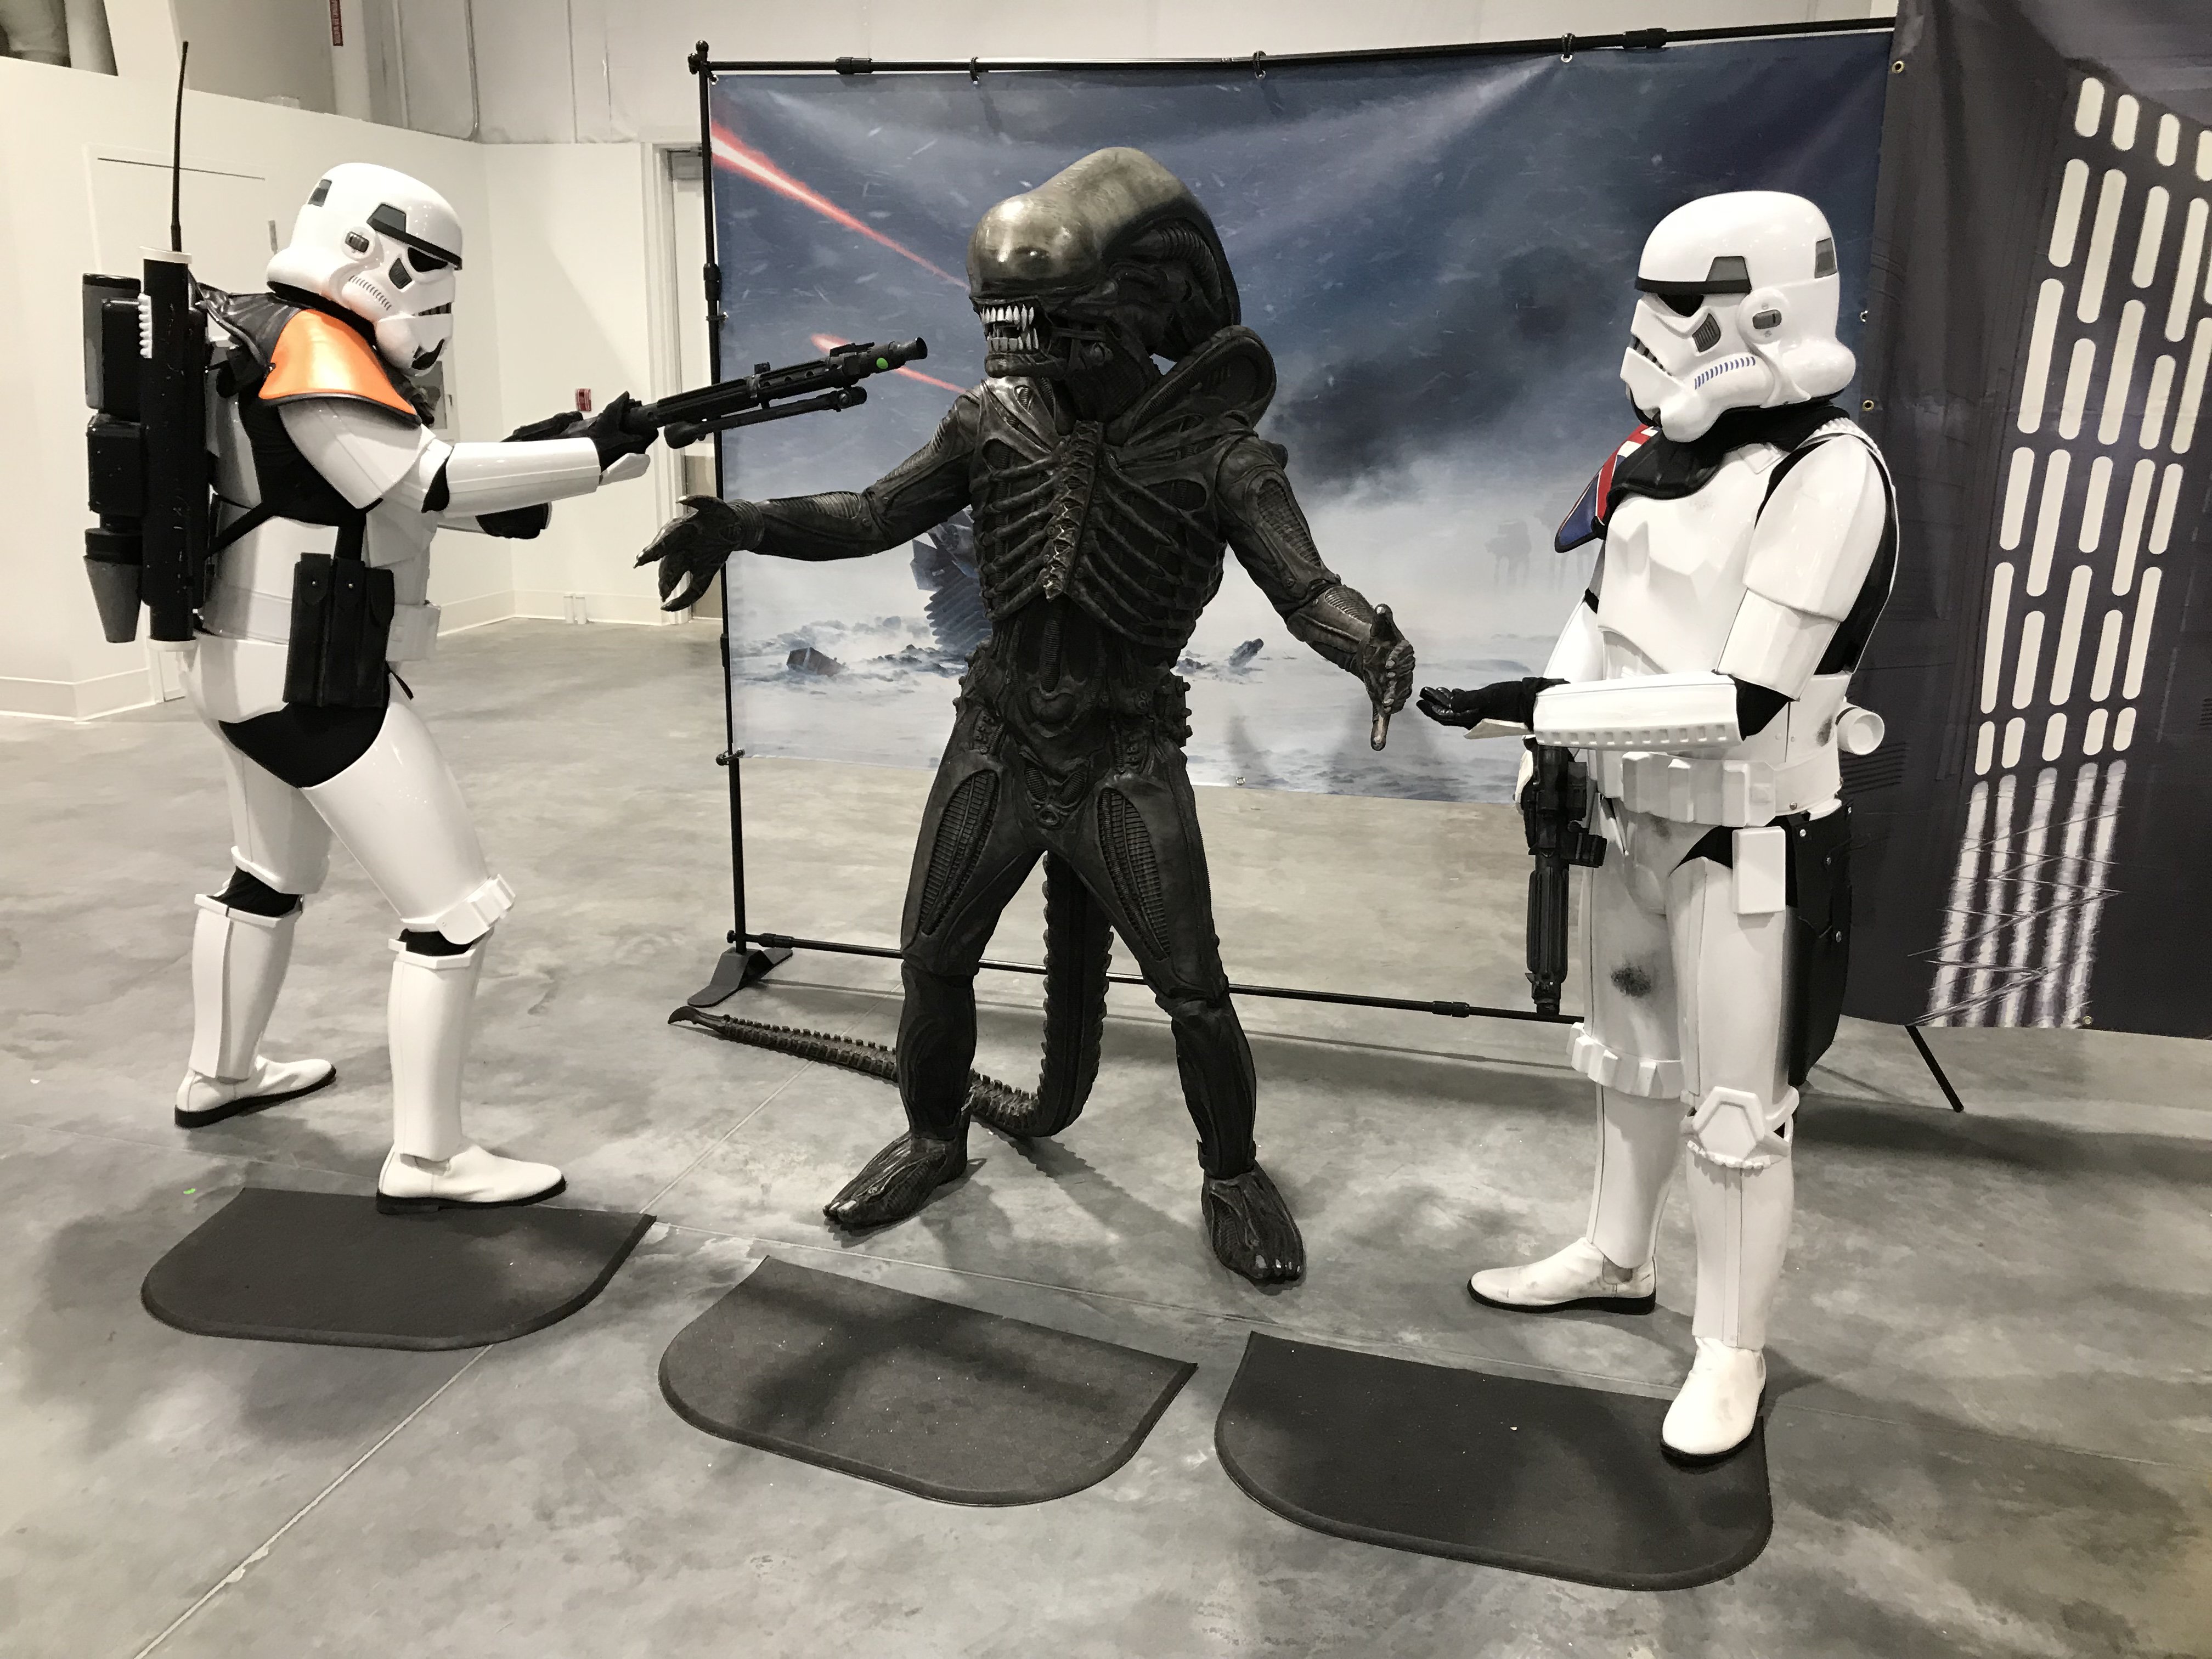
Had a great time wrangling! Had to grab a pic of the Alien invasion. Lol ??
-
Convention TerrifiCon - 2018 - 08/17/18 10:00 AM to 08/19/18 12:00 AM
Swiftcloud replied to Alay's topic in Event Archive
I???m here! I???m here! Nobody is answering. Lol just chillin in the lobby. -
Convention TerrifiCon - 2018 - 08/17/18 10:00 AM to 08/19/18 12:00 AM
Swiftcloud replied to Alay's topic in Event Archive
Very good! Thanks. See you then. -
Convention TerrifiCon - 2018 - 08/17/18 10:00 AM to 08/19/18 12:00 AM
Swiftcloud replied to Alay's topic in Event Archive
I???ll see you tomorrow. Second shift says starts at 2. Should I get there around 1 maybe? -
Very noble of you Joe. I have a Cricut vinyl plotter too. So if there is something I can help with, let me know. I printed my Boba Fet crest and shoulder emblem. So I have those on file.
-
Congratulations! I knew you were gonna make it! I am glad for you.
-
Convention TerrifiCon - 2018 - 08/17/18 10:00 AM to 08/19/18 12:00 AM
Swiftcloud replied to Alay's topic in Event Archive
Count me in!!! I???ll see you Sunday. Thank you! -
Please welcome our newest recruit - David Schroll
Swiftcloud replied to Alay's topic in New Member Introductions
Welcome David! I am also a newbie, working on a Boba Fett. Good luck with your Stormtrooper build. Everyone in here is so very helpful and I???m sure it???s going to be an amazing experience for you. Hope to see you soon. -
Convention TerrifiCon - 2018 - 08/17/18 10:00 AM to 08/19/18 12:00 AM
Swiftcloud replied to Alay's topic in Event Archive
I could do that! Unfortunately I have to DJ on Saturday the 18th, but I am available Sunday. I would love to help wrangle. ??Maybe from 2pm to 6???Let me know what I have to do to take part. Thanks! -
Convention TerrifiCon - 2018 - 08/17/18 10:00 AM to 08/19/18 12:00 AM
Swiftcloud replied to Alay's topic in Event Archive
Can???t wait ???till I can troop with you all! Gotta get a legion ID soon. I feel like I???m missing out on lots of fun. -
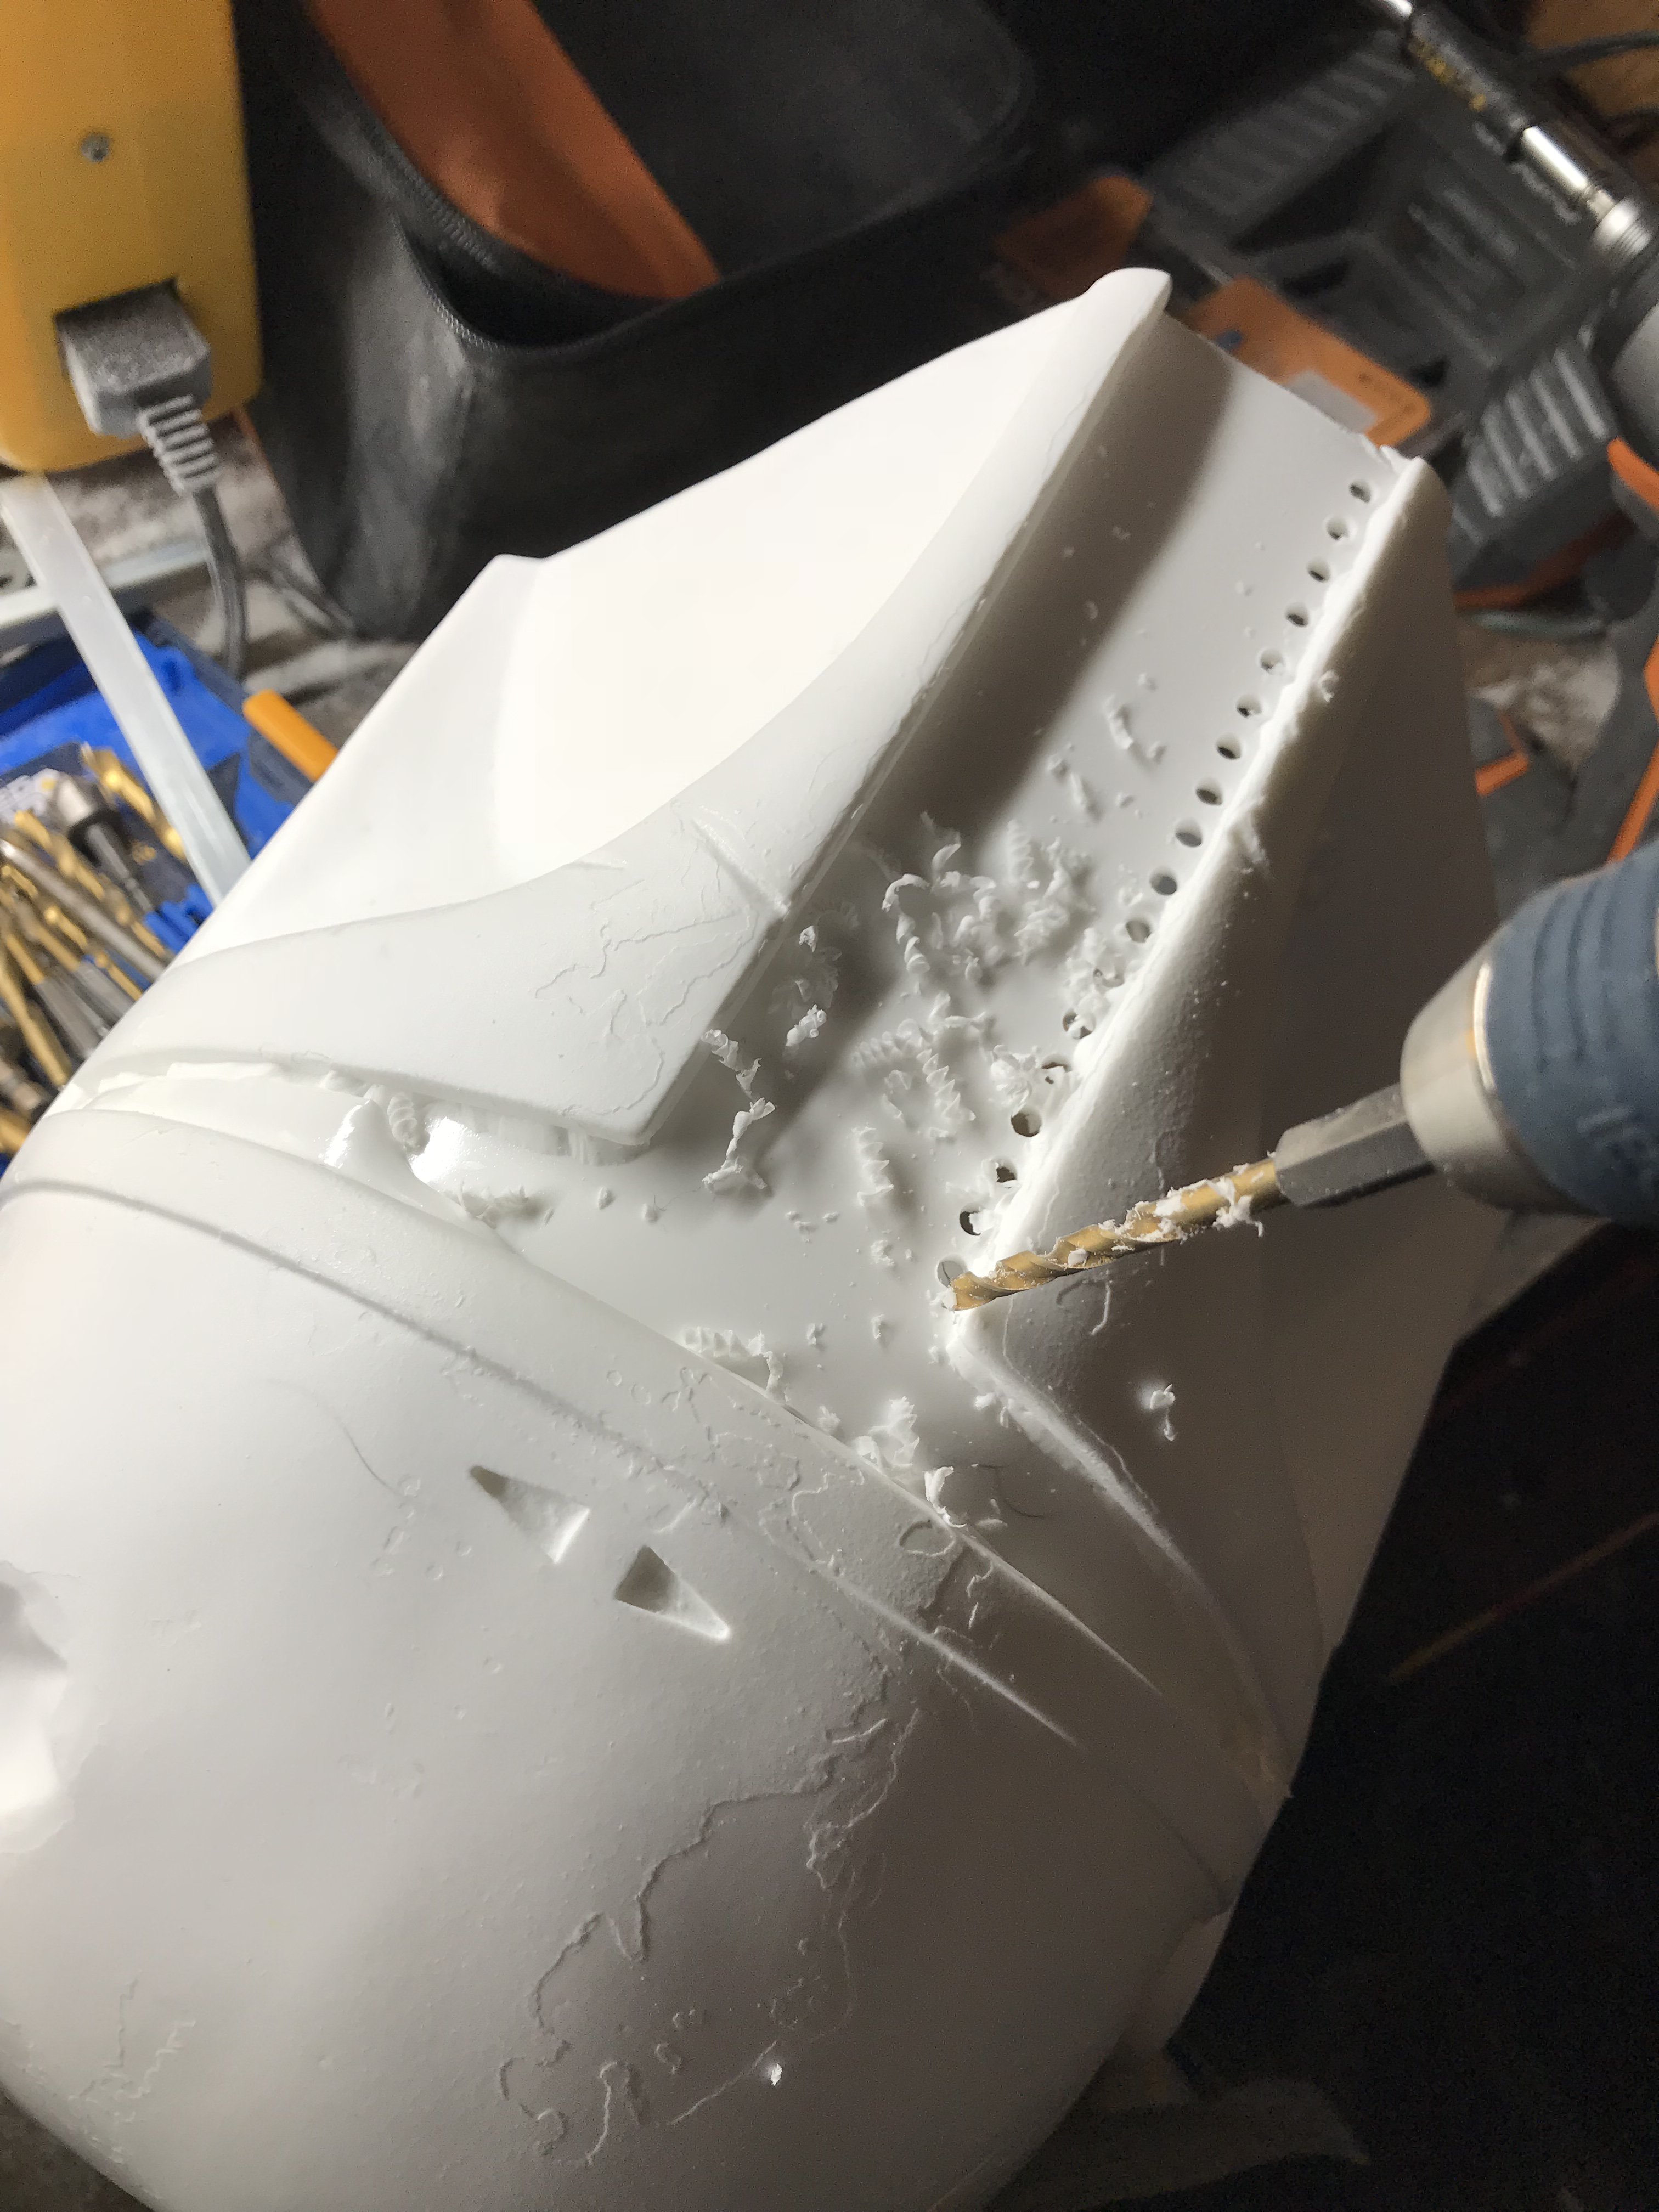
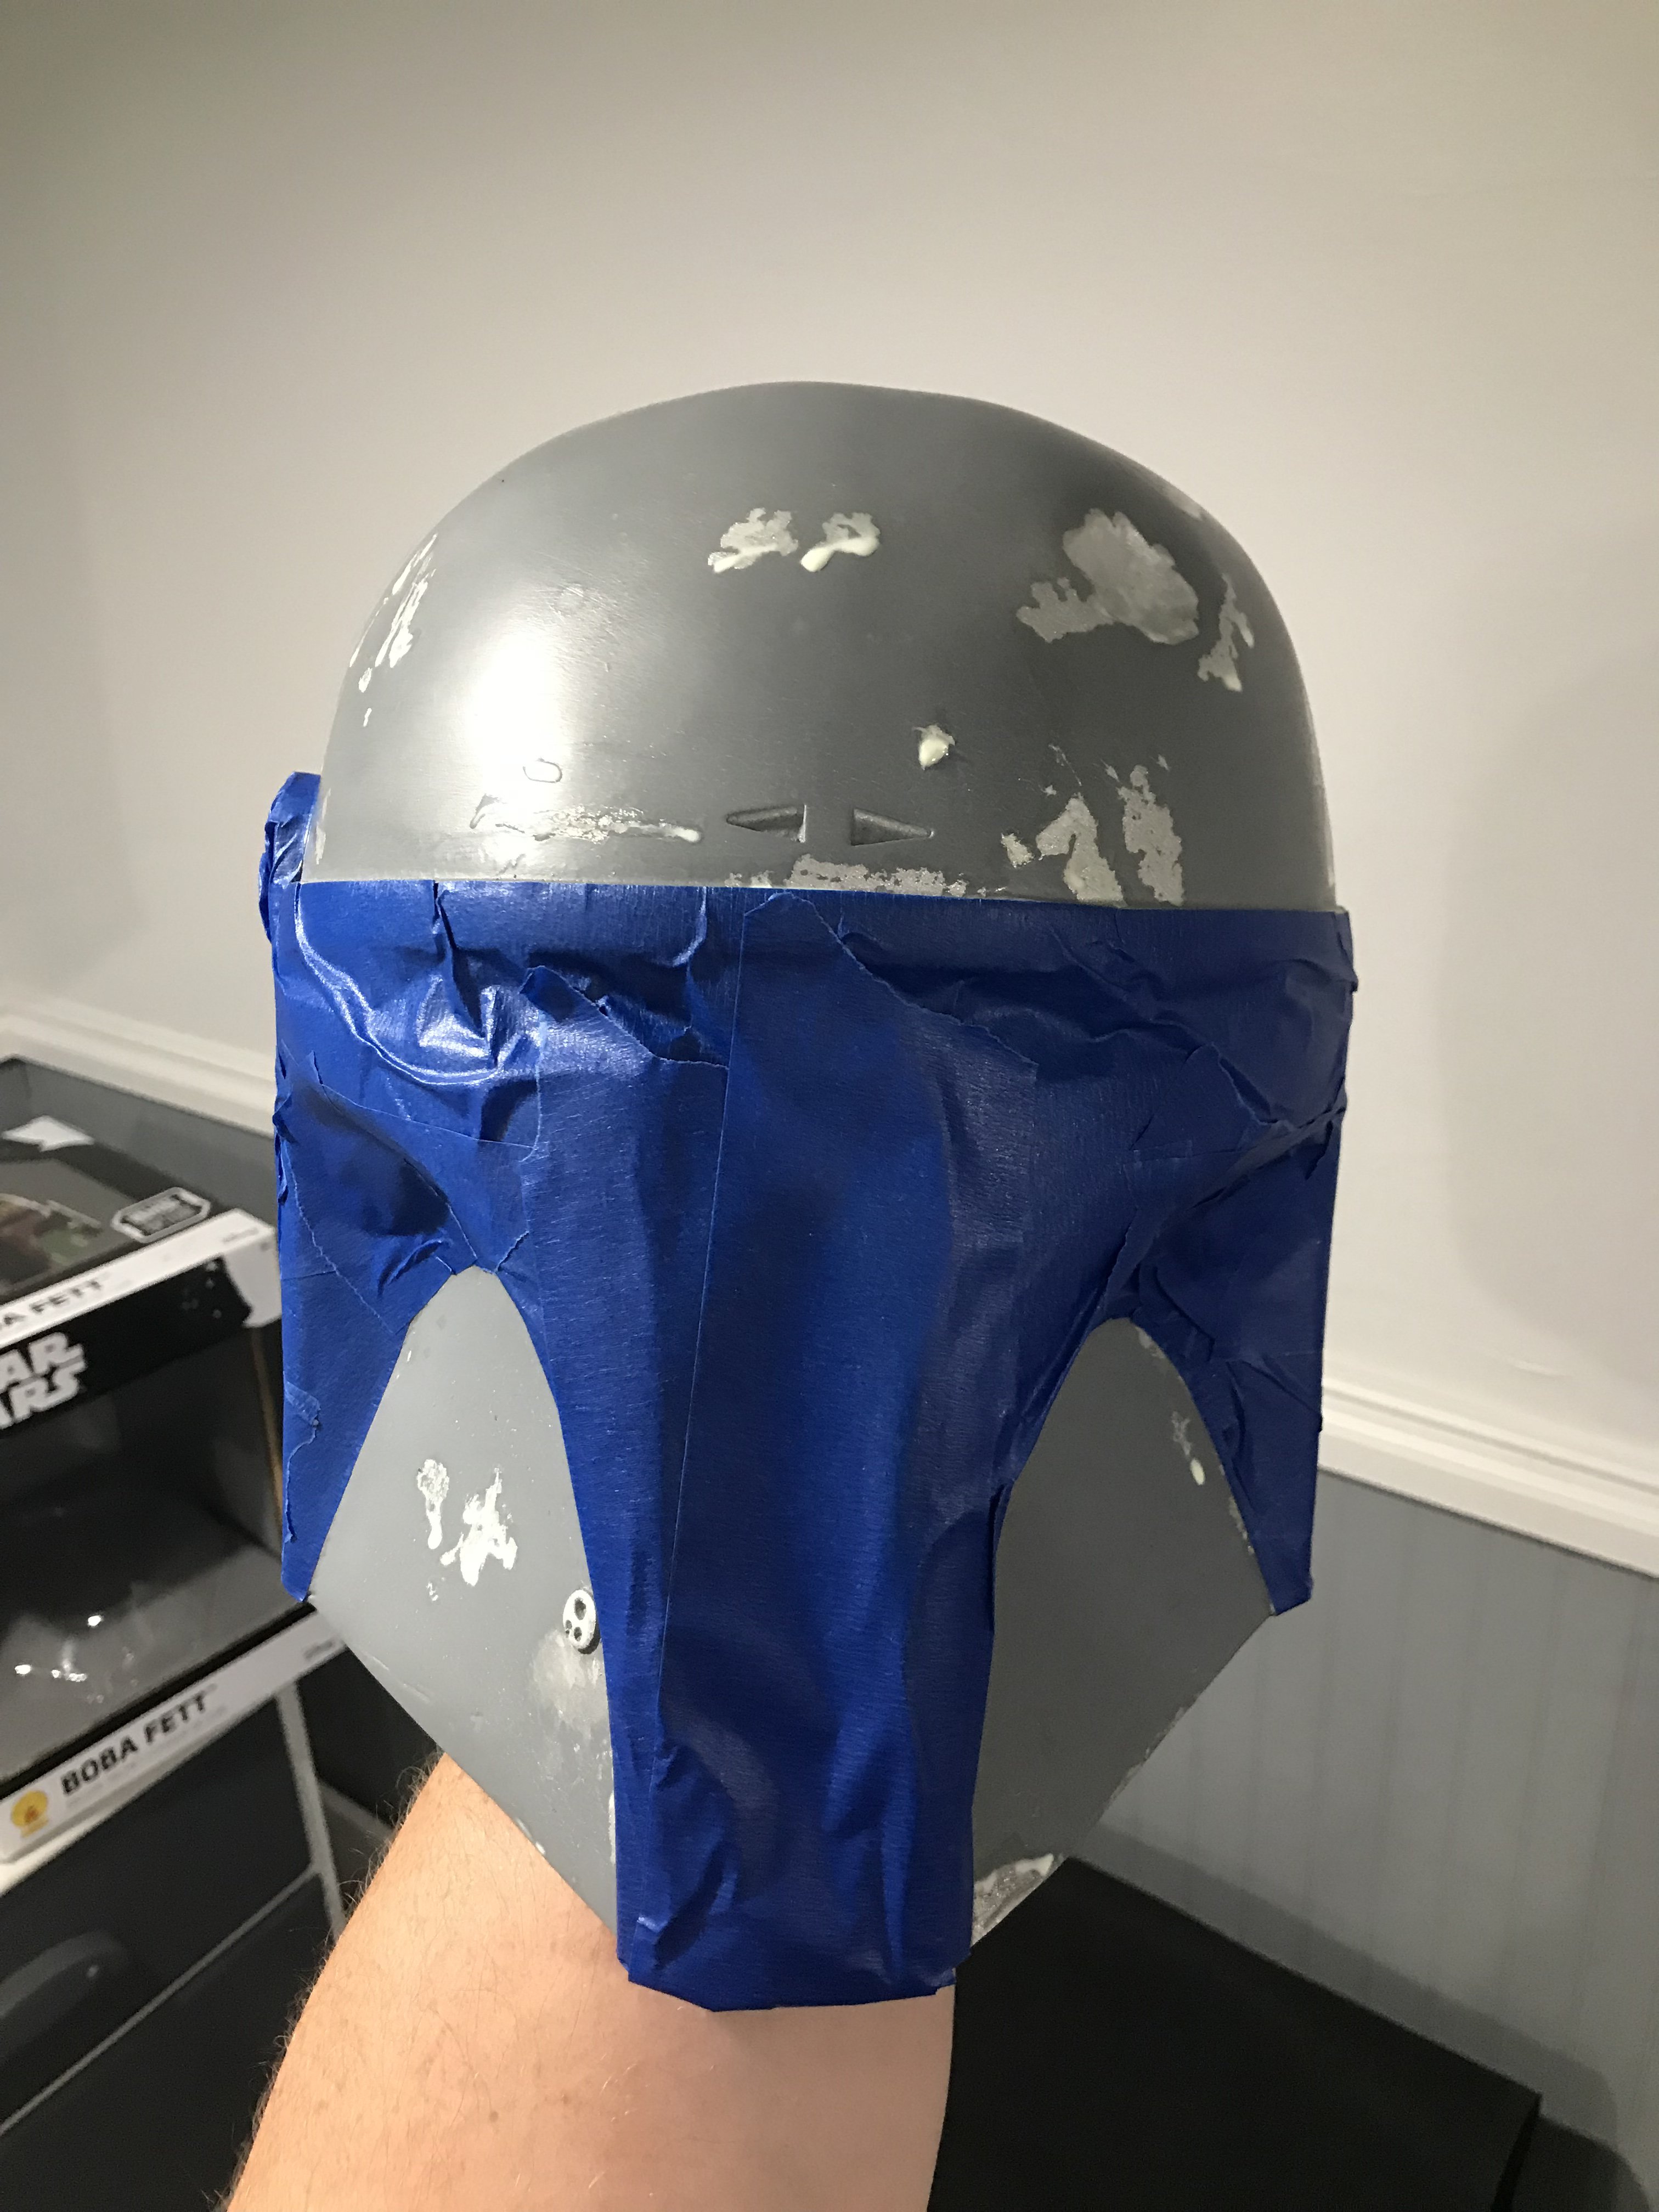
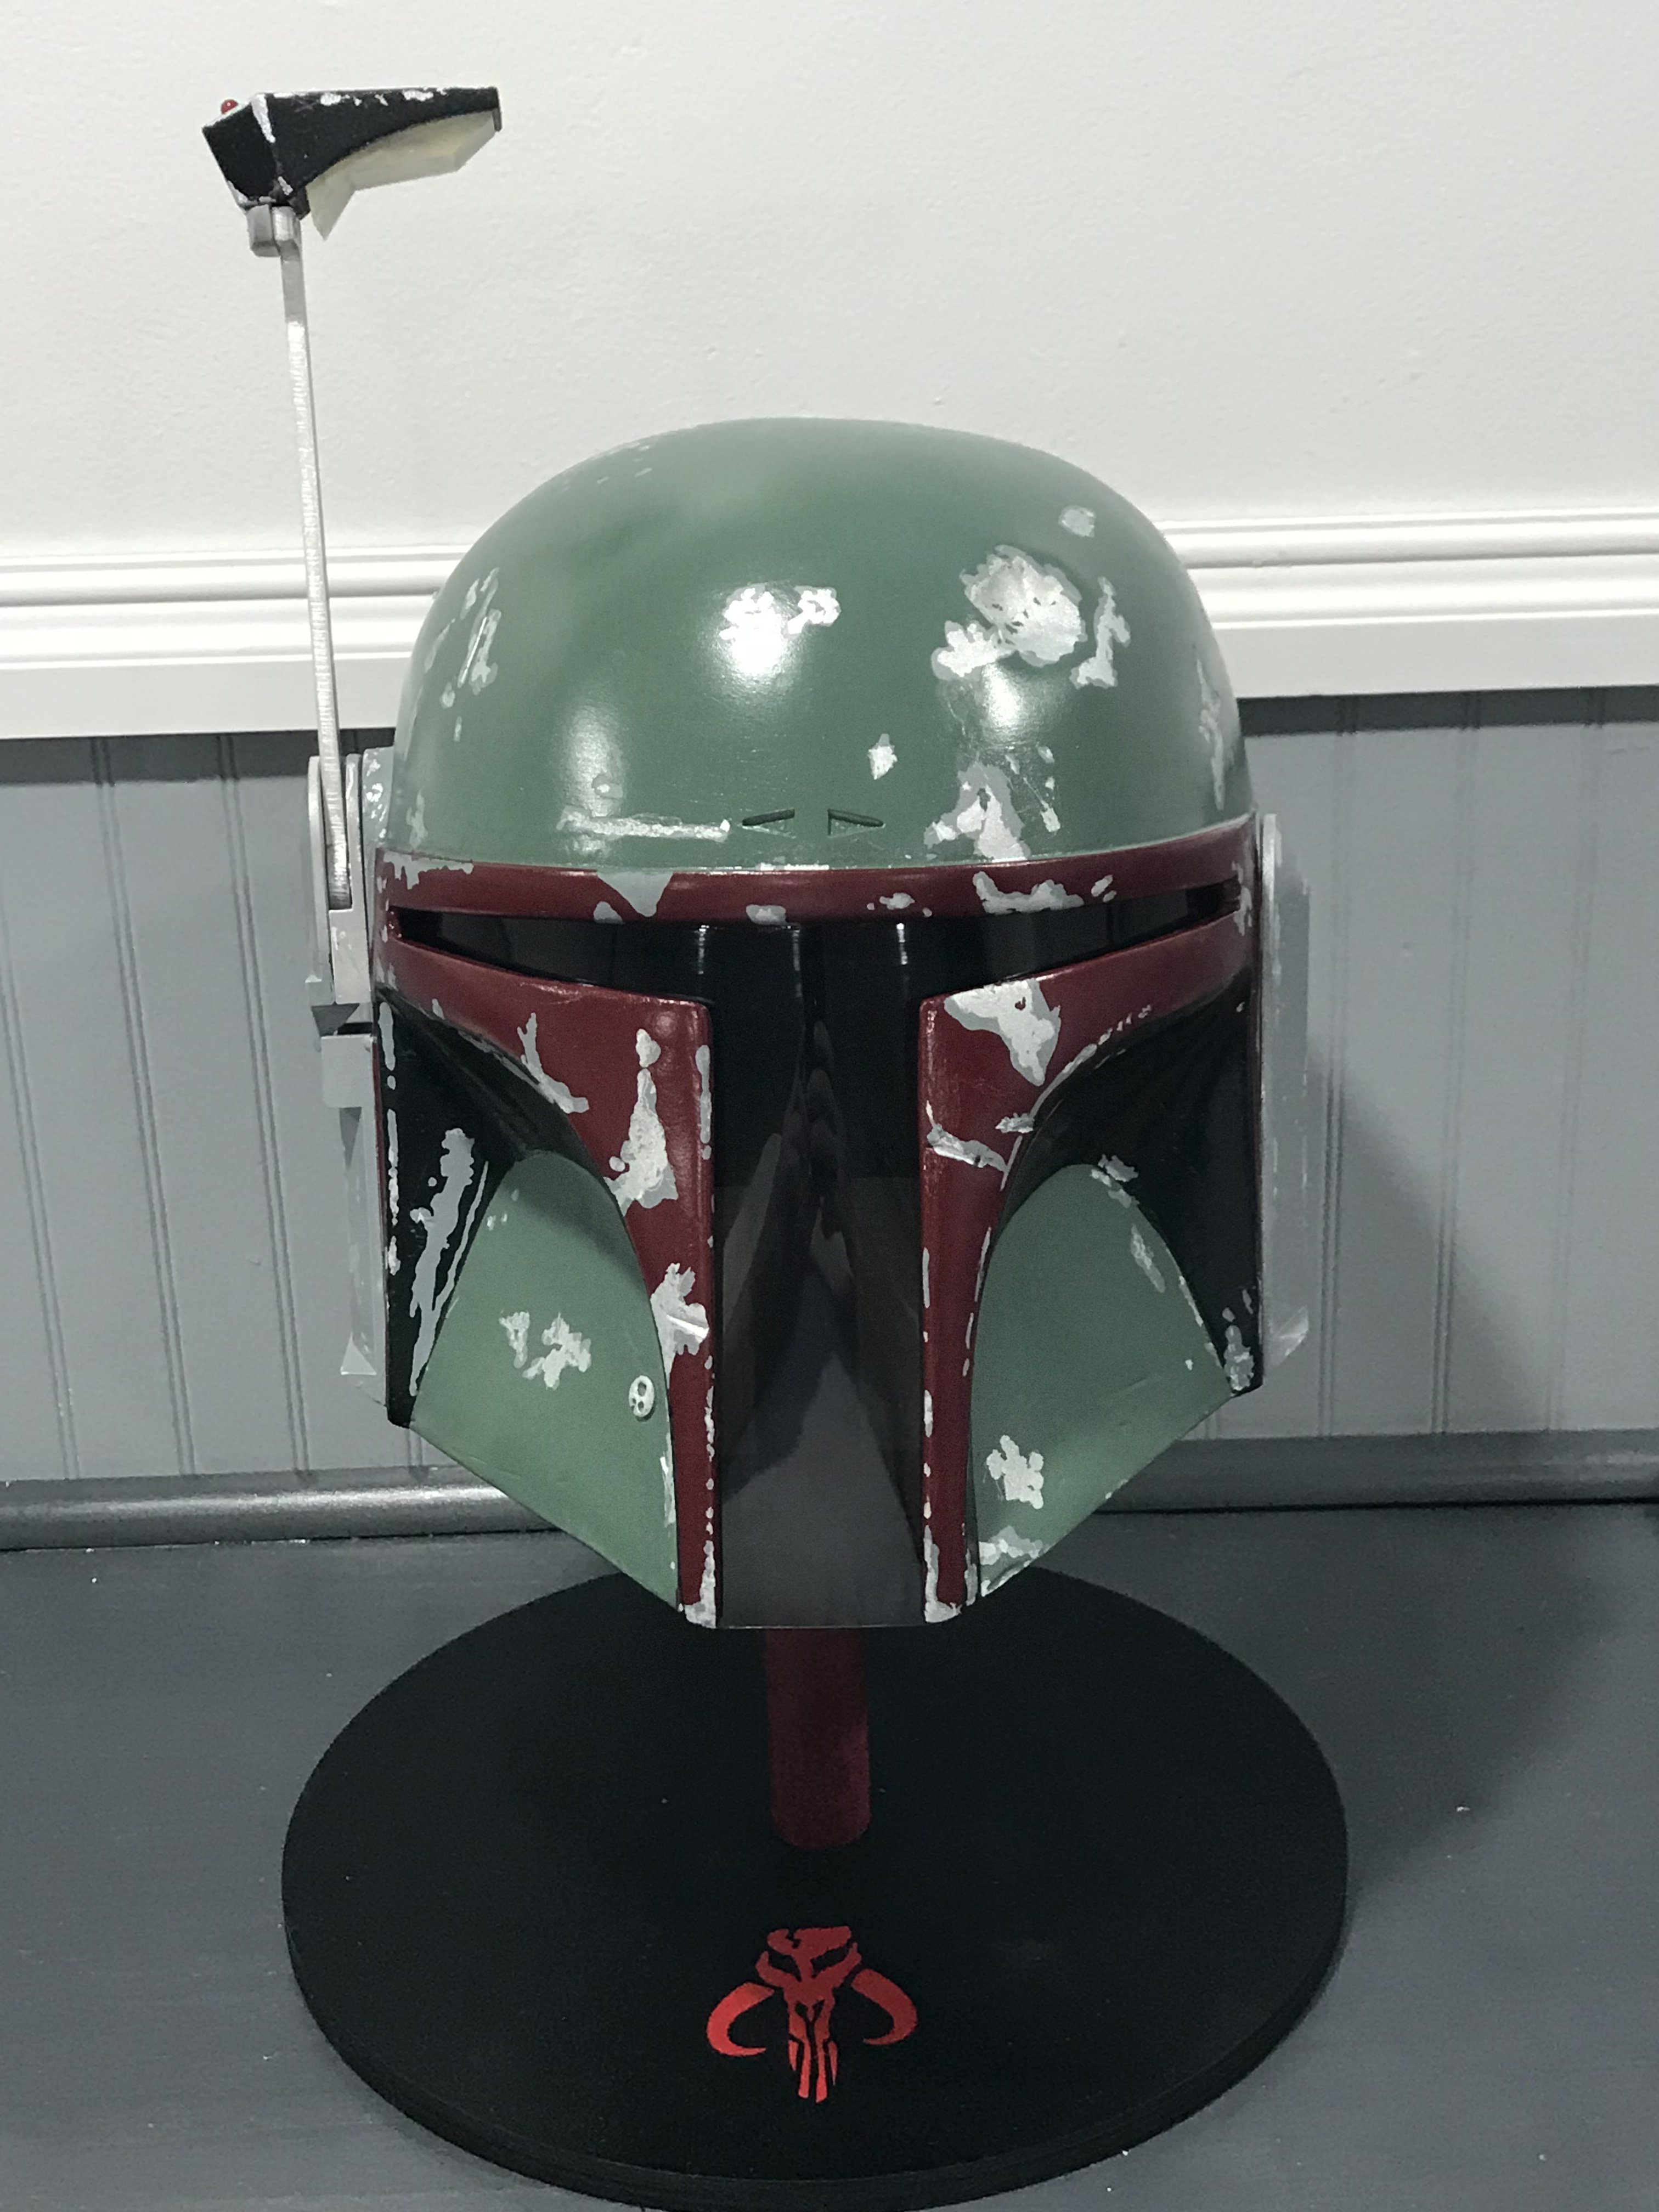
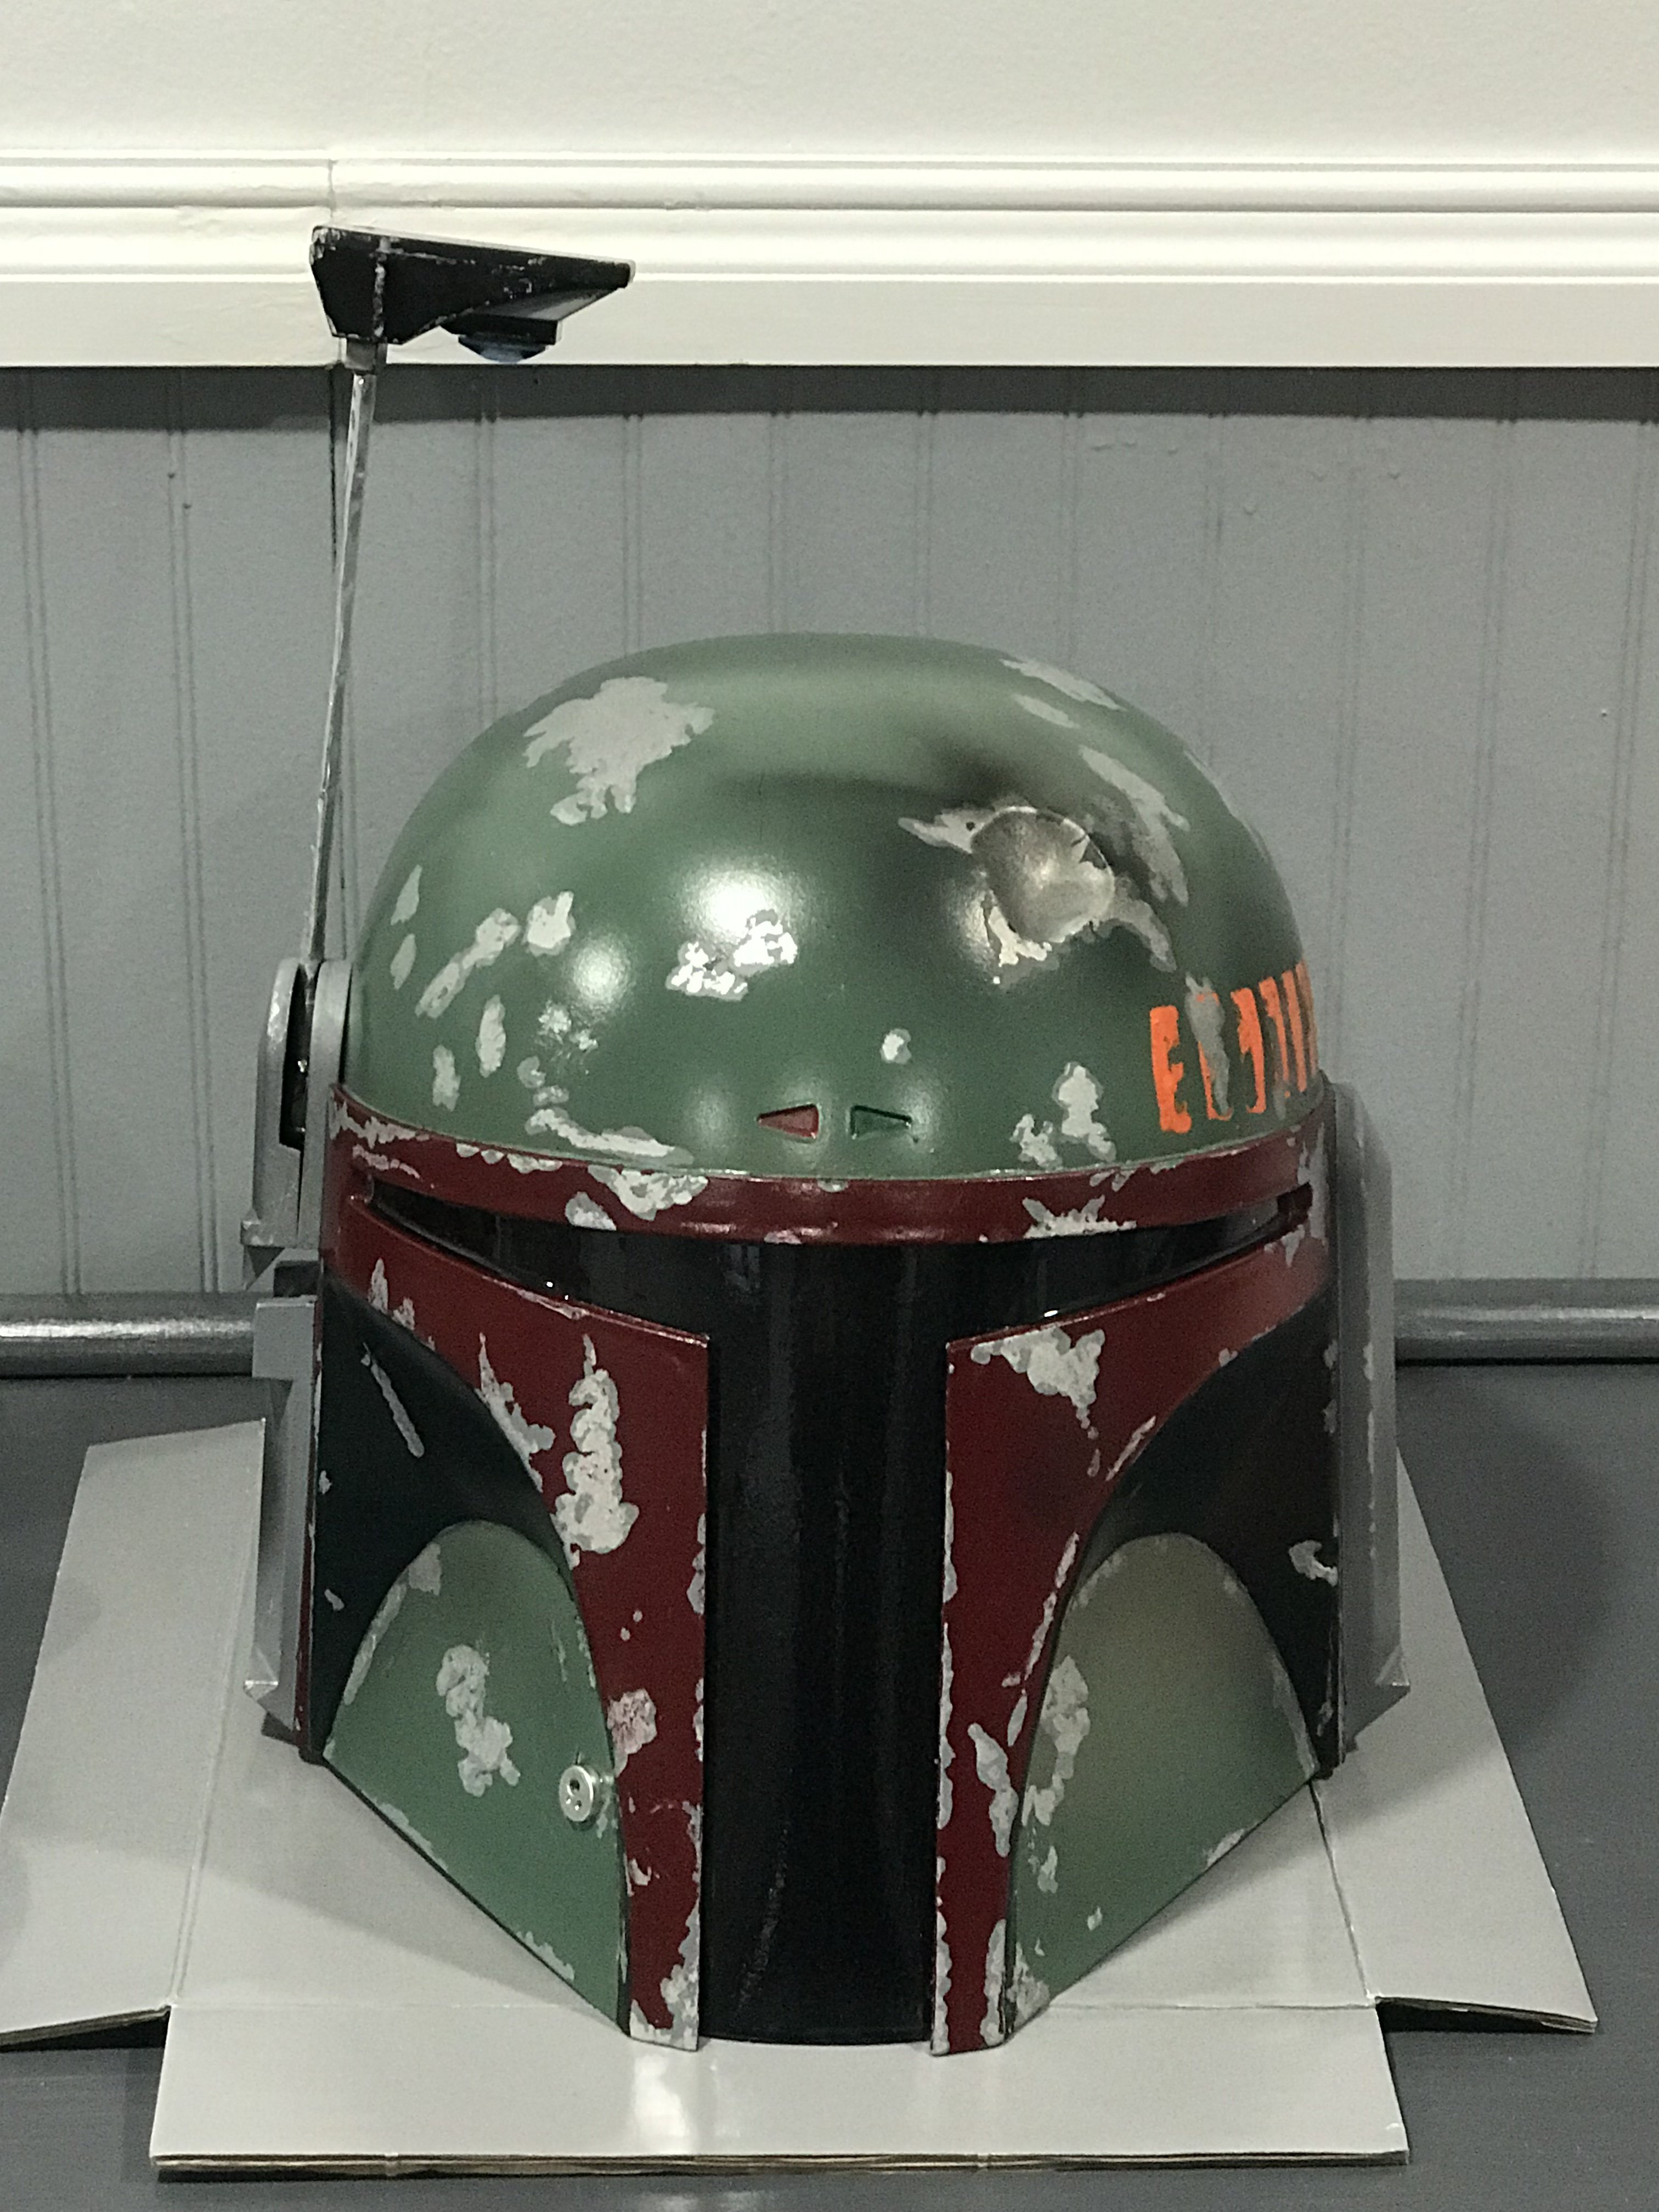
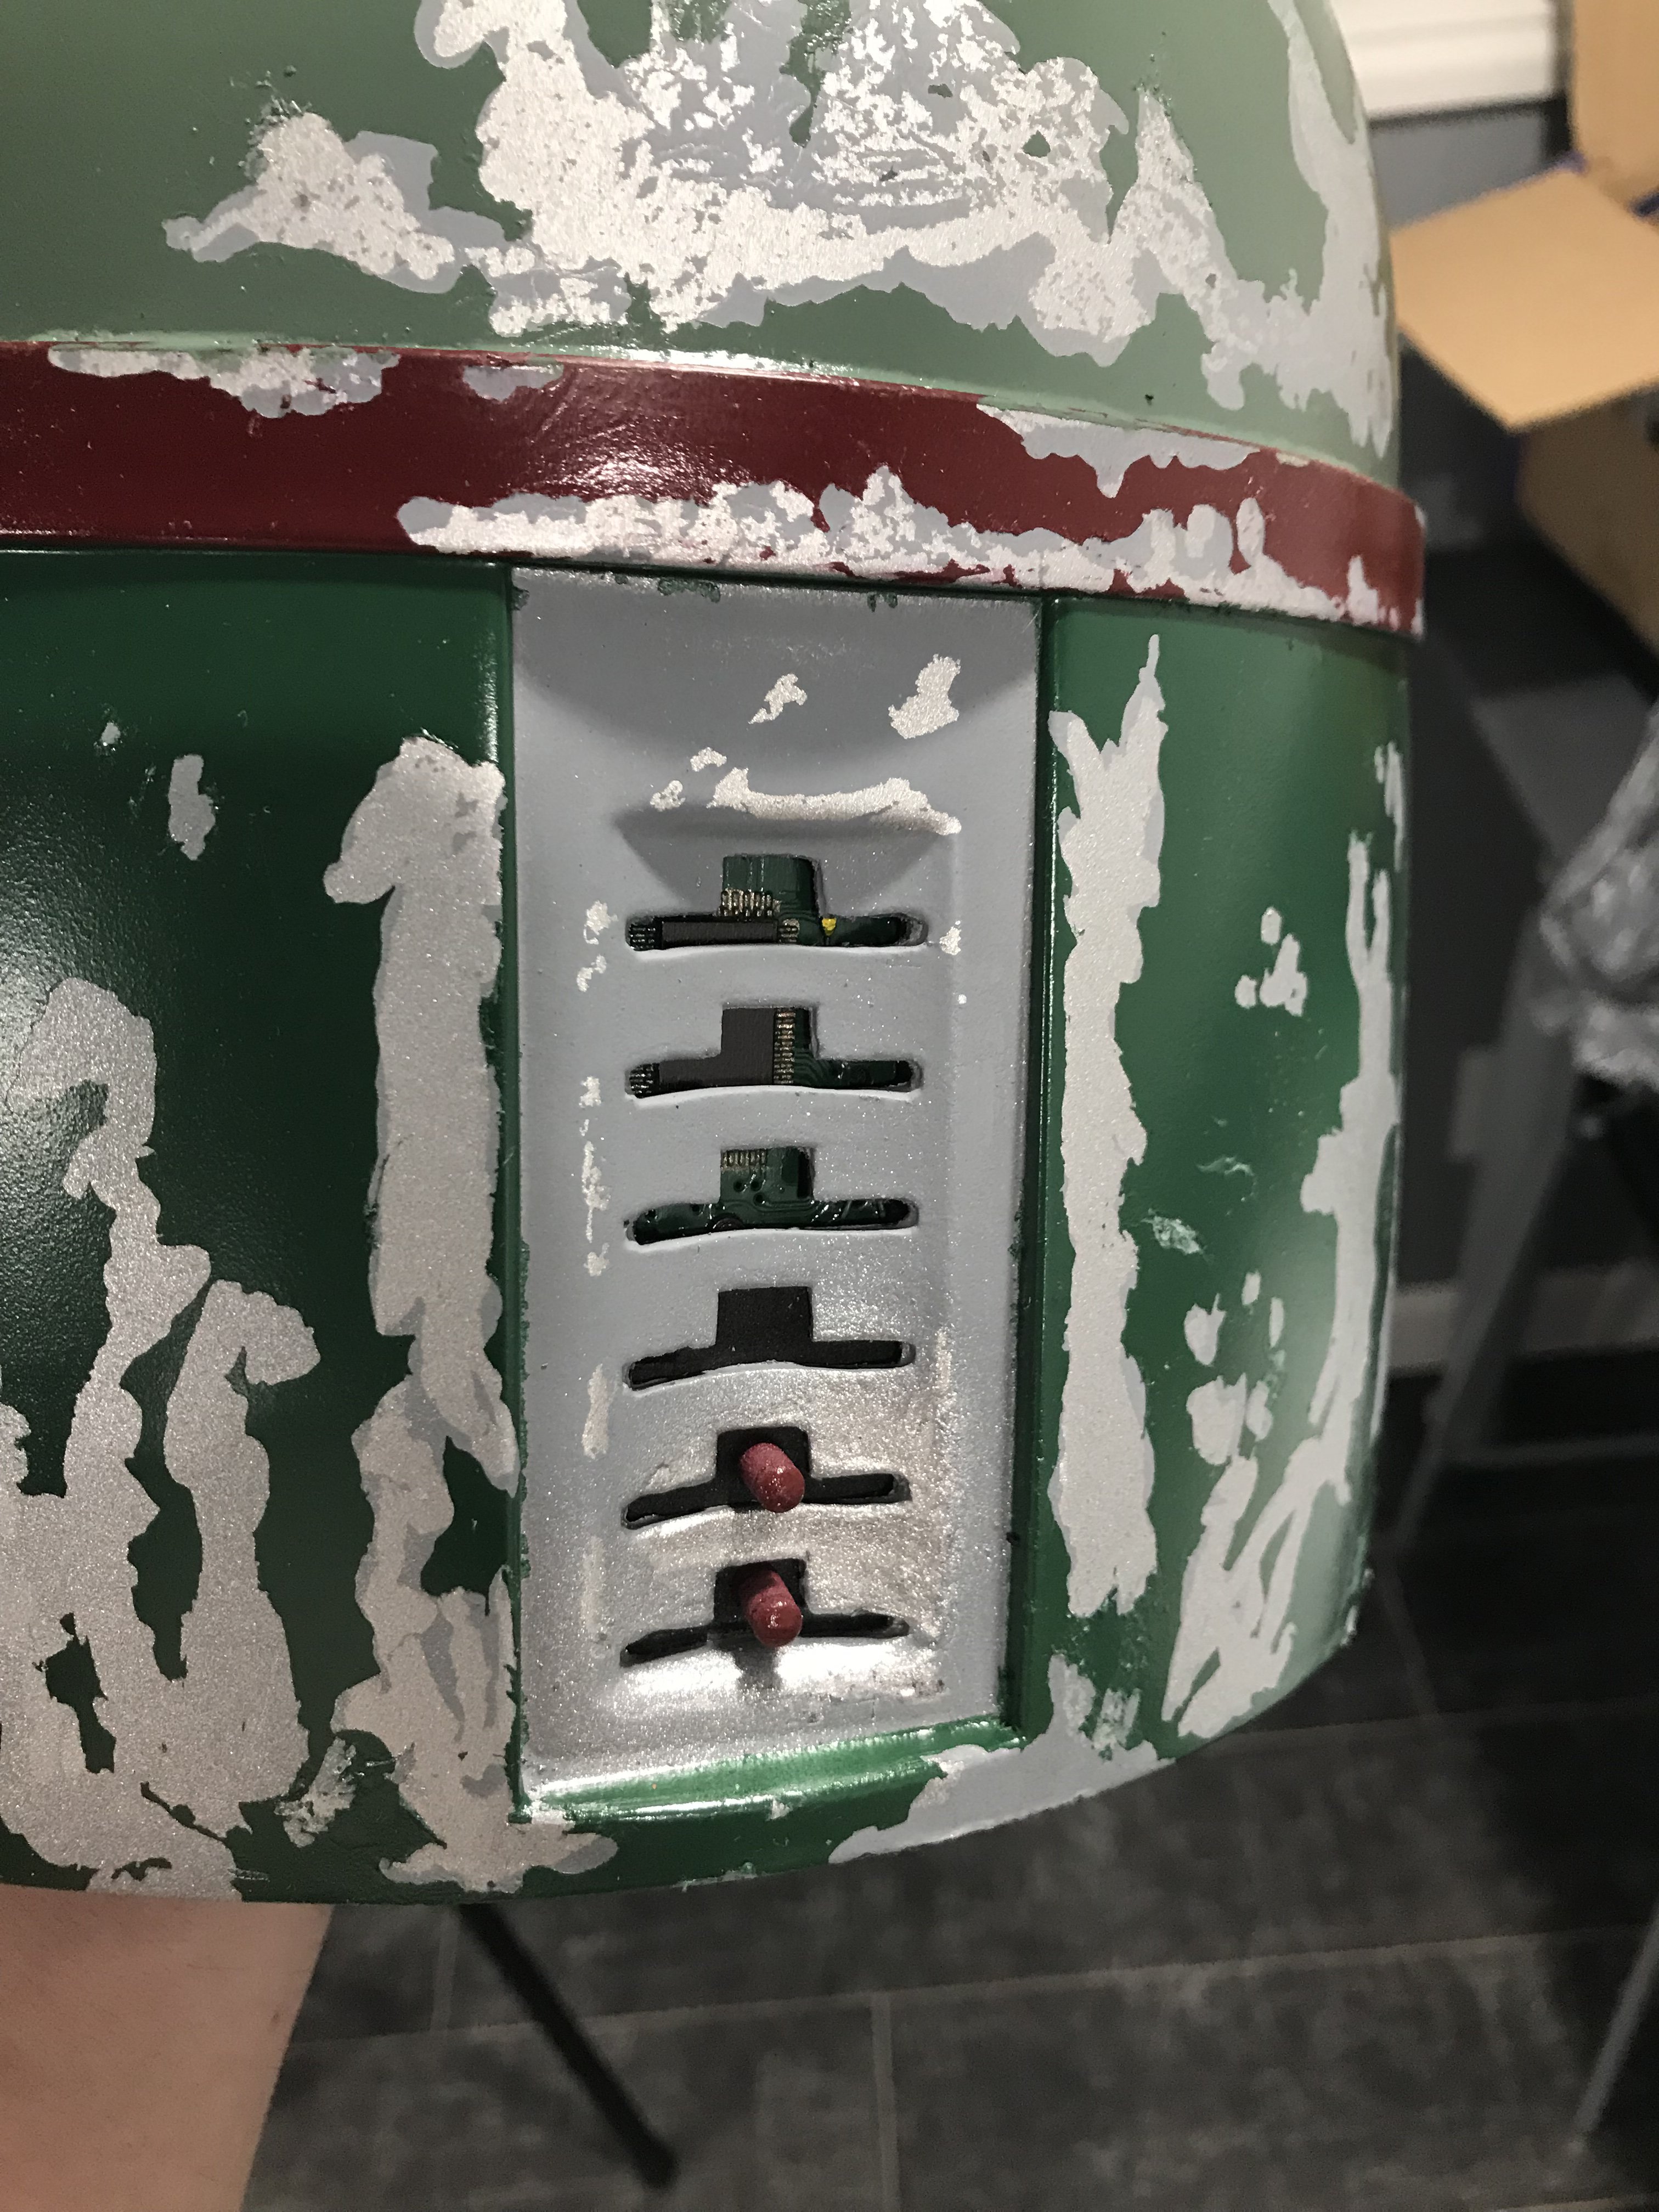
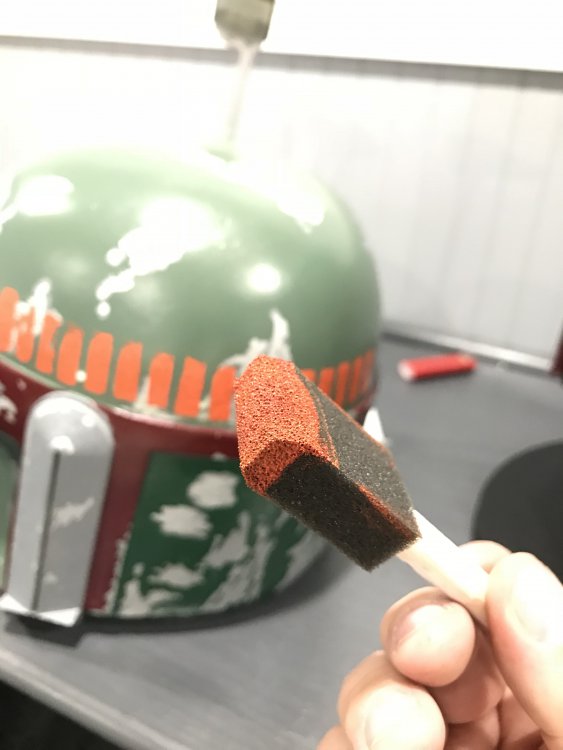
I added the 18 kill stripes and some other details. (They look a lot brighter in the picture for some reason, but they really are dark orange) I have added carbon burn effect with the airbrush to the dent. I think it looks more realistic now. Also, I have replaced the Borden Connector with a better aluminum piece. I have placed an order from Rafelfett on Shapeways for a proper Rangefinder casing and lens. That should be the last modification needed. -I think.

-
Wow! That is a lot of work. I???m not sure I could get my hair to stand down! Lol Thabks for the Guide. Maybe I???ll try it soon. ?? im thinking Jar Jar Binks since the actor was also a Best.
-
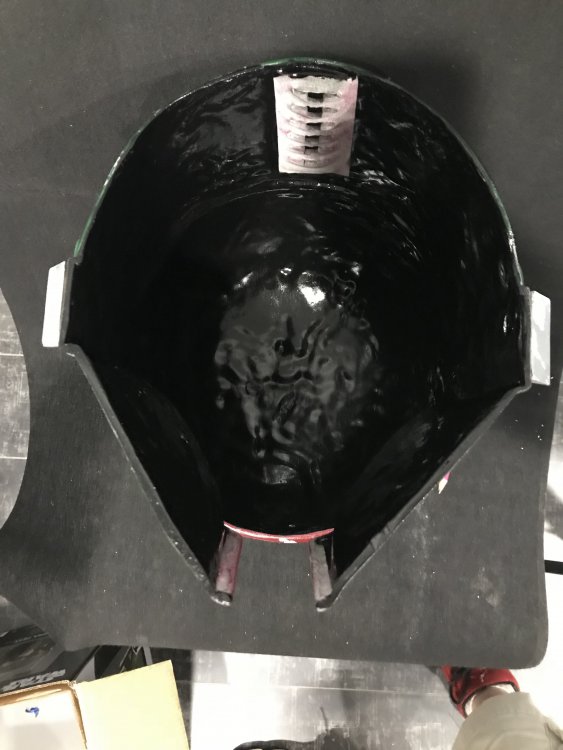
That looks messy and fun! I would love to learn how to make casts for masks. cant wait to see how this comes out!??
-